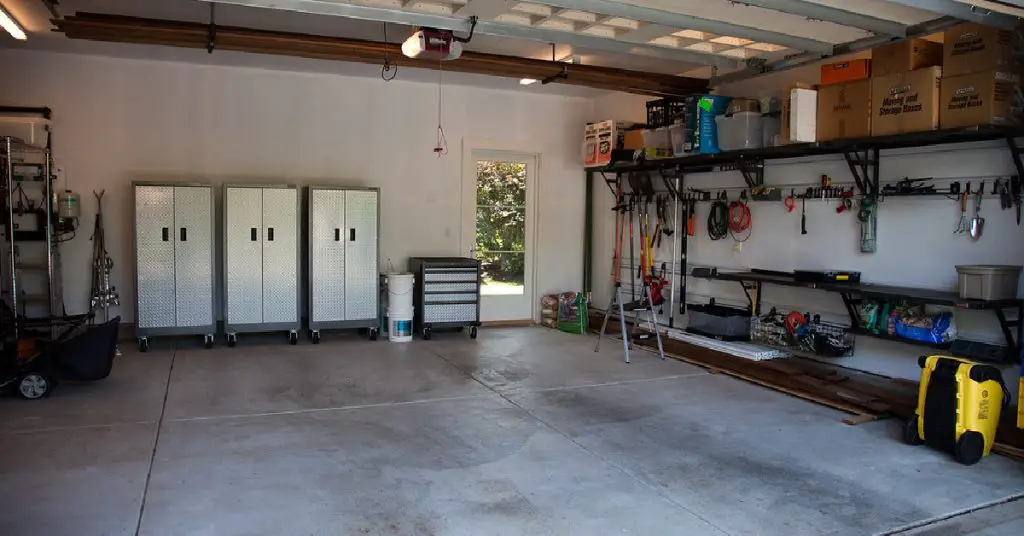
Are you tired of the clutter in your garage? Do you wish you had a designated space to store your belongings? Look no further! In this comprehensive guide, we will walk you through the process of how to build a closet in garage. Not only will this help you organize your space, but it will also add value to your home. So let’s roll up our sleeves and get started!
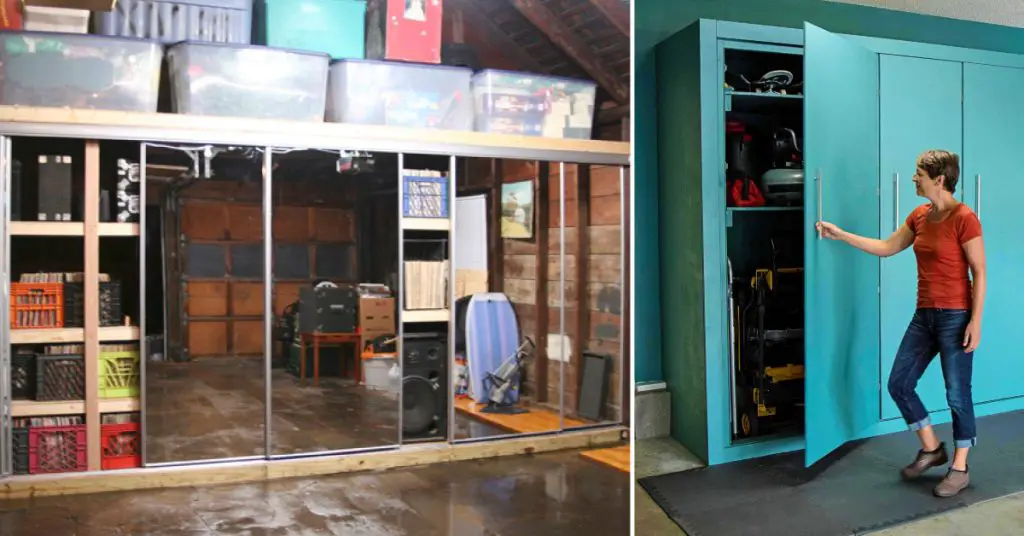
Planning and Preparation for How to Build a Closet in Garage
Before you dive into the construction process, it’s essential to plan and prepare adequately. This section will cover the necessary materials and tools you’ll need for the project.
1. Materials and Tools
To build a closet in your garage, you’ll need the following materials and tools:
- 5/8-inch plywood
- 1-by-3-inch boards
- Glue
- 6-foot mirrored-door kits
- Table saw
- Chop saw
- Nail gun
- Screw gun
- Drill
- Level
- Framing square
- Chalk line
2. Clearing the Area
Before you start building the closet, it’s crucial to clear out the area where the cabinets will be constructed. Remove any existing items and clean the space thoroughly. This will provide a clean and organized foundation for your new closet.
5 Easy Steps for How to Build a Closet in Garage
Now that you’ve prepared the space, it’s time to start building your garage closet. This section will guide you through the step-by-step process of how to build a closet in garage:
1. Cutting the Plywood
Begin by cutting the 5/8-inch plywood for the shelf tops to the desired depth. Cut two pieces that are 6 inches wider than the rest for the top and bottom of the unit, which will allow for a track. Additionally, cut side pieces to the desired height and width.

2. Building the Frame
Next, you’ll need to build a frame for the bottom base and top of the closet. Use 1-by-3s spaced two feet apart and nail them together. Ensure that the frame is as wide as the base and extends 6 inches wider than the depth of the shelves. This will provide a dry, level surface for the bottom door track to ride on. If the floor isn’t flat, use cedar shims to balance and support the unit.
3. Installing the Shelves
Once the frame is in place, lay down one of the 6-inch-wide plywood shelves. Measure and snap a chalk line along the baseboards to use as a guide for nailing the shelf to the frame. Repeat this process for each inner shelf, attaching them to the wall at the desired height. Stabilize the unit by attaching side pieces to the shelves from the outside.
4. Adding Vertical Supports
To reinforce the structure of the closet, install 1-by-3s as vertical supports in the front of the unit. Space them two to four feet apart, depending on the size of the closet. These supports will provide additional stability and prevent any sagging.
5. Installing the Mirror Doors
Now it’s time to add the finishing touch – the mirrored doors. Screw in the track for the sliding mirror doors on the 6-inch overhang, following the manufacturer’s instructions. Once the track is securely in place, snap in the mirror doors. This will give your closet a sleek and modern look.
4 Effective Customizing Your Garage Closet
Building the basic structure of your garage closet is just the beginning. In this section, we’ll explore some customization options to make your closet even more functional and appealing.
1. Adding Extra Shelving
If you need additional storage space, consider adding extra shelves inside your closet. Measure the height and width of the available space and cut plywood accordingly. Attach the shelves to the side pieces using a screw gun, ensuring they are sturdy and level.

2. Incorporating Hooks and Hangers
To maximize the functionality of your closet, install hooks and hangers along the inner walls. This will provide a convenient place to hang coats, bags, and other items. Consider using sturdy hooks that can support the weight of your belongings.
3. Introducing Lighting
To enhance visibility and make your closet more inviting, consider adding lighting fixtures. LED strip lights or recessed lighting can be installed along the top or sides of the closet. This will ensure that you can easily see and access your stored items.
4. Utilizing Storage Bins and Containers
To keep your garage closet organized, invest in storage bins and containers. These can be used to categorize and store smaller items, such as tools, craft supplies, or seasonal decorations. Label each bin for easy identification and access.
3 Effective Maintenance and Care Tips for Building a Closet in Garage
Now that your garage closet is complete, it’s important to maintain and care for it properly. This section will provide some tips on how to keep your closet in top shape.
1. Regular Cleaning
Regularly clean your garage closet to remove dust and debris. Use a damp cloth or mild cleaning solution to wipe down the shelves, doors, and surfaces. Avoid using harsh chemicals that may damage the materials.
2. Preventing Moisture and Mold
Since the closet is located in the garage, it’s essential to prevent moisture buildup and mold growth. Ensure proper ventilation in the garage by keeping windows or doors open when possible. Consider using a dehumidifier to reduce humidity levels.
3. Inspecting for Damage
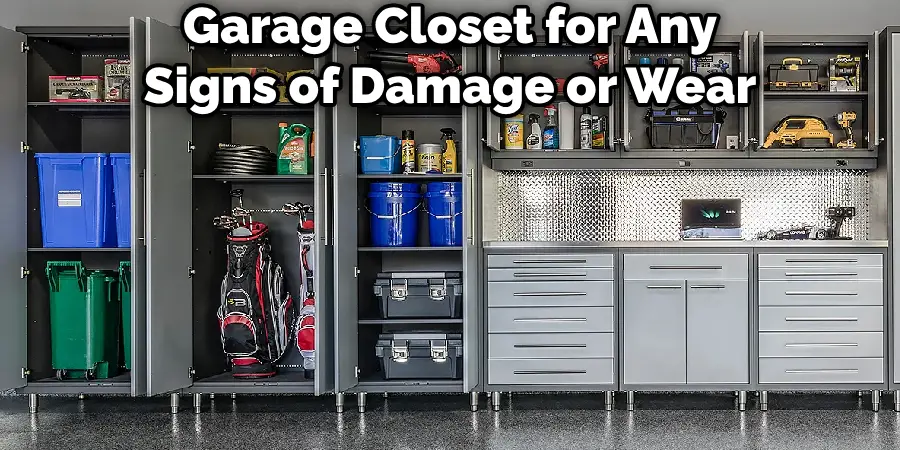
Periodically inspect your garage closet for any signs of damage or wear. Check for loose screws or nails, warped shelves, or any other issues that may affect the stability or functionality of the closet. Repair or replace any damaged components promptly.
Conclusion
Congratulations! You have successfully built a closet in your garage, providing much-needed storage space and organization. By following the steps outlined in this guide and customizing the closet to fit your needs, you’ve created a functional and stylish addition to your home. Enjoy the benefits of a clutter-free garage and easily accessible belongings. Happy organizing!
Remember to consult local building codes and regulations before starting any construction project. Safety should always be a top priority.

