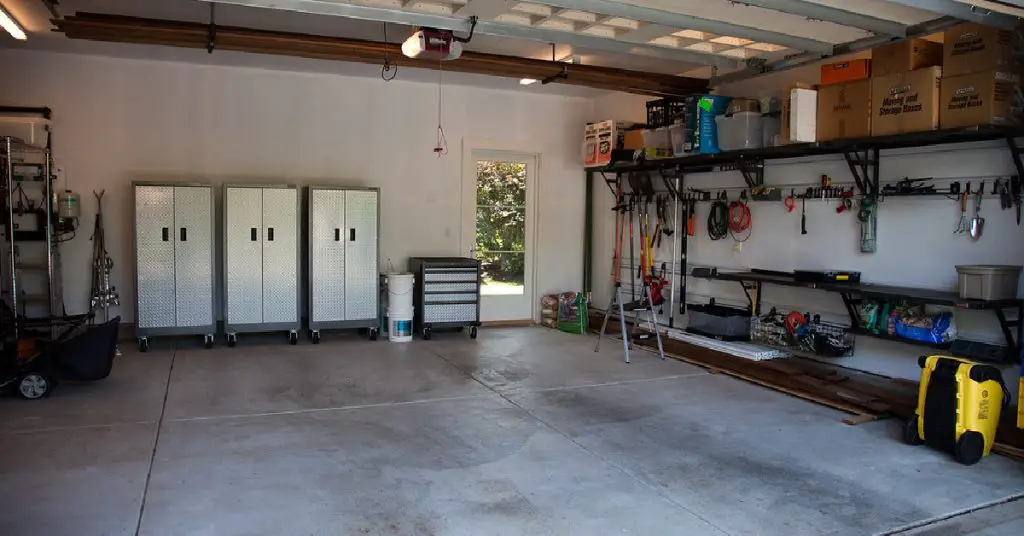
When it comes to finishing the bottom of drywall in a garage, many homeowners may feel intimidated by the process. However, this task can be accomplished easily and efficiently with the right tools and knowledge. Not only will a finished bottom of drywall improve the appearance of your garage, but it will also protect the drywall from potential damage caused by water or impact.
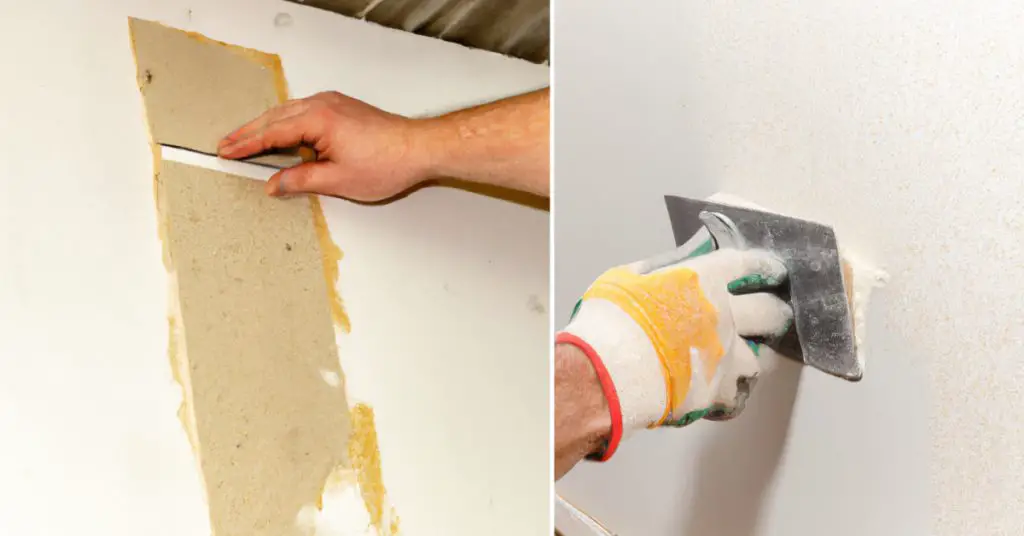
This guide will provide step-by-step instructions on finishing the bottom of the drywall in your garage and equip you with the necessary skills to tackle this DIY project. From planning the installation to applying drywall mud or joint compound, sanding, priming, and painting, this guide will provide you with all the information you need to achieve a smooth and professional-looking finish. So, this guide will be valuable if you’re planning to transform your garage into a workspace, gym, or living space.
6 Easy Steps for How to Finish Bottom of Drywall in Garage
Here are the steps for finishing bottom of the drywall in garage:
Tools and Materials Needed:
- Drywall mud or joint compounds
- Putty knife
- Drywall knife
- Fine grit sandpaper
- 120, 150, or 220 grit sandpaper sheets
- Waterproof primer
- Waterproof paint
- Paint roller and paintbrush
- Drop cloth
- Masking tape
- Plastic sheeting
- Sandpaper rolls
- Paint scraper and spackle
- Metal or rubber strip
- Screws or adhesive for attaching metal or rubber strips to drywall
Step 1: Planning the Drywall Installation
Planning the drywall installation is important in finishing the bottom of the drywall in a garage. Here are the key points to consider:
- Ensure that there is a gap between the drywall and the garage floor. This gap is a barrier to prevent water or moisture from seeping into the drywall and causing damage.
- The recommended gap size between the drywall and the garage floor is between 0.75 inches and to 2-inches.
- If you’re planning to do garage flooring, you should leave a gap between the garage floor and the drywall bottom.
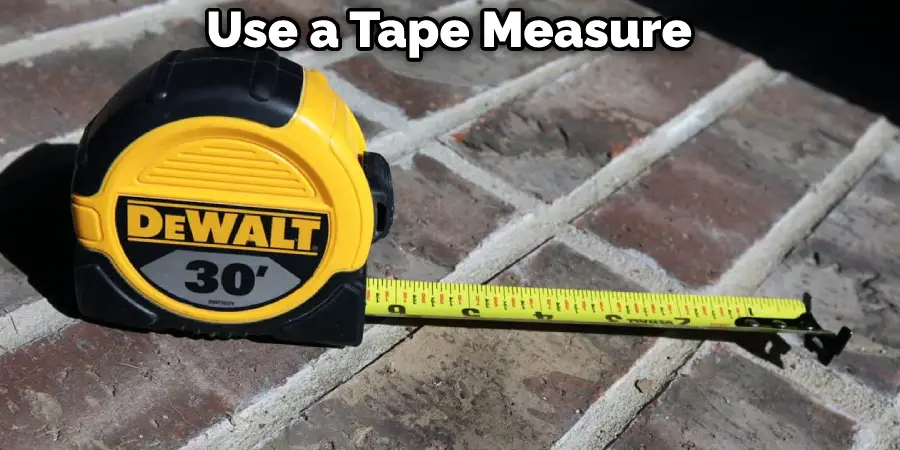
- You can use a tape measure or a level to measure the gap.
- The gap should be consistent throughout the garage. This means that the gap should be the same height along the entire length of the drywall.
- This will ensure that the bottom of the drywall is level and that there are no low spots that could collect water or moisture.
- By properly planning the drywall installation, you’ll be able to ensure that your garage is protected from water and moisture damage and that the bottom of the drywall looks neat and professional.
Step 2: Applying Drywall Mud or Joint Compound
Applying drywall mud or joint compound is a crucial step in finishing the bottom of drywall in a garage. This removes any gaps, seams, or joints between the drywall sheets.
Before applying the drywall mud or joint compound, it’s important to gather the necessary tools, such as a putty knife, a drywall knife, fine-grit sandpaper, and a water-resistant primer or paint.
Here are the steps to apply drywall mud or joint compound:
- Mix the drywall mud or joint compound according to the manufacturer’s instructions.
- Use the putty knife to apply a thin compound layer over the gaps, seams, or joints between the drywall sheets.
- Use the drywall knife to smooth the compound, ensuring it is level with the rest of the wall.
- Allow the compound to dry completely before sanding it down.
- Use fine-grit sandpaper to smooth out any rough or uneven areas on the drywall.
- Once the drywall is smooth, apply a coat of water-resistant primer or paint to protect it from moisture.
It’s important to note that applying drywall mud or joint compound can be time-consuming, but it’s necessary to ensure a smooth and professional-looking finish. You may need to apply multiple coats and sand in between coats to achieve the desired finish.
Step 3: Sanding the Surface
Sanding the surface of the drywall is an important step in finishing the bottom of the drywall in a garage. This step is used to smooth out any rough or uneven areas on the drywall and to prepare the surface for painting.
Here are the steps to sand the surface of the drywall:
- Start using low-grit sandpaper, such as 120-grit, to remove any rough or uneven areas on the drywall surface.
- Progressively use higher grit sandpapers such as 150-grit and 220-grit to achieve a smoother finish.
- Use a pole sander or a sanding block for large areas and a small hand-held sanding block for tight corners or hard-to-reach areas.
- Wear a dust mask and safety goggles to protect yourself from dust.
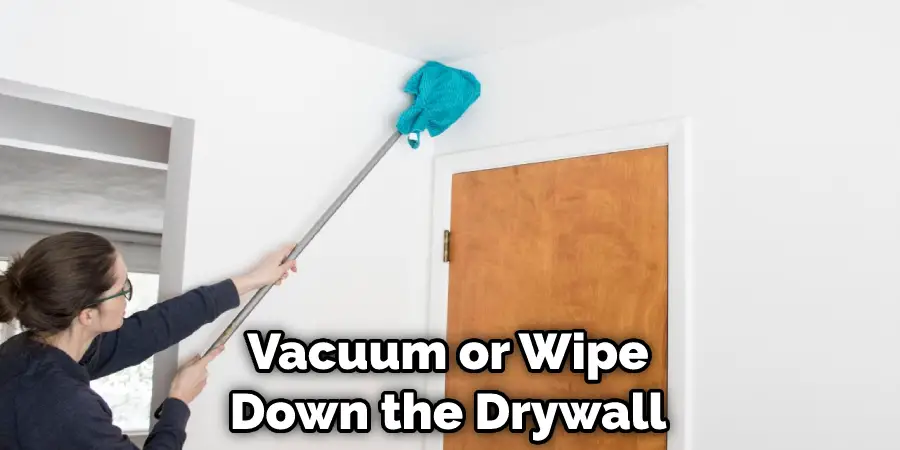
- Vacuum or wipe down the drywall surface to remove any dust or debris.
- Repeat the process if necessary to achieve the desired finish.
It’s important to note that sanding the drywall surface can be time-consuming, but it’s necessary to ensure a smooth and professional-looking finish. Sanding the drywall surface should be done after the drywall mud or joint compound has dried before applying the primer or paint.
Step 4: Applying Primer and Paint
Applying primer and paint is the final step in finishing the bottom of the drywall in a garage. This step is used to protect the drywall from moisture and to give it a finished look.
Here are the steps to apply primer and paint:
- Start by applying a coat of water-resistant primer to the drywall surface. This will help the paint adhere better and provide an additional barrier against moisture.
- Allow the primer to dry completely before applying the paint.
- Use a paint roller or paint brush to paint the drywall surface. Use a paintbrush to cut in around the edges and in tight corners.
- Apply at least 2 coats of paint, allowing each coat to dry completely before applying the next.
- Use a paint scraper or putty knife to remove any drips or runs in the paint.
- Allow the paint to dry and cure for several days before using the garage.
It’s important to note that the paint you choose should be water-resistant and durable enough to withstand the conditions of a garage. It’s also important to use a paint primer specifically designed for drywall use.
You Can Check It Out to Insulate Garage Walls That Are Already Drywalled
Step 5: Use a Drop Cloth and Lime Wash (Optional)
Using a drop cloth and lime wash is an optional step in finishing the bottom of drywall in a garage. This step adds layer protection against moisture and gives the drywall a unique finish.
Here are the steps to use a drop cloth and lime wash:
- Start by laying down a plastic drop cloth on the garage floor to protect it from any lime wash that may drip or splatter.
- Mix the lime wash according to the manufacturer’s instructions.
- Use a paint roller or brush to apply the lime wash to the drywall surface. Use a paintbrush to cut around the edges and tight corners.
- Use a paint scraper or putty knife to remove any drips or runs in the lime wash.
- Allow the lime wash to dry completely.
- Once the lime wash is dry, use fine-grit sandpaper to smooth out any rough or uneven areas.
- Apply a coat of water-resistant paint or sealer to the lime-washed surface to protect it from moisture.
It’s important to note that using a drop cloth and lime wash can be time-consuming, but it’s necessary to ensure a smooth and professional-looking finish. Limewash is also a natural product and is a great option for those who want to avoid synthetic materials.
It’s also important to wear rubber gloves and a respirator if using fiberglass cloth to avoid inhaling dust and also to protect your skin.

Step 6: Protecting the Bottom of Drywall with Metal or Rubber Strip (Optional)
Protecting the bottom of drywall with a metal or rubber strip is an optional step in finishing the bottom of drywall in a garage. This step provides an additional barrier against moisture and protects the drywall from rot, mold spores, and more.
Here are the steps to protect the bottom of drywall with a metal or rubber strip:
- Start by measuring the gap between the finished floor and the bottom of the drywall. Typically, this gap is between ½ to 2 inches.
- Cut a shaped metal or rubber strip to the appropriate length to fit the gap.
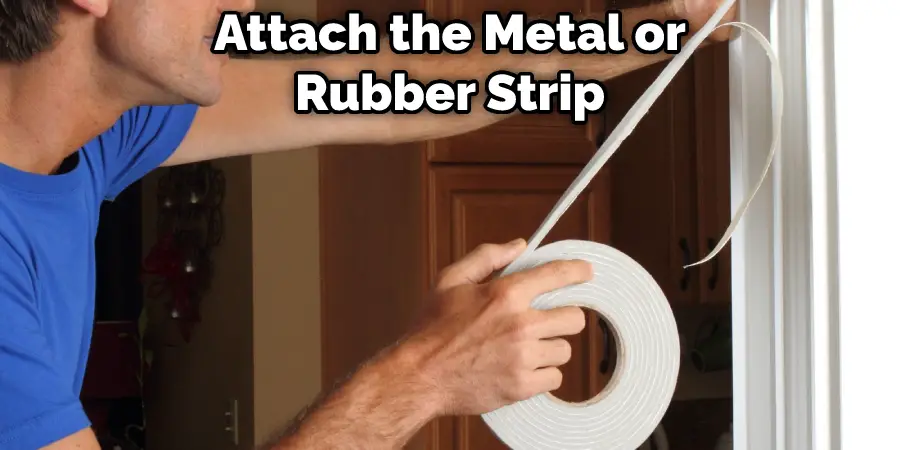
- Attach the metal or rubber strip to the bottom of the drywall using drywall screws or adhesive.
- Ensure the strip is flush against the floor and the drywall to create a tight seal.
- Repeat the process for all the garage walls.
Protecting the bottom of drywall with a metal or rubber strip is an important note, and it can help prevent moisture from penetrating the drywall and causing damage. Using materials like metal and rubber will give you a water-resistant barrier. This step is especially important if you’re planning to use the garage for storage or if the garage is in an area prone to flooding or dampness.
You can also check out to Cover Garage Walls for Party
FAQs About Finishing Bottom of Drywall in Garage
Should I Finish the Drywall in My Garage?
Yes, Installing drywall in your garage can be beneficial as it can meet fire code requirements, improve insulation and climate control, and enhance the space’s aesthetic. However, it can come with a cost, usually around $0.50 per square foot for materials alone, with an average total cost of $300-$400. It’s important to weigh the benefits and costs before deciding to finish the drywall in your garage.
What Do You Put Over Drywall in a Garage?
According to the ICC Building Codes, the minimum thickness for drywall on the walls between the garage and any living spaces is 1/2 inch, and for the ceiling, if there is living space above the garage, it’s 5/8 inch. It is recommended to use fire-resistant drywall such as Sheetrock Brand Firecode Core, as it provides additional fire resistance over regular panels. It’s also important to check with local codes for any additional requirements.
Conclusion
In conclusion, finishing the bottom of drywall in a garage is necessary to protect the drywall from moisture and give it a finished look. The process of installing drywall, applying drywall mud or joint compound, sanding the surface, applying primer and paint, and optional steps such as using a drop cloth and lime wash or protecting the bottom of drywall with a metal or rubber strip can be time-consuming. Still, with proper planning and attention to detail, it is possible to achieve a professional-looking finish.
It’s important to remember that selecting the right tools, materials, and products is important to get a good paint finish. Always use a water-resistant primer and paint, and take the necessary precautions when working with lime wash. A metal or rubber strip is optional but can provide extra protection against moisture.
Following the steps outlined in this guide, you can finish the bottom of the drywall in your garage professionally and efficiently.
As always, it’s important to consult with a professional if you have any doubts or concerns about the process.

