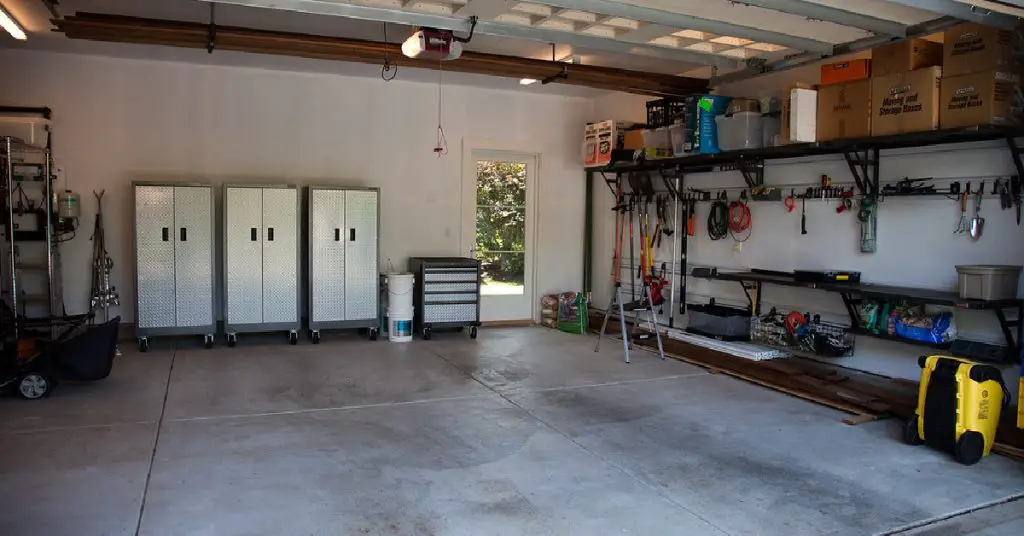
Having a heavy punching bag at home is a game-changer for anyone serious about fitness, martial arts, or simply blowing off steam. With your heavy bag set up, you can train at your convenience without the hassle of gym schedules or crowded spaces. And what better place to install it than your garage? The open area provides ample room to move around the bag, and the sturdy construction is ideal for securely mounting your punching bag.
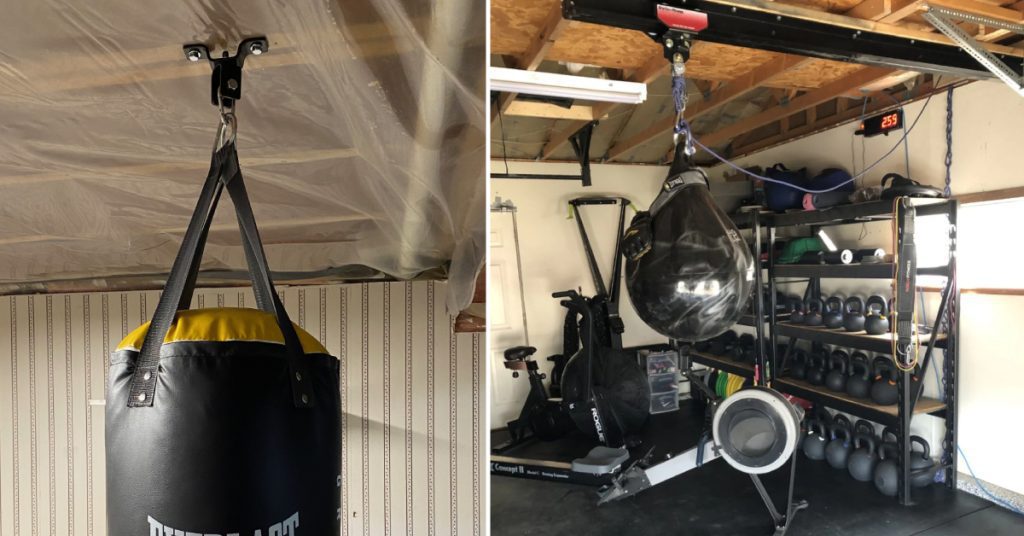
In this definitive guide, we’ll walk you through every step of planning and how to hang a heavy bag in the garage, covering all the popular mounting methods, required tools, and critical safety considerations. By the end, you’ll be ready to turn your garage into a self-contained boxing gym.
Key Takeaways:
- Assess garage structure, bag weight, and clearance before installation
- Ceiling joists, wall mounts, or free-standing bag stands are suitable options
- Prioritize safety: secure mounting, proper form, and maintain situational awareness
- Invest in quality, durable gear from reputable brands for long-lasting performance
Prerequisites and Planning for How to Hang a Heavy Bag in the Garage
Before you rush into hanging that heavy bag, there are a few essential prerequisites to ensure a safe and successful installation:
1. Assessing Your Garage Structure
Take a close look at the ceiling and walls of your garage. Identify the ceiling joists (horizontal beams running across the ceiling) and any exposed support beams, as these will be crucial for mounting points. Also, note the wall construction material – is it plain drywall, framed with wood studs, or masonry like concrete or brick?
2. Determining Bag Dimensions and Weight
Heavy bags come in various sizes, from 4 feet to 6 feet tall, and weigh anywhere between 70 to 150 pounds when filled. Bigger isn’t necessarily better – choose a size that suits your height and striking range. The weight corresponds to the bag’s filling material (cloth, sand, etc.) and will impact the mounting method’s requirements.
3. Choosing the Installation Spot
Survey your garage and identify areas with enough overhead clearance (ceiling height) and floor space to accommodate the bag’s size and movement. You’ll want at least 3-4 feet of clearance on all sides, avoiding obstructions like shelves, workbenches, or low-hanging lights that could get in the way or be damaged by the swinging bag.
4. Calculating Swing Clearance
Hang the bag vertically and measure its diameter/widest point. From that hanging point, you’ll need a radius (equal to the bag’s length) in all directions to allow the heavy bag to swing freely during use. Mark out this clearance zone on the floor to visualize it during installation.
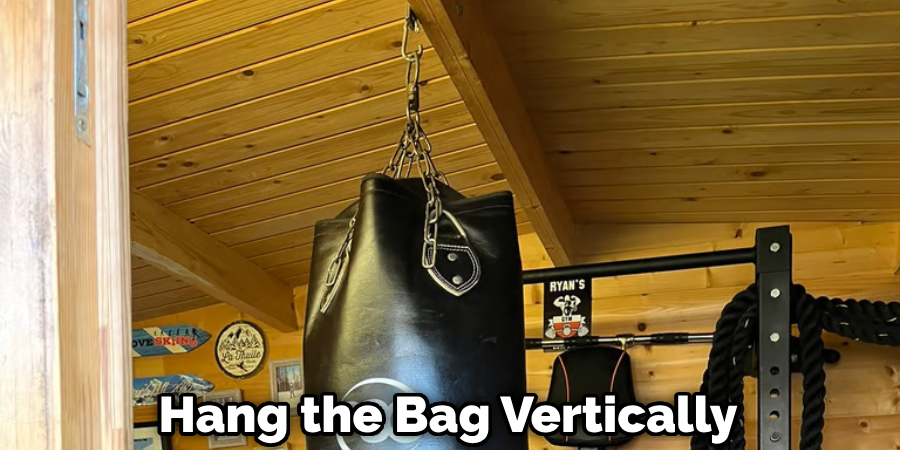
With these prerequisites checked off, you’re ready to explore the different mounting options for securely hanging your heavy bag in the garage.
4 Best Options for How to Hang a Heavy Bag in the Garage
Here are some of the best options for how to hang a heavy bag in the garage:
Option 1: Mounting to Ceiling Joists/Beams
For the traditional hanging heavy bag setup, mounting directly to the ceiling joists or exposed support beams is the way to go. This straightforward approach takes advantage of your garage’s existing structure to provide a secure anchor point for the bag.
Locating and Evaluating Ceiling Joists/beams
Use a stud finder to locate the horizontal ceiling joists, which are typically spaced 16 or 24 inches apart. For exposed beams, simply inspect them visually, looking for any signs of damage, dry rot, or cracks that could compromise their load-bearing capacity. The joist or beam you choose should be able to support at least 4-5 times the weight of your filled heavy bag.
Mounting Directly
If your joists/beams are structurally sound, you can install the bag mount directly into the wood using specialized hardware.
Required Tools:
- Stud finder
- Power drill
- Drill bits (sized for lag screws/bolts)
- Wrench
- Lag screws or heavy-duty eye bolts with washers
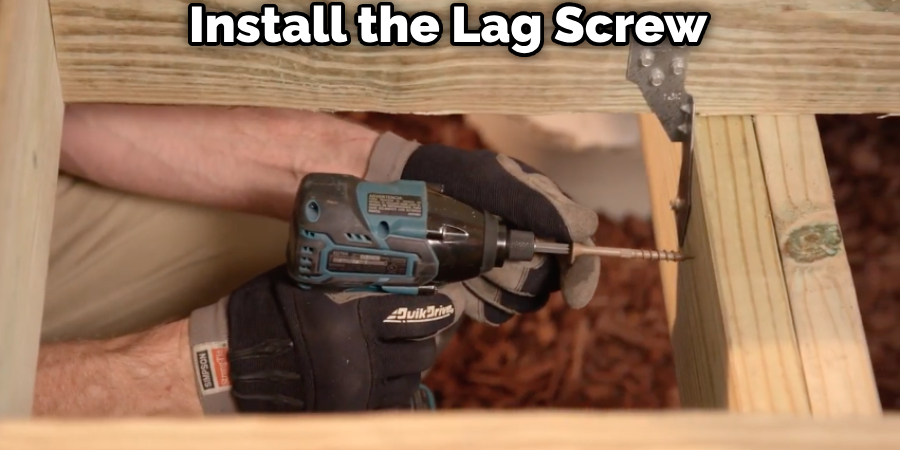
Start by marking the desired hanging point on the joist/beam. Drill a pilot hole, then securely install the lag screw or eye bolt into the wood, ensuring it can support the bag’s dynamic movements and weight. Attach the chains and swivel to the eye-bolt mount, connect your heavy bag, and you’re ready to start punching!
Reinforcing Ceiling Joists (Sistering/bridging)
If your existing joists seem too slim or spaced too far apart, you can “sister” them by securing additional wooden joists alongside the existing ones using structural screws. Alternately, install perpendicular bridging supports between parallel joists to bolster their load capacity before mounting the bag hardware.
Pro Tips:
- For steel beams, use specifically designed beam hangers/clamps
- Wrap the beam in plywood first if the hanging point may damage the beam
- Integrate safety chains to prevent bag detachment
By directly mounting your heavy bag to the garage ceiling structure, you’ll unlock the full range of motion for strikes, kicks, and movement drills around the bag. Just be sure to reinforce if needed.
Option 2: Dedicated Ceiling Mounts
While mounting to joists is traditional, using a dedicated ceiling mount offers some great advantages like evenly distributing the bag’s weight, allowing 360-degree swivel action, and built-in safety mechanisms like speed bags. Let’s explore this increasingly popular option:
Advantages of Ceiling Mounts
- Distributes weight across multiple joists for better support
- Integrated swivel mechanism prevents bag chafer/twisting
- Some models include speed bags or shock absorption
Types of Mounts
- Rigid – Budget mounting plates secured across multiple joists
- Flexible – Allow slight tilting/angling of the mount for better positioning
- Spring-loaded – Built-in springs help absorb strike impacts
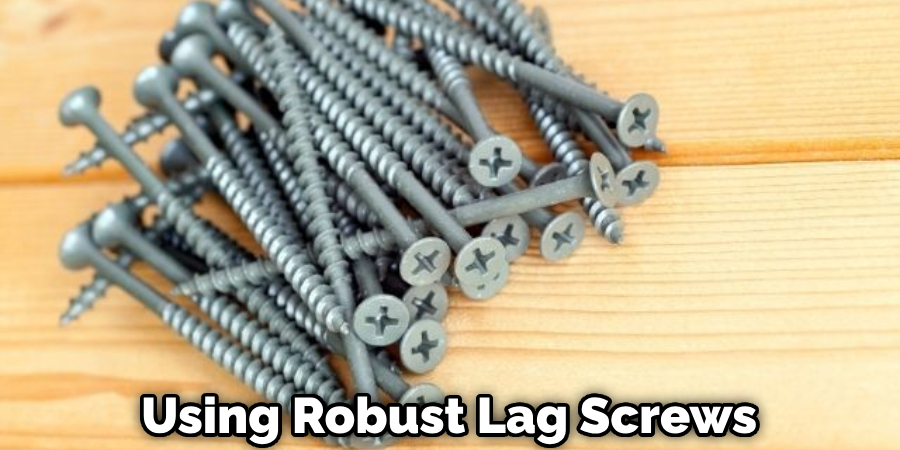
No matter the type, ceiling mounts require reinforcing the mounting area. The included hardware attaches the mount baseplate to wooden joists using robust lag screws. For concrete/steel beam ceilings, follow mount manufacturer instructions using appropriate anchors.
Step-by-step Mounting Guide
- Locate the joists and mark out the mounting plate’s dimensions
- Cut holes for passing chains/cables and reinforce with plywood if needed
- Drill pilot holes and secure the baseplate across joists with lag screws
- Assemble swivel components and safety-arresting mechanisms
- Attach chains, and speed bag attachments (if included), and hang the bag
- Test for security, adjusting chain lengths to center the heavy bag
By distributing the load and allowing 360-degree mobility, a ceiling mount provides an optimal punching bag experience. Plus additional attachments like speed bags enable more dynamic training scenarios!
Option 3: Wall Mounting
Don’t have suitable ceiling joists or low overhead clearance? Wall mounting may be your solution for installing that heavy bag, provided you have the right wall construction. Drywall alone cannot handle a punching bag’s weight and movement, so here are the requirements:
Masonry Walls (Brick, Concrete)
Install wall mounts using specialized concrete anchors able to handle hundreds of pounds of shear force. Mark stud locations and drill holes for securing the mount’s baseplate using lag screws.
Wooden Stud Walls
Locate and mark the wall studs, either via stud finder or knocking/measuring between studs at 16″ or 24″ spacing. Secure a heavy-duty wall mount bracket directly into the studs using long lag bolts.
When wall mounting, pay attention to the bag’s swing path and ensure proper clearance from the floor up to avoid any obstructions or impact damage. Consider offsetting the wall mount upwards and using longer chains to gain clearance over obstacles.
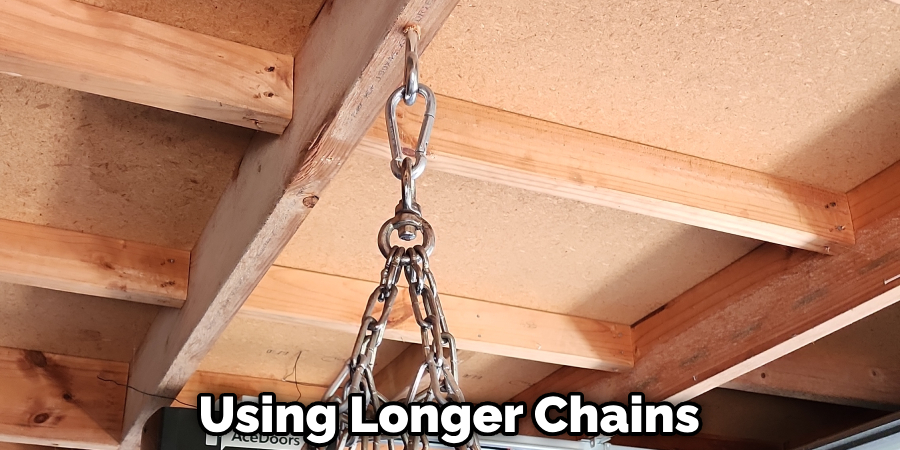
Once your wall mount is properly anchored to the studs/masonry, attach the swivel, and chains, and hang the heavy bag per manufacturer’s guidelines. Test and adjust the chain lengths to position the bag’s center at roughly chest height.
While not optimal for full striking mobility, wall mounts provide a sturdy, lower-clearance option still to get quality heavy bag workouts in your garage space!
Option 4: Free-Standing Bag Stands
If wall and ceiling mounts aren’t feasible options for your garage, don’t lose hope! Free-standing heavy bag stands provide a no-installation solution to set up your punching bag quickly:
Advantages
- No need to drill into walls/ceilings – simply assemble the stand
- High mobility – easily move stands to different garage locations
- Some models offer adjustable height positioning
Limitations
- Require a wide, weighted base plate to prevent tipping over
- Don’t allow the same freedom of movement as hanging setups
- Lower-quality stands may feel unstable
When selecting a free-standing stand, ensure it is specifically rated to support your heavy bag’s weight class. Premium stands use thicker steel tubing and heftier base plates that can be filled with sand or water for stability.
Setup Tips
- Assemble as per instructions, joining tubes, and secured with locking pins
- Position on a level, smooth surface clear of any obstructions
- Fill the hollow base with sand/water – at least 300 lbs for heavy bags
- Use a non-slip mat underneath the stand’s base to prevent sliding
- Adjust height if possible to position the bag’s center at chest level
- Test for wobbles, add more weight to the base if needed

While not as sturdy as ceiling/wall mounts, a well-built free-standing stand provides a quick way to get punching in your garage. Just be sure to properly weigh the base and use slip-resistant flooring for maximum stability and safety during workouts.
You Can Check It Out to Hang a Tennis Ball in the Garage.
5 Safety Precautions for How to Hang a Heavy Bag in the Garage
While a home-heavy bag setup provides incredible convenience, it’s crucial to prioritize safety during installation and usage to prevent injuries or property damage. Here are some essential precautions to keep in mind:
1. Proper Punching/kicking Form
With a heavy bag at home, it’s easy to get carried away and overtrain. Always maintain proper form when striking – keep your wrists straight, rotate from your core, and avoid overly tense muscles that could lead to strains. Take sufficient rest between rounds.
2. Installing Bag Arm Extensions
Heavy bag arm extensions bolt onto the bottom of the bag, protruding outwards like axles. These absorb some sideways forces and prevent wear on attachment points.
3. Using Floor Mats and Wall Padding
Place rubber or foam exercise mats around your heavy bag’s hitting zone to provide cushioning should you slip or fall unexpectedly. Wall pads also help protect drywall from stray strikes.
Periodic inspections: Regularly inspect all mounting hardware, chains, swivels, and the bag itself for any signs of wear, rust, or damage. Replace components immediately if their integrity is compromised.
4. Anchoring Hanging Bags Securely
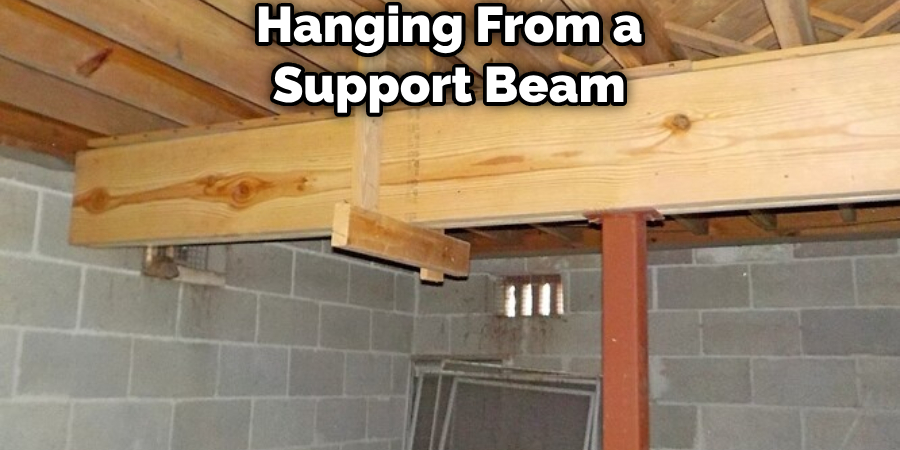
Whether mounting to joists, using a ceiling mount, or hanging from a support beam, always ensure the bag is reliably anchored using proper hardware before vigorous use. Don’t risk a detached bag crashing down!
5. Maintain Situational Awareness
Be mindful of your surroundings when striking the heavy bag. Keep your garage space clear of clutter and watch out for doors opening inwards that could create hazards.
Following these safety guidelines will help prevent avoidable injuries while letting you train hard on your home heavy bag setup with peace of mind.
Where to Buy Quality Gear
With the planning and installation covered, you’re almost ready to start reaping the benefits of your very own garage boxing gym. The final step is sourcing high-quality, durable punching bags, mounts, and other gear.
For heavy bags, look for reputable brands that use robust materials and construction. Some top names include:
- Century Martial Arts
- Outslayer Muay Thai
- Everlast
- Ringside
- Title Boxing
Many of these have dedicated lines of heavy bags designed specifically for air-striking at home rather than just boxing matches.
When it comes to mounting hardware and specialty attachments, brands like:
- Pro Mounts
- Satori
- Valor Martial Arts
Offer extensive ranges of sturdy ceiling/wall mounts, speed bag platforms, attachable grappling dummies, and more. Look for mounts with sealed bearings for smooth swivel action.

While buying from a local sporting goods retailer provides opportunities to inspect the products firsthand, many customers find better selection and pricing from reputable online stores:
- Muay Thai Citizen (MTC)
- Century Martial Arts
- Ringside.com
- Amazon (sold by brand suppliers)
When ordering online, thoroughly read product details, watch installation videos, and scrutinize customer reviews for insights on durability and ease of setup.
Never sacrifice quality to save a few bucks – a fallen heavy bag or collapsing mount could cause serious injuries. Invest in professional-grade gear from trusted vendors, and your home boxing setup will provide years of intense training!
FAQs About How to Hang a Heavy Bag in the Garage
Is It Safe to Hang Heavy Bag in Garage?
Hanging a heavy bag in your garage is safe provided you carefully assess the structural integrity of the ceiling, ensuring it’s capable of supporting the bag’s weight (typically 70 to 150 pounds, plus dynamic force). Use appropriate heavy-duty mounts or brackets designed for heavy bags, and consider adding a spring coil to absorb shock. For garages with unsuitable ceilings, a wall mount fixed into a stud or a freestanding heavy bag stand are viable alternatives. Regular inspections of the mounting hardware for signs of wear or loosening are essential, as is maintaining clear space around the bag for safety. If uncertain, professional installation is advised to ensure the setup is secure and to avoid damage or injury.
Can You Hang a Punching Bag From a Ceiling Joist?
Yes, you can hang a punching bag from a ceiling joist, but it’s essential to ensure the joist is capable of supporting the bag’s weight (typically between 70 to 150 pounds) plus the additional dynamic force from its use. Use a heavy-duty swivel mount and the correct hardware for secure installation, and consider spreading the load across multiple joists with a wooden beam for heavier bags. For safety and to prevent structural damage, it’s wise to consult a professional if you’re unsure about the joist’s capacity or the installation process.
What is the Proper Height to Hang a Heavy Bag?
The ideal height for hanging a heavy bag is to have its bottom approximately 6 inches (15 cm) off the ground, allowing for a versatile range of strikes. For boxing-focused workouts, aligning the top of the bag with the user’s head height is recommended for optimal punch targeting. If individuals of varying heights will use the bag, consider adjusting it based on the tallest user or finding a compromise height. Adjustable chains or straps can offer flexibility in bag height, ensuring both safety and suitability for different training routines.
Can You Hang a Heavy Bag From a Pull-up Bar?
Hanging a heavy bag from a pull-up bar can be feasible, but it heavily depends on the bar’s weight capacity, stability, and how securely it’s mounted. Wall or ceiling-mounted bars are more likely to support the weight of a heavy bag (70 to 150 pounds) plus the additional force from use, unlike doorway pull-up bars which might not offer the needed stability. Ensure the design allows the bag to hang freely and check the setup regularly for any wear. For safety and reliability, consider a dedicated heavy bag stand or mounting bracket, especially if there’s any doubt about the pull-up bar’s suitability.
Conclusion
With this comprehensive guide under your belt, you’re now equipped with all the knowledge needed to confidently hang a heavy punching bag amidst the open space of your garage.
Don’t put off turning your garage into a self-contained boxing gym any longer! A conveniently located heavy bag provides incredible fitness and martial arts training benefits. Just be sure to plan, choose the right mounting option for your space, follow safety protocols, and invest in durable equipment from reputable suppliers.
Before you know it, you’ll be throwing punches and kicks like a pro without ever leaving your house. Let us know how your heavy bag installation goes!


