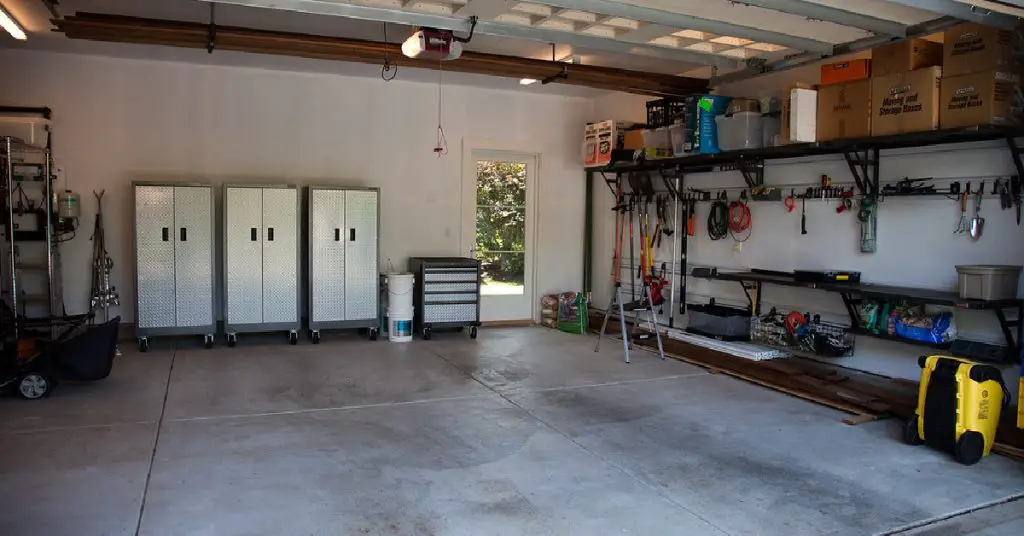
Installing a water softener in the garage can be a practical solution for homeowners who are dealing with limited indoor space. However, before you embark on this project, it’s important to consider various factors such as the water softener requirements, the climate in your area, and the specific conditions in your garage. In this comprehensive guide, we will explore the steps and considerations for how to install water softener in garage and provide you with insights to help you make an informed decision.
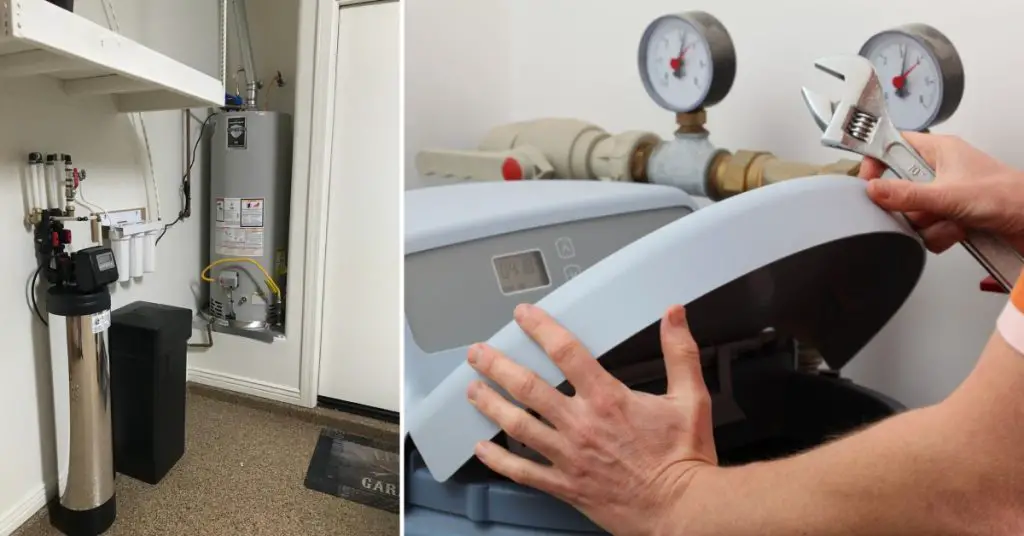
Key Takeaways:
- Ensure adequate electricity, drainage, and accessibility when installing a water softener in the garage.
- Consider climate, ventilation, and security factors to protect the system.
- Proper maintenance and monitoring are crucial for optimal performance.
Understanding the Requirements of a Water Softener
Before we delve into the specifics of installing a water softener in the garage, it’s crucial to understand the foundational needs of a water softener. These requirements are essential for the efficient operation and longevity of the system.
1. Reliable Supply of Electricity
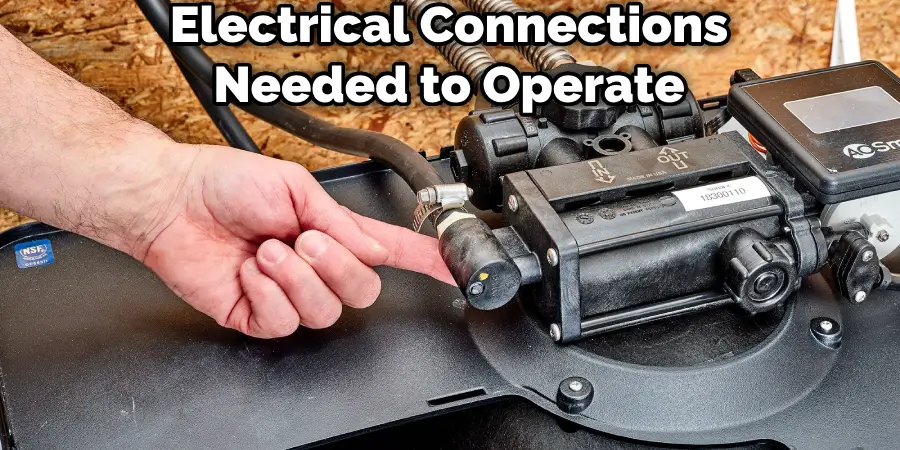
Most water softeners require a power source to operate their control valves and electronic components. Therefore, it’s important to ensure that your garage has a stable electrical connection. Make sure the outlet is grounded to prevent electrical mishaps and keep the electrical connections dry and away from potential water spills or flooding.
2. Sturdy Drain Piping
Water softeners produce wastewater that needs to be drained away. It’s essential to have robust drain piping in the garage to handle the water flow efficiently. The pipes should be resistant to corrosion and clogging to ensure uninterrupted functioning. Proper installation of the piping will also prevent potential water damage to the garage’s structure or foundation.
3. Accessibility to Appliances
When installing a water softener in the garage, consider its proximity to the main water line and appliances in your home. A central location ensures equal distribution of softened water to all outlets. Additionally, easy access facilitates routine maintenance checks, refills of salt, and hassle-free servicing and repairs. Ensure there’s adequate space around the softener for smooth operation.
4. Protection from Extreme Temperatures and Pests
Garages, especially those without insulation, can experience severe cold or heat. Extreme temperature fluctuations can potentially damage the water softener. Insulating the area around the softener can help prevent this. Additionally, it’s important to protect the unit from potential pests or rodents in the garage, as they can cause damage to the system.

7 Easy Steps for How to Install Water Softener in Garage
Here is a comprehensive guide on how to install water softener in garage:
Step 1: Choose a Location for the Water Softener
Choose a location in the garage that is close to the main water line entering the house and has access to power and drain lines. The garage is often an ideal location because it protects the system from freezing temperatures.
Step 2: Install the Bypass Valve
Install a bypass valve on the main water line where you plan to connect the water softener. This allows you to shut off water to the softener for maintenance while allowing water to flow uninterrupted to the house.
Step 3: Connect the Water Softener to the Main Water Line
Connect the water softener to the main water supply line using the provided installation kit. Follow the manufacturer’s instructions for proper connections.
Step 4: Connect the Drain Line to the Water Softener
Attach a drain line from the softener regeneration valve to a suitable drain, like a floor drain or laundry sink. This allows the brine solution to be flushed during the regeneration process.
Step 5: Run the Electrical Wiring to the Water Softener
Plug the softener into a nearby 120v electrical outlet to power the control valve and computerized meter.
Step 6: Fill the Brine Tank With Salt
Add salt to the brine tank and program the settings for optimal softening based on household water usage.
Step 7: Program the Water Softener
Slowly turn on the water and check for leaks during initial start-up. Flush lines to clear debris.
The garage is an ideal spot for a DIY installation as long as you have access to the plumbing, drain, and electrical connections needed to operate the system. Always follow the manufacturer’s instructions closely when installing a softener.
You Can Check It Out to Stop Water Coming Through Garage Wall.
5 Factors to Consider for Garage Installation
Now that we have a clear understanding of the requirements, let’s explore the specific factors to consider when installing a water softener in the garage.
1. Climate Considerations
The climate in your area plays a significant role in determining the suitability of installing a water softener in the garage. If you live in a region with chilly weather and the garage is unheated, freezing temperatures could pose a risk to the water softener. Cold temperatures can cause the water inside the system to freeze, leading to damage to the internal components and possibly rupturing the tank.
On the other hand, if you reside in a warm coastal area where homes don’t have basements, installing the water softener outside could be an option. However, it’s crucial to ensure that the unit is protected from direct sunlight, animals, and excessive moisture. The temperature range for optimal functioning of most water softeners is typically between 35-100°F.
2. Ventilation and Humidity Control
Another important consideration for garage installation is ventilation. Water softeners work with water, which inevitably results in moisture in the vicinity. Proper ventilation in the garage is essential to prevent excessive humidity, which could potentially harm the electronic components of modern water softeners. Without proper ventilation, there is a risk of mold growth, and the efficiency of the softener may decrease due to damp conditions.
3. Security and Accessibility
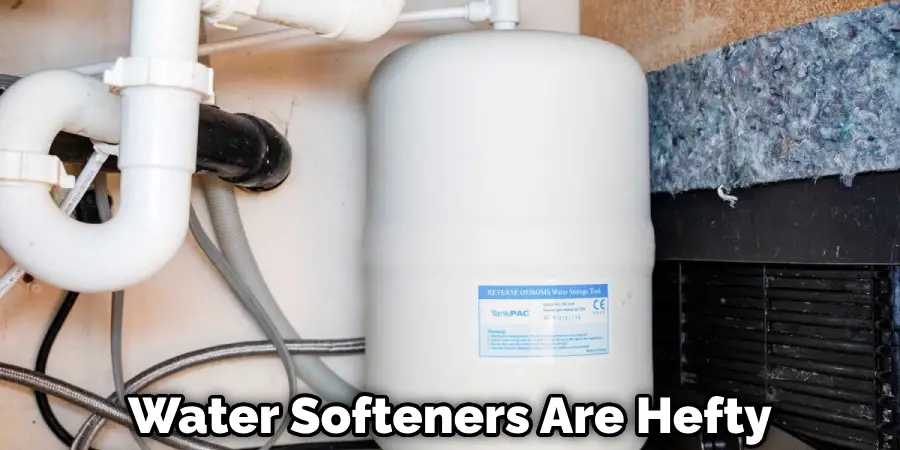
Security should never be compromised when installing a water softener in the garage. While water softeners are hefty, it doesn’t make them theft-proof. If your garage is easily accessible from the outside or lacks robust security measures, it could be a risk. Advanced water softeners are an investment, so ensuring they are in a secure space is important.
Accessibility is another crucial aspect to consider. Make sure the water softener is easily accessible for routine maintenance, salt refills, and repairs. Having enough space around the unit will facilitate these tasks and ensure the longevity of the system.
4. Plumbing Considerations
When installing a water softener in the garage, plumbing considerations are essential. The distance from the main water line to the garage is a significant factor in deciding the placement of the water softener. The closer the softener is to the main water line, the more efficiently it can process and supply softened water to every faucet in the house. Additionally, a central location minimizes the need for excessive piping, reducing the chances of leaks and maintenance needs.
If your house is pre-plumbed with a water softener loop, which is becoming increasingly common in newer homes, you have a more obvious location for installation. This pre-plumbed feature specifies the location for connecting the water softener and separates the water flowing within your home from the water going outside. This ensures that you only need to soften the water inside the home, not the water going to the outside faucets.
5. Maintenance and Servicing
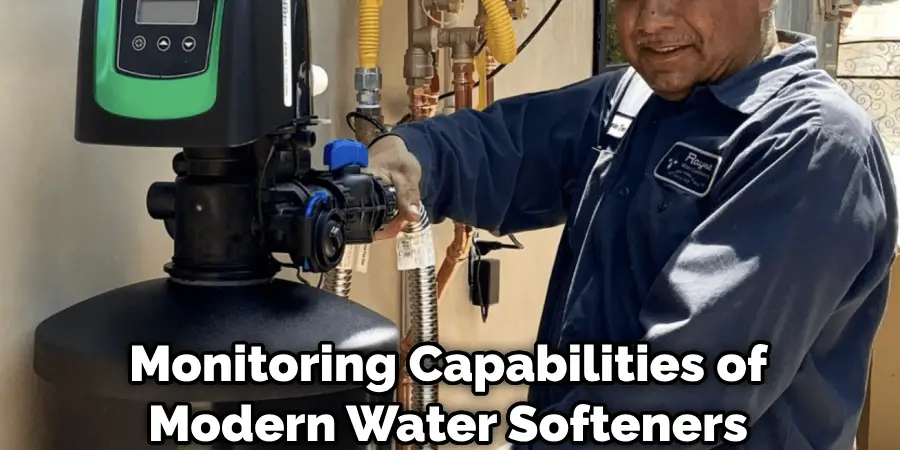
Regular maintenance is crucial for getting optimal performance from your water softener. Monitoring the salt levels and using quality salt enhances the system’s performance and extends its lifespan. Some salts can cause bridging or create mushy situations in the brine tank, affecting the regeneration process of the resin. Having a monitoring system that alerts you to low salt levels can be beneficial in ensuring the proper functioning of the water softener.
Monitoring water quality is also important to prevent unforeseen problems. Hardness levels can vary, and in case of a significant increase, the softener settings might need adjustments. These adjustments are necessary for the softener to be able to work smoothly, leading to efficient softening. Leveraging advanced analytics and monitoring capabilities of modern water softeners can help homeowners make informed decisions and ensure the longevity of their systems.
FAQs About How to Install Water Softener in Garage
Where is the Best Place to Install a Water Softener?
The best place to install a water softener is near the main water line before the water heater. This is typically done in the basement, but it can also be installed in other locations such as the attic, garage, or a dedicated closet. It is important to have access to electricity and drainage near the water softener. If you live in a warm area, outdoor installation is possible, but precautions need to be taken to protect it from the elements. For optimal performance, it is recommended to install a water softener between the water heater and other treatment systems.
Can I Install My Own Water Softener?
Yes, you can install your own water softener if you have moderate plumbing skills or are replacing an old unit. DIY installation is typically less expensive than professional installation and can be done at your own pace. The installation process requires some plumbing knowledge and the proper supplies and tools, such as a pipe cutter for copper piping. It is recommended to install the water softener as close to the entry point for water in the home as possible, preferably before the water heater. This can be done in various locations such as the basement, attic, garage, or dedicated closet. Access to electricity and drainage near the water softener is important. For optimal performance, it is recommended to install a water softener between the water heater and other treatment systems.
Can You Install a Water Softener Without a Floor Drain?
Yes, you can install a water softener without a floor drain. There are several other drainage options available for water softeners, such as using a sump pump, a laundry tray, or a dedicated drain line. It is important to ensure that the drain line is not restricted to prevent resin failure. Additionally, it is recommended to install the water softener as close to the entry point for water in the home as possible, preferably before the water heater. Access to electricity and drainage near the water softener is important for proper installation.
Do Water Softeners Require a Drain?
Yes, water softeners do require a drain. The drain is necessary for the regeneration process and in case of any malfunction that could lead to an overflow situation. Most water softeners require two drain tubes, and it is important to ensure proper drainage to avoid potential hazards. The drain line from the water softener should be emptied into a laundry tray, floor drain, or properly trapped special outlet, with a sufficient air gap. If a floor drain is not available, alternative drainage options such as using a sump pump or a dedicated drain line can be considered.
Conclusion
Installing a water softener in the garage can be a practical solution for homeowners dealing with limited indoor space. However, it’s important to consider various factors such as climate, ventilation, security, and plumbing before making a decision. Understanding the requirements of a water softener and choosing the best location will ensure its efficient operation and longevity.
By following the guidelines provided in this comprehensive guide, you can make an informed decision and proceed with confidence on how to install water softener in garage. Remember to prioritize accessibility, maintenance, and the specific conditions of your garage to ensure the optimal performance of your water softener system.

