Coats of epoxy paint are great for garage floors, but over time, they can take a beating and begin to show wear and tear. You may have noticed small cracks in your garage floor, don’t worry, you can repair them in a few simple steps. how to repair hairline cracks in concrete garage floor.
What Causes Hairline Cracks on Concrete Garage Floors?
Concrete garage floors are a popular choice for many homeowners because of their durability and low-maintenance properties. However, over time, the floor may start to show signs of beating, wear, and tear. This can be caused by a number of factors, including:
- Water damage
- Harsh weather conditions
- Weather extremes
- Accidents
- Regular use can cause tiny cracks to form in the concrete.
8 Easy Step-by-Step Guide for How to Repair Hairline Cracks in Concrete Garage Floor
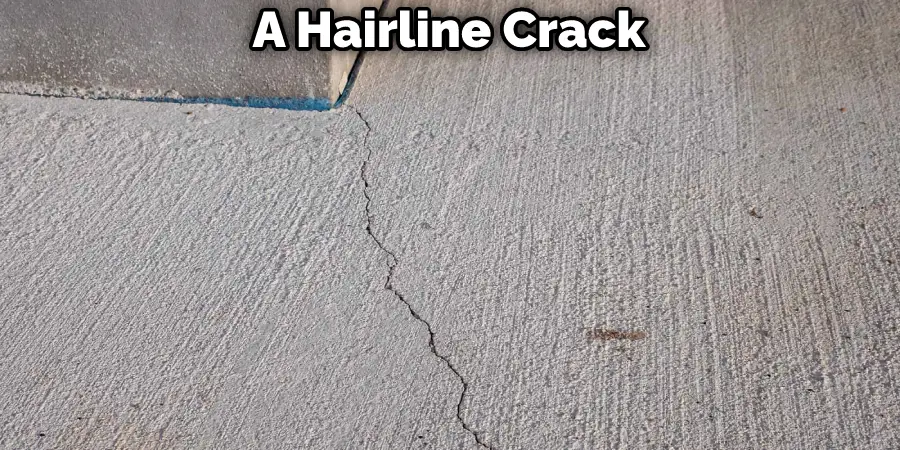
A hairline crack is a small crack in the concrete. It’s a small crack, but it can be a sign of larger problems. If it’s just a hairline crack, you can repair it yourself with items you already have around your house. You can also prevent it from getting any larger by sealing your concrete as soon as you notice it. Following those steps, you can easily repair it yourself.
Tools You’ll Need:
- Epoxy resin
- Use a ruler or a measuring tape
- Cleaner and/or sealant
- Roller and paintbrush
Step 1: Identifying the Source of the Cracks
If you notice any cracks in your concrete garage floor, it’s important to identify the source. This can be a little tricky, but there are a few things you can do to help. First, take a look around your garage and see if you can spot any water damage. If you see any wet spots, it’s likely that water got inside and caused the concrete to start to break down.
Step 2: Assessing the Severity of the Cracks
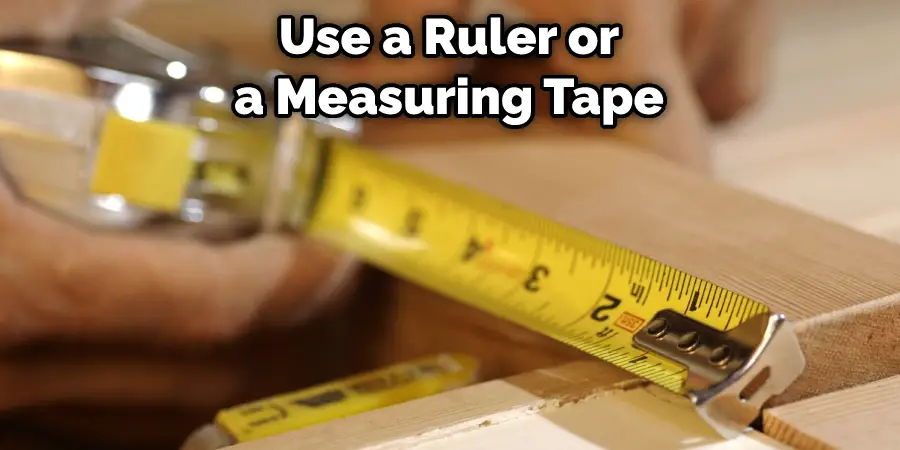
Once you’ve identified the source of the cracks, it’s time to assess the severity. To assess the severity of the cracks, you’ll need to determine how deep they are and how wide they are. You can do this by using a ruler or a measuring tape. If the cracks are more than ¼ inch deep or wide, you’ll need to repair them before they cause any more damage. To repair them, you’ll need to use a concrete repair kit.
Step 3: Cleaning and Preparing the Cracks for Repair
Once you’ve assessed the severity of the cracks, it’s time to clean and prepare them for repair. To clean the cracks, you’ll need to use a concrete cleaner. Make sure to wear gloves and eye protection, and be careful not to get the cleaner inside the cracks. After you’ve cleaned the cracks, you’ll need to prepare them for repair. Remove any dirt or debris from around the crack using a vacuum cleaner. If there’s any loose gravel or sand, use a broom to sweep away any loose particles.
Step 4: Mixing and Pour the Concrete
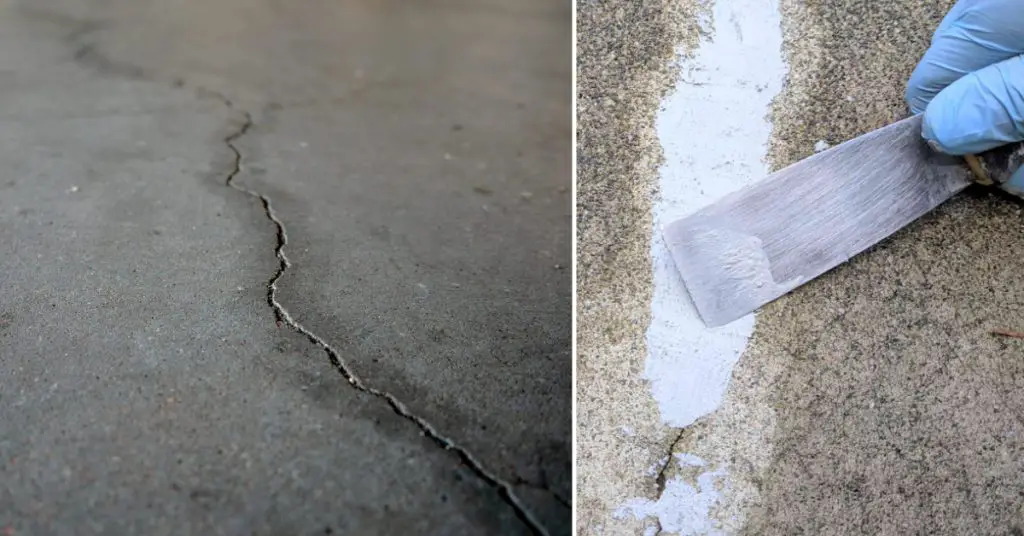
If you’re looking to fix hairline cracks in concrete, epoxy resin is the perfect solution. This product will not only fill up the gap but also seal the surface so water cannot penetrate. Epoxy resin is an adhesive used to fill small gaps and cracks in concrete surfaces. It comes in two forms: liquid and powder. Mix the two together until the mixture has the consistency of thick peanut butter.
Step 5: Filling the Cracks With Epoxy Resin or Other Filler
Use a putty knife to fill the cracks with epoxy resin or other filler. Make sure to fill the cracks completely and press the filler into the cracks with the putty knife. Allow the filler to dry completely before moving on to the next step. Apply a thin coat of sealant over the entire floor. Apply the mixture to the crack by brushing it into place. Let it dry completely before walking on it.
Step 6: Allowing the Repair to Cure
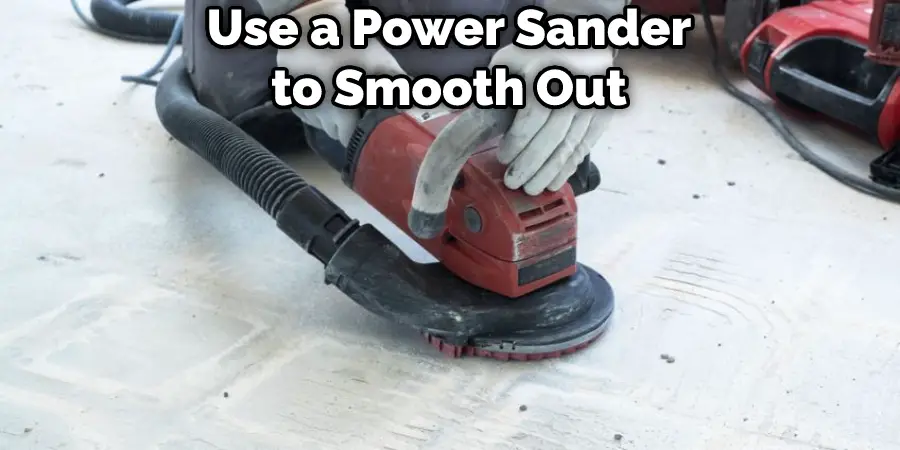
You should let the epoxy cure overnight before walking on it. Once the epoxy has cured, wait at least 24 hours before using the floor again. Driving on the repaired area will likely cause more damage than the crack itself. Once cured, you can use a power sander to smooth out any rough edges. After the repair has cured paint the floor with a sealant or a topcoat of paint.
Step 7: Inspecting the Repair
After the repair has cured, you should inspect it to make sure that the crack is filled and that the epoxy is holding strong. Take a close look at the repair and make sure that there are no gaps or cracks. If everything looks good, you can move on to the next step. If not, you’ll need to repeat the repair process.
Step 8: Maintaining the Concrete Garage Floor
Keeping your concrete garage floor in good condition is important not only for the aesthetic appeal but also for the safety of your family. Keeping the floor clean and free of debris is the first step in keeping it in good condition. You can do this by using a vacuum cleaner to clean the floor every two weeks. Be sure to wear gloves and eye protection, and be careful not to get the cleaner inside the cracks.
You Can Check It Out to Hang Stroller in Garage
Tips/Suggestions for Preventing Future Hairline Cracks in Concrete
Follow these tips/suggestions to prevent future hairline cracks in your concrete garage floor:
- Hairline cracks in concrete are caused by a combination of the elements and the way concrete is made. Properly installing and curing concrete can help prevent cracks.
- Epoxy resin is an ideal choice for repairing hairline cracks in concrete because it’s easy to apply and cures quickly. It’s also waterproof, making it ideal for sealing cracks in concrete garage floors where moisture can cause damage.
- A fast-curing polyurethane, TL-821 is a two-part hybrid that bonds to the concrete to prevent future cracks. It is self-leveling and has a low viscosity, making it ideal for repairing small, hairline cracks. It can be used to repair hairline cracks of up to one inch (25mm) in diameter.
- When repairing hairline cracks in a concrete garage floor, it’s important to choose the right patching material.
- Maintain the surface of the concrete clean and free. For example, you can do this by using a vacuum cleaner to clean the floor every two weeks.
- Hairline cracks in concrete are caused by the garage floor being cold, and being subjected to stress over time. They can be dangerous and can lead to more serious problems.
The Best Way to Prevent Hairline Cracks in Concrete Garage Floors
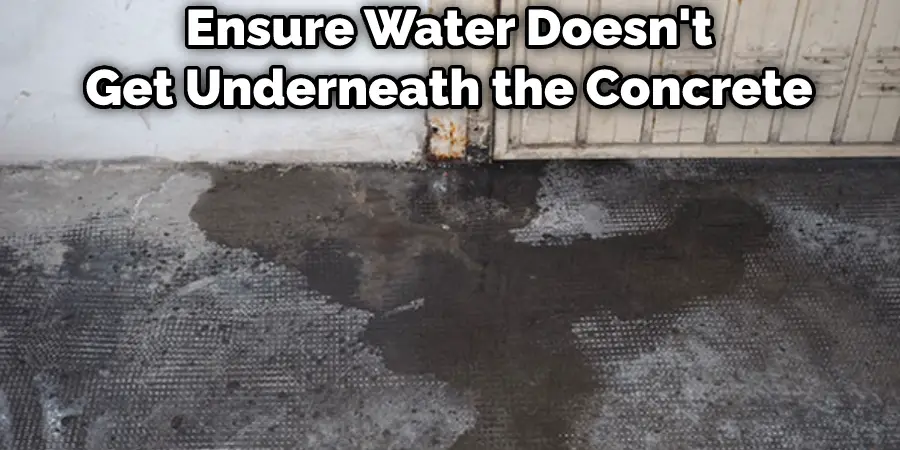
Hairline cracks in concrete garage floors are caused by water expansion. The best way to prevent them is to ensure water doesn’t get underneath the concrete. If it does, then it can expand as it freezes and cracks the concrete. This is why concrete is always sloped so that water can’t get underneath it. Try to keep the concrete clean and free of water and other debris. This will help to prevent hairline cracks in your garage floor.
You Can Check It Out to Repair Salt Damaged Concrete Garage Floor.
Frequently Asked Questions
Will Hairline Cracks in Concrete Get Worse?
Depends. If your foundation is in good shape, and the concrete is poured correctly, cracks are not going to get any worse. If your foundation is in bad shape, or the concrete was done incorrectly, cracks will get worse. If you have cracks in your foundation, it is important to get them fixed as soon as you notice them.
Should You Fix Hairline Cracks in Concrete?
Hairline cracks in concrete don’t sound like much of a problem, but they can cause a lot of trouble. If a hairline crack is left untreated, it can get bigger and bigger over time, eventually splitting the concrete apart. If it’s fixed early enough, all it takes is a little bit of epoxy to seal the crack and stop it from spreading.
Conclusion
After following these instructions, the cracks should be sealed and you should be able to use the garage floor as normal. If you have any questions or concerns regarding the repair please feel free to leave a comment below or contact us. We will try our best to help you out.