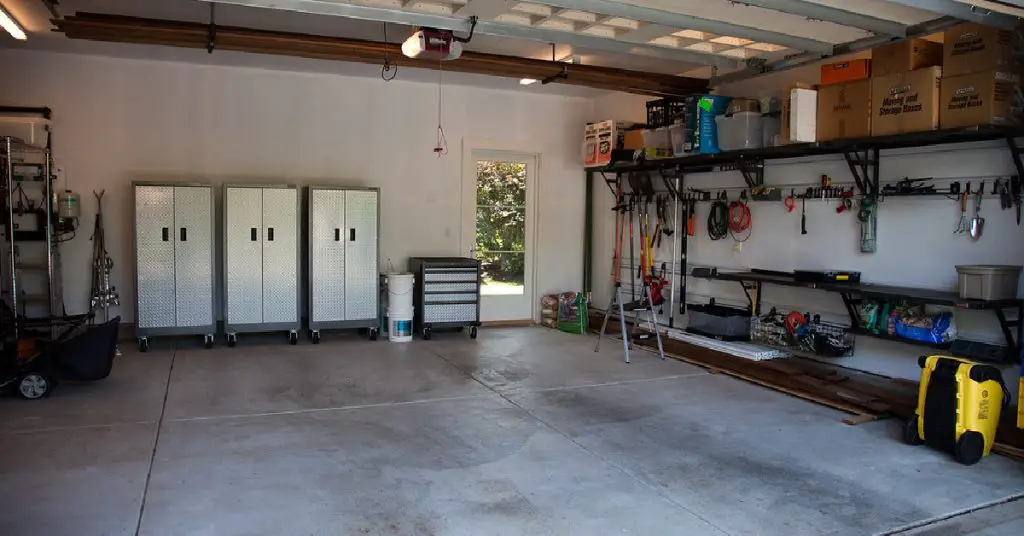
Do you want to run power to your detached garage or shed? You have two options: underground or overhead wiring. Underground wiring is more discreet and durable, but it is also more expensive and difficult. Overhead wiring is cheaper and easier, but it is also more visible and vulnerable. In this article, we will show you how to run overhead electrical wire to garage safely and effectively.
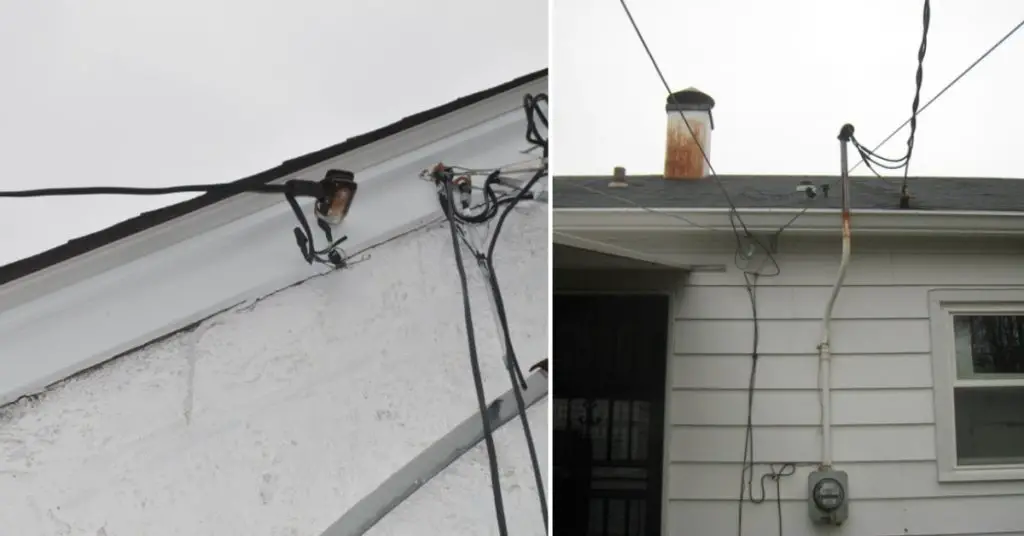
This is a useful skill that can help you enhance your detached building and use it for various purposes. You will learn how to follow the local utility codes and regulations, how to buy the necessary parts and tools, how to set up an aerial wire to garage, how much it will cost and how long it will take, and how to avoid common mistakes and problems. By the end of this article, you will be able to run overhead electrical wire to your garage and enjoy the benefits of having power in your detached building.
Key Takeaways:
- Follow local utility codes and regulations for safety and compliance.
- Carefully plan and prepare for the installation, including necessary parts and tools.
- Consider professional assistance for complex or uncertain situations.
Following the Local Utility Codes and Regulations
Before you start any electrical work, you need to get permission and inspection from the local authorities. They will tell you the codes and regulations that you need to follow for overhead wiring. These include:
- Clearance: The overhead wire must be at a safe distance from any public areas or water sources around your house, such as your driveway, patio, swimming pool, etc.
- Height: The overhead wire must be high enough to avoid any interference or contact with people, vehicles, or objects.
- Location: The overhead wire must be attached to mastheads on your house and garage that are weather-proof, sturdy, and grounded.
If you are unsure about any of these codes or regulations, you should consult with a licensed electrician who can help you plan and execute your project safely and legally.
6 Easy Steps for How to Run Overhead Electrical Wire to Garage
Here are the necessary parts, tools, and steps that you need to follow to set up an aerial wire to the garage:
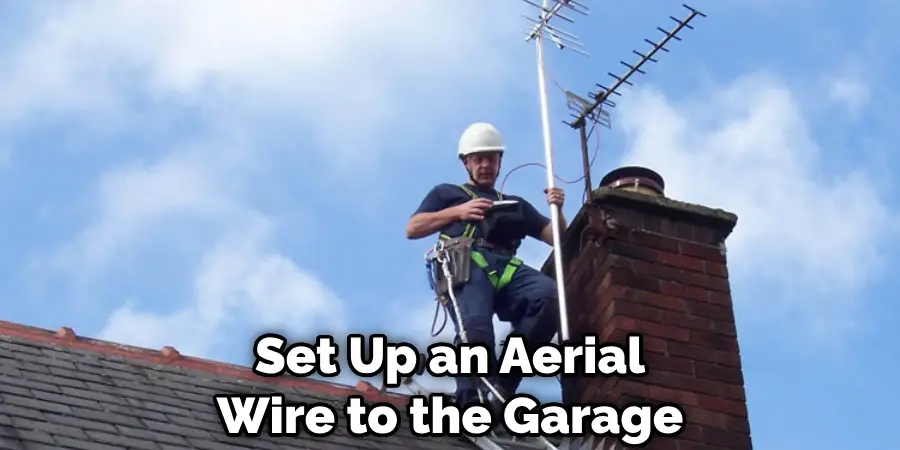
Buying the Necessary Parts and Tools:
To run overhead electrical wire to your garage, you will need these parts and tools:
- Weather-proof mastheads: These are metal fittings that attach the cable to the house and garage.
- Turnbuckles: These are metal devices that adjust the tension of the guy-wire.
- Guy-wire: This is a steel cable that supports the power cable and prevents it from sagging.
- Rigid conduit: This is a metal pipe that protects the power cable from damage or exposure.
- Wiring or cabling: This is the electrical wire that carries the power from your house to your garage.
- Insulation material: This is a material that covers the exposed ends of the wiring or cabling.
- Guy-wire clamps: These are metal clamps that secure the guy-wire to the turnbuckles.
- Cable ties: These are plastic ties that secure the power cable to the guy wire.
- Other tools: You will also need some basic tools such as a drill, a hammer, a screwdriver, a wrench, a hacksaw, a wire stripper, a wire cutter, a level, a tape measure, etc.
You can buy or rent these parts and tools from your local hardware store or online retailer.
Step 1: Ensure the Overhead Cables Don’t Go Over Any Common Service Areas or Water Sources
Measure the distance between your house and garage and mark the locations of the mastheads on both buildings. Make sure that your cables don’t go over any areas or sources that could pose a safety hazard or violate the codes.
Step 2: Attach the Metal Conduit to the House and the Garage Using Mastheads and Turnbuckles
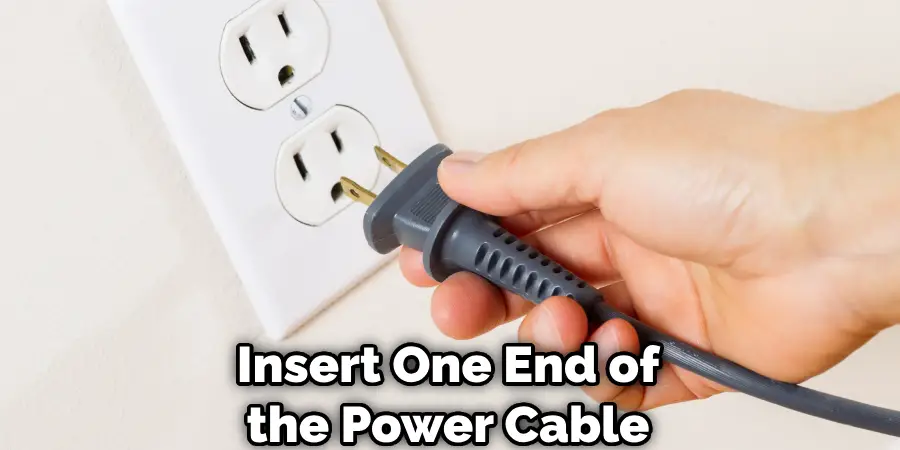
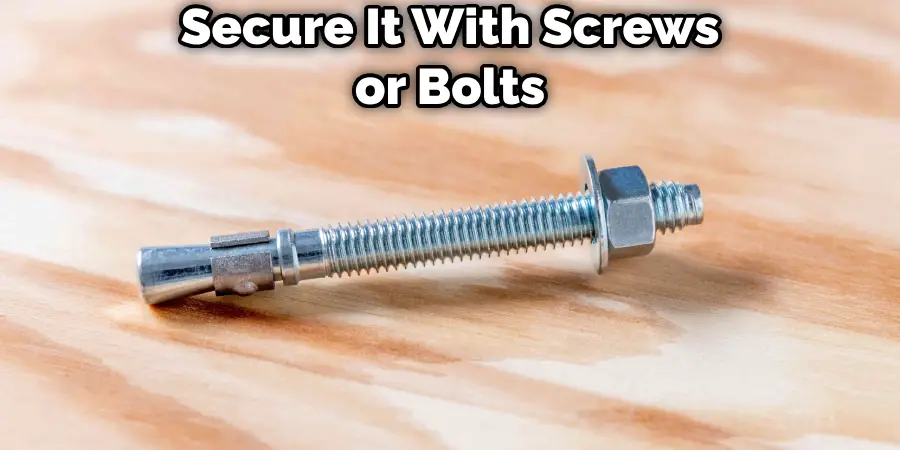
Drill holes in your house and garage walls where you want to install the mastheads. Insert one end of the conduit into the hole in your house wall and secure it with screws or bolts. Insert one end of the power cable into the conduit and pull it through until it reaches the electric box. Attach one masthead to the other end of the conduit using screws or bolts. Attach one turnbuckle to one end of the masthead using hooks or eyes. Repeat these steps for your garage wall and electric box.
Step 3: Run the Guy-wire From One Masthead to Another and Secure It With Clamps
Unroll enough guy-wire to cover the distance between your house and garage plus some extra for adjustments. Cut off any excess wire using a hacksaw or a wire cutter. Insert one end of the guy wire into one turnbuckle and secure it with two clamps. Insert the other end of the guy-wire into another turnbuckle and secure it with two clamps. Adjust the tension of the guy-wire using both turnbuckles until it is tight and straight.
Step 4: Run the Power Cable Through the Conduit and Tie It to the Guy-wire Using Cable Ties
Pull enough power cable through both conduits until it reaches both electric boxes. Cut off any excess cable using a wire cutter. Tie one end of the power cable to one end of the guy-wire using cable ties every few feet. Tie the other end of the power cable to the other end of the guy-wire using cable ties every few feet. Make sure that the power cable is not too loose or too tight on the guy wire.
Step 5: Install a Switch or a Sub-panel in the Garage to Control the Power Supply
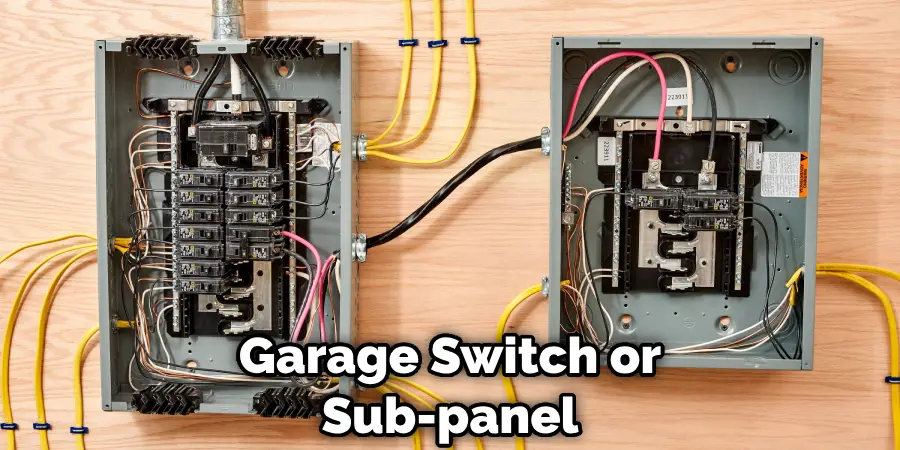
Connect one end of the power cable to the switch or sub-panel using wire nuts or screws. Connect the other end of the power cable to the electric box using wire nuts or screws. Mount the switch or sub-panel on the garage wall using screws or bolts. Cover the electric box with a cover plate using screws or bolts.
Step 6: Connect the Power Cable to the Main Panel in the House Using a 90-degree Plug and a PVC Lb Connector
Turn off the main power in your house using the main switch or breaker. Locate an unused circuit breaker in your main panel that has enough capacity for your garage load. Insert one end of the 90-degree plug into the unused circuit breaker and secure it with screws or bolts. Insert one end of the PVC LB connector into the hole in your house wall where you installed the conduit and secure it with screws or bolts.
Insert the other end of the 90-degree plug into one end of the power cable and secure it with wire nuts or screws. Insert the other end of the PVC LB connector into one end of the conduit and secure it with screws or bolts. Turn on the main power in your house using the main switch or breaker. Turn on the switch or sub-panel in your garage using the switch or breaker.
You Can Check It Out to Run a Gas Line to My Garage.
Cost and Time Estimates
The cost and time of running overhead electrical wire to your garage depend on several factors, such as:
- The distance between your house and garage.
- The obstacles or challenges that you encounter.
- The parts and tools that you use.
- The labor that you hire.
However, here are some rough estimates that can give you an idea:
Cost
The average cost is between $500 and $1000, including:
- $100-$200 for parts and tools.
- $200-$400 for tools.
- $200-$400 for labor.
Time
The average time is between 4 and 8 hours, including:
- 1-2 hours for planning and preparation.
- 2-4 hours for installation.
- 1-2 hours for connection.
3 Additional Tips and Considerations
Here are some additional tips and considerations that can help you with your project:
1. Selecting appropriate wire sizes for breakers in your garage
The size of the wire depends on the voltage and amperage that you need for your appliances and equipment. The higher the voltage and amperage, the thicker the wire. You also need to match the wire size with the breaker size in your main panel and your garage switch or sub-panel.
2. Using conduits for safety, including rigid metal conduits
Conduits protect your power cable from damage or exposure. You should use conduits for both underground and overhead wiring. For overhead wiring, you should use rigid metal conduits that are weather-proof, sturdy, and grounded.
3. Professional assistance and resources available
Running overhead electrical wire to your garage is not a simple or easy task. It requires a lot of planning, preparation, installation, and connection. It also involves a lot of safety and legal issues that you need to be aware of and follow. If you are not confident or experienced in doing this project, you should seek professional assistance from a licensed electrician or contractor who can help you with the design, execution, and inspection of your project. You can also find online resources such as videos, tutorials, guides, and forums that can provide you with more information and advice.
You Can Check It Out to Add Subpanel in Garage.
FAQs About How to Run Overhead Electrical Wire to Garage
What Type/Kind of Wire is Used for Overhead?
The types/kind of wires commonly used for overhead power lines include all-aluminum conductors (AAC), all-aluminum alloy conductors (AAAC), aluminum conductor steel-reinforced (ACSR), aluminum conductor steel-supported (ACSS), and T-2® twisted pair AAC and ACSR.
Can I Run Electrical Wire Overhead?
Yes, it is possible to run electrical wire overhead in certain situations. Running electrical wire overhead involves installing the wire above ground level, typically using poles or other support structures.
Are Overhead Power Lines High-voltage?
Yes, overhead power lines are typically high-voltage transmission lines used to transmit electrical energy over long distances.
What is the Voltage of Overhead Electrical Wire?
Overhead electrical wires can have varying voltages depending on the application and power system. They are classified into different voltage ranges, including low voltage (LV), medium voltage (MV), high voltage (HV), extra high voltage (EHV), and ultra-high voltage (UHV). Today, overhead lines are operated at voltages exceeding 765,000 volts between conductors. The specific voltage used for overhead electrical wires depends on the power system and network requirements.
Conclusion
Running overhead electrical wire to your garage can be a great way to add power to your detached building and use it for various purposes. However, it is also a complex and challenging project that requires a lot of planning, preparation, installation, and connection. It also involves a lot of safety and legal issues that you need to be aware of and follow.
We hope that this article has helped you understand how to run overhead electrical wire to garage safely and effectively. If you have any feedback, questions, or experiences to share with us, please leave a comment below. We would love to hear from you. Thank you for reading our guide on how to run overhead electrical wire to garage and happy wiring!

