When it comes to having a detached garage, one important consideration is getting plumbing to it. Whether you need to add a sink, toilet, or shower to your garage, running plumbing lines from the main house can be complex and time-consuming. However, with the right planning and preparation, it is possible to run plumbing to a detached garage and make it fully functional.
This blog post will provide a step-by-step guide on how to run plumbing to a detached garage. From planning the plumbing route to installing fixtures, insulation, and ventilation, we will cover all the important aspects of this process. By the end of this guide, you will clearly understand what it takes to run plumbing to a detached garage and be well-prepared to tackle this project.
Key Takeaways:
- Plan the plumbing route carefully
- Excavate a trench for pipes
- Install fixtures, insulation, and ventilation
- Consider factors like depth, materials, and local regulations
- Hire a professional plumber for complex tasks
Things to Consider When Running Plumbing to Your Detached Garage
There are several factors to consider when running plumbing in a detached garage. Here are some of the most important factors to keep in mind:
- The depth and garage foundation: The depth at which the pipes are installed can impact the overall cost and complexity of the project. The garage’s foundation can also impact the installation process and the type of pipes used.
- Pipes material: The type of pipes used can affect your plumbing system’s durability, cost, and lifespan. There are several different materials, including copper, PVC, and PEX.
- The garage layout: The garage’s layout can affect the location of the plumbing fixtures and the project’s overall cost. For example, additional excavation and grading may be necessary if the garage is on a slope.
- Installation of a ventilation system: As mentioned earlier, proper ventilation is important to prevent the buildup of harmful gases. A licensed plumber can help determine the best ventilation system for your garage.
- Permitting requirements: Depending on where you live, there may be permitting requirements that you need to follow when installing plumbing in a detached garage. Research and follow these requirements to avoid any potential legal issues.
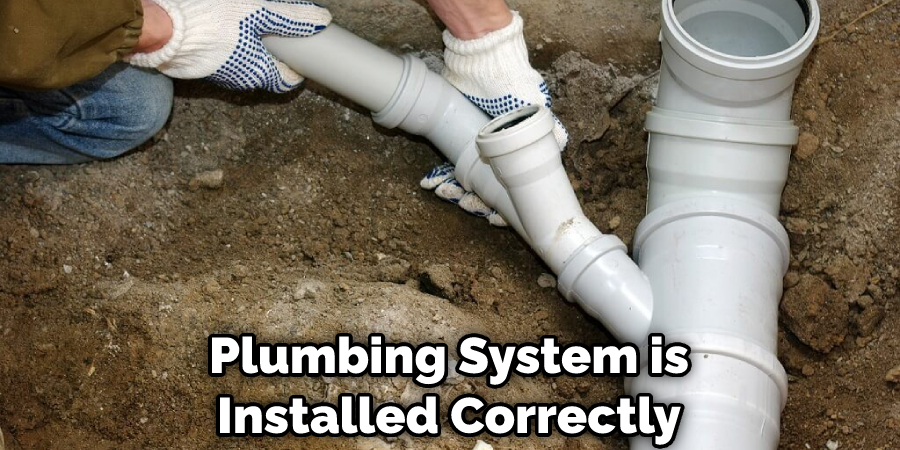
Overall, running plumbing to a garage can be a complex and costly project. It’s important to consider all of the above factors to ensure that your plumbing system is installed correctly and functions properly for years to come. A licensed plumber can help you navigate these factors and ensure your project succeeds.
You Can Check It Out to Run Overhead Electrical Wire to Garage.
4 Step-by-Step Guide on How to Run Plumbing to a Detached Garage
Here are the 4 steps to follow when running plumbing in a detached garage:
Step 1: Planning the Route
The first step in running plumbing to a detached garage is to plan the route that the plumbing will take from the main house to the garage. It is essential to ensure the plumbing system does not trespass on neighboring properties or rights-of-way. If you want to ensure the most successful outcome, it is advised to enlist the services of a professional surveyor to assist in planning your route. A surveyor can help you avoid potential legal issues and ensure that the plumbing is installed safely and correctly.
Before hiring a surveyor, it’s important to know where you want the plumbing installed in the garage. Think about what plumbing fixtures you will be installing and where they will be located. This will help you determine the best route for the plumbing lines.
Once you have an idea of the desired route, a surveyor can help you ensure that the route is feasible and meets all legal requirements. They can provide you with a detailed plan that outlines the best way to run the plumbing from the main house to the detached garage. By working with a surveyor, you can ensure that the plumbing is installed safely and in compliance with local regulations, giving you peace of mind that your plumbing installation is done correctly.
Step 2: Excavating the Trench
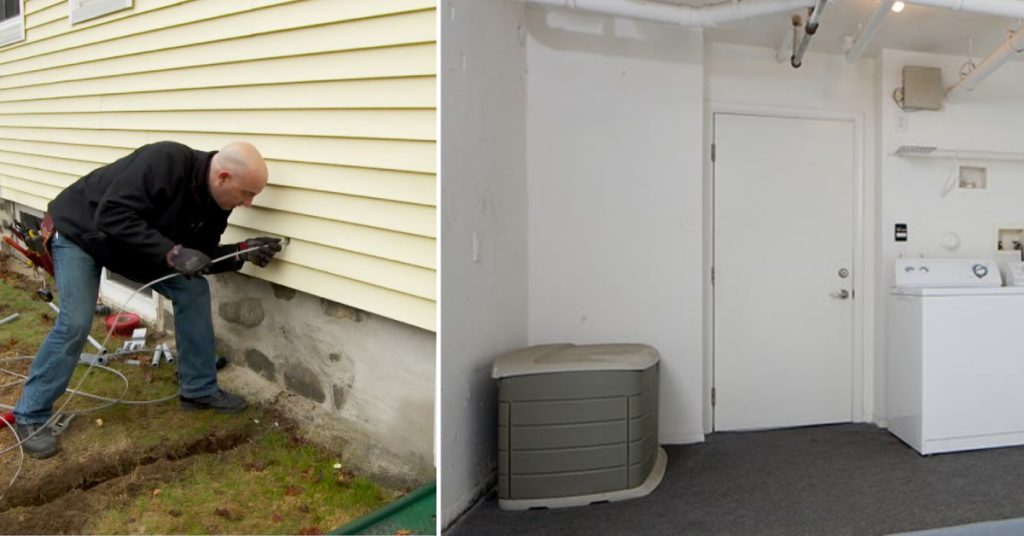
Once you have a plan for the route of your plumbing, the next step is to excavate a trench for the plumbing lines. This can be challenging and time-consuming, so it’s important to hire a professional plumber with a permit to ensure that the job is done correctly and safely.
The plumber will begin by marking out the route of the trench, ensuring that it matches the plan created by the surveyor. Depending on the local code requirements, they excavate the trench to the correct depth, typically around 18-24 inches deep. The trench will need to be wide enough to accommodate the plumbing lines and any insulation or protective covering that may be required.
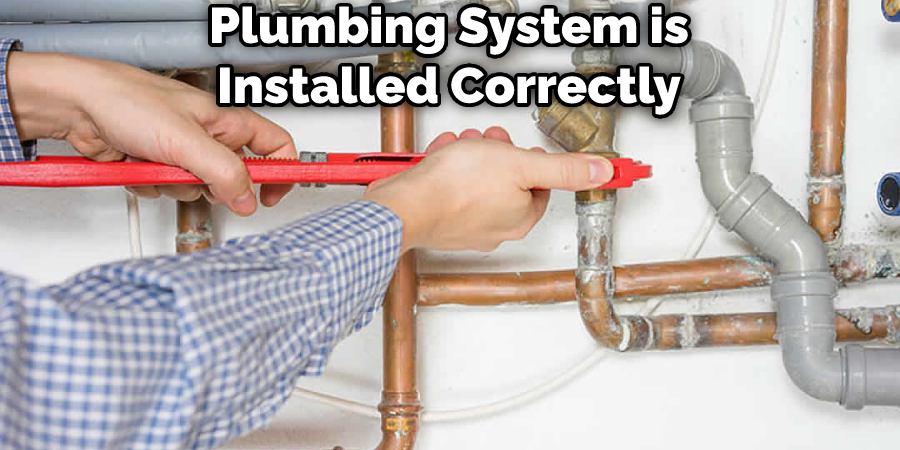
After the trench is excavated, the plumber will install a layer of gravel at the bottom of the trench. This helps to provide a stable base for the plumbing lines and improves drainage. The plumbing lines will then be installed, with each line section securely connected to the previous section. It’s important to ensure that the plumbing lines are installed with the proper slope to ensure proper drainage.
Once the plumbing lines are installed, the trench will be backfilled and compacted to prevent settling. The plumbing lines will then be tested for leaks and proper drainage to ensure they function correctly.
Excavating a trench for plumbing lines can be a complex and challenging task. Still, with the right equipment, knowledge, and experience, a professional plumber can ensure it’s done safely and correctly. This step is critical to the overall success of your plumbing installation, so it’s important to hire a professional plumber to ensure that it’s done right.
Step 3: Cutting Openings and Installing Plumbing Fixtures
With the trench in place, the next step is to cut openings in the walls of the house and garage through which the plumbing lines will run. This can be a complex task and should only be done by a licensed plumber.
The plumber will determine the best location for the plumbing fixtures based on the garage’s layout and the homeowner’s needs. They will then cut holes in the garage and house walls to allow the plumbing lines to pass through. The next step is to install the plumbing fixtures, which may include sinks, toilets, showers, or other appliances. The plumber will connect the plumbing lines to each fixture and install the necessary valves or other components.
It’s important to ensure that all plumbing fixtures are installed correctly and securely to prevent leaks and other issues. The plumber will test each fixture to ensure its functioning properly and make any necessary adjustments. Finally, the plumber will install any necessary ventilation components, such as vent pipes or fans, to ensure that the plumbing system is properly vented and functioning correctly.
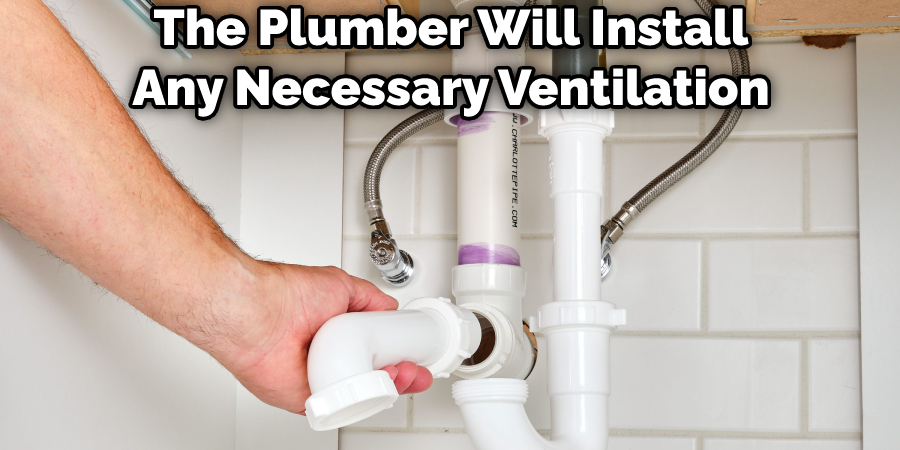
Cutting openings and installing plumbing fixtures requires a high level of expertise and experience, so it’s important to hire a licensed and experienced plumber to ensure that the job is done correctly. With the right knowledge and equipment, a professional plumber can ensure that your plumbing system is installed safely and properly for years to come.
Step 4: Insulation and Ventilation
After the plumbing fixtures are installed, it’s important to insulate the pipes and ensure proper ventilation. Insulation helps to prevent heat loss and can also help to prevent the pipes from freezing during the winter months. On the other hand, proper ventilation helps to prevent the buildup of harmful gases, such as carbon monoxide, which can be dangerous to your health.
The plumber will wrap each pipe with insulation material to insulate the pipes. The insulation can be made from various materials, including fiberglass, foam, or rubber. The insulation material will depend on the type of pipes and the climate in which you live.
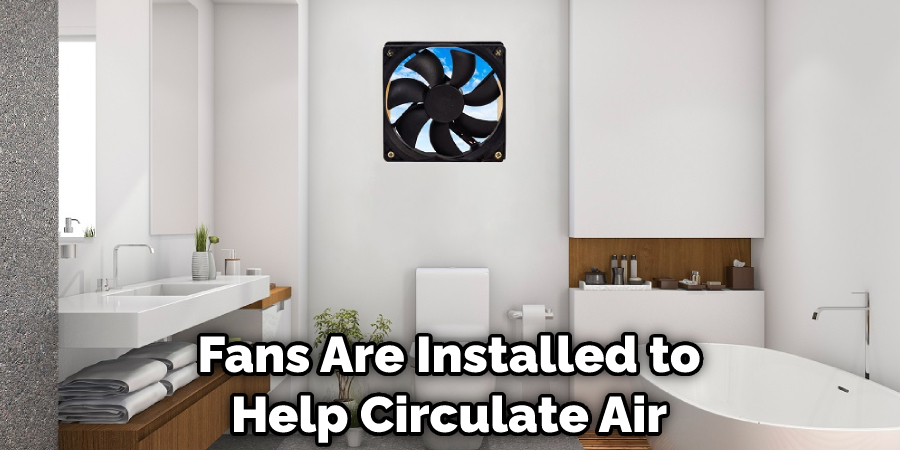
Proper ventilation can be achieved through the use of vent pipes or fans. Vent pipes are installed to allow air to flow through the plumbing system and prevent the buildup of harmful gases. Fans are installed to help circulate air and remove moisture from the air. This can be particularly important in a garage, where moisture can build up and cause damage to your belongings.
It’s important to ensure that the insulation and ventilation are installed correctly to prevent any potential issues with your plumbing system. A licensed plumber can help ensure that the insulation and ventilation are installed correctly and properly.
In conclusion, insulation and ventilation are important steps in plumbing a detached garage. Proper insulation can help to prevent heat loss and freezing pipes, while proper ventilation can help to prevent the buildup of harmful gases and moisture. A licensed plumber can help ensure that the insulation and ventilation are installed correctly and properly.
You can also check out Build a Grow Room in a Garage.
FAQs About How to Run Plumbing to a Detached Garage
Can You Add Plumbing to a Detached Garage?
Yes, it is possible to add plumbing to a detached garage. However, it requires careful planning and excavation of a trench to install the necessary plumbing lines. The cost to add plumbing to a detached garage can vary depending on the distance from the main house and the job’s complexity. Hiring a professional plumber with a permit to handle the installation is recommended. Additionally, it is important to consider any necessary permits and zoning requirements before beginning the project.
Can You Put a Bathroom in a Garage?
Yes, it is possible to put a bathroom in a garage. However, the cost and feasibility of the project depend on factors such as the distance between the house and garage, the size of the bathroom, and local building codes. A basic bathroom can range from $3,000 to $6,000, with plumbing costs potentially adding to the total cost if the garage is located more than 10-20 feet away from the house. Before beginning the project, it is important to check local laws and zoning regulations.
Conclusion
In conclusion, running plumbing to a detached garage can be a complex project that requires careful planning and execution. However, by following the steps outlined in this guide and working with a licensed plumber, you can ensure that the project is completed safely and effectively. Remember to plan the route of your plumbing carefully, excavate the trench, cut openings and install plumbing fixtures, insulate and ventilate the space, and consider important factors such as depth, insulation, and water pipe material.
If you’re planning to use your detached garage as a living space or workshop, consider adding a bathroom, which can add value and convenience. Planning and executing your project carefully allows you to create a functional and comfortable space that meets your needs for years to come.

