Adjusting key components of your Chamberlain garage door opener is crucial to ensuring safe operation, proper function, and long-term reliability. This comprehensive DIY guide will walk you through the entire process step-by-step of how to adjust chamberlain garage door opener.
Key Takeaways:
- Identify model-specific adjustment methods.
- Locate manual screws or motor unit buttons.
- Set open and close travel limits.
- Adjust force limits to trigger the automatic reversal.
What is Chamberlain?
Chamberlain is a leading manufacturer of garage door openers and accessories. It offers a variety of garage door openers to suit different needs and preferences. Some of the main types of garage door openers are:
- Belt drive: These use a rubber belt to move the door. They are quiet, smooth, and durable.
- Chain drive: These use a metal chain to move the door. They are strong, reliable, and affordable.
- Smart: These use Wi-Fi or Bluetooth to connect to your smartphone or other devices. They allow you to control and monitor your garage door from anywhere.
- Wall mount: These are mounted on the wall next to the door. They save space, eliminate noise and vibration, and offer better security.
You can find out more about Chamberlain products and features on their website.
8 Easy Steps for How to Adjust Chamberlain Garage Door Opener
Here is an eight step-by-step guide on how to adjust Chamberlain garage door opener:
Step 1: Identifying Model-Specific Adjustment Methods
The exact adjustment method depends on the specific model of Chamberlain opener you have:
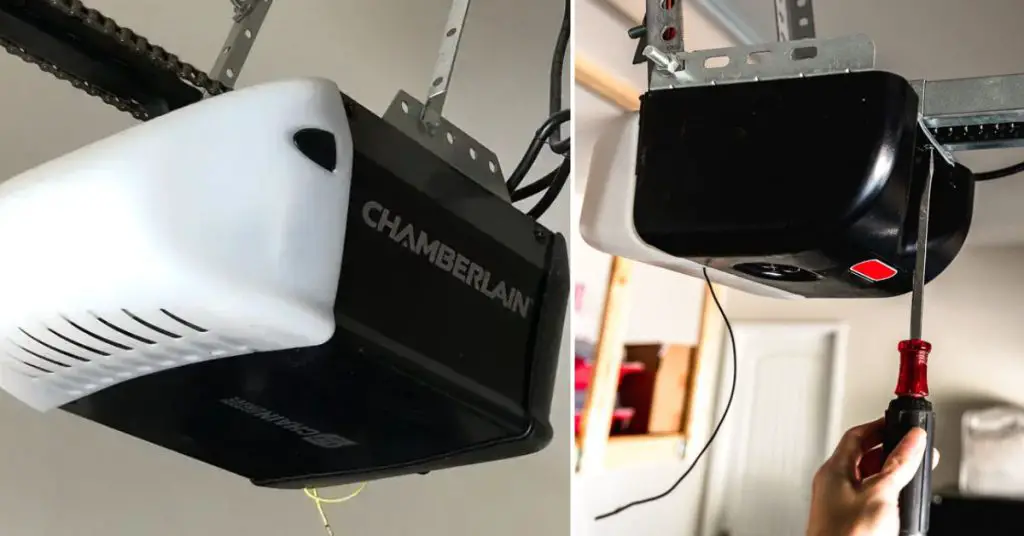
- Newer 2022+ models utilize buttons on the motor unit to program limits. Refer to Chamberlain’s video for your model.
- Openers with a yellow “Learn” button require using the learn and up/down buttons to set limits. Again, consult model-specific tutorial videos as needed.
- Older models have manual adjustment screws that must be turned with a screwdriver to set travel and force limits.
Step 2: Accessing the Adjustment Screws and Buttons
To start, locate the various adjustment components on your opener:
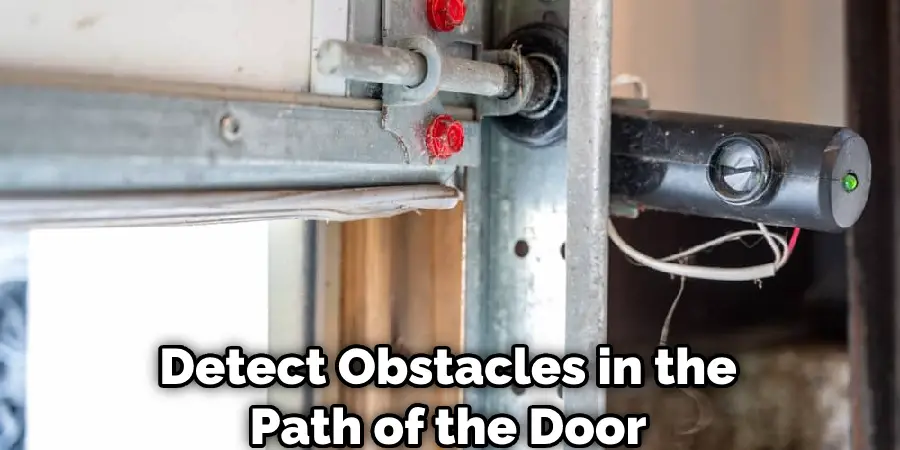
- Travel limit adjustment screws – Located on the side of the motor unit, they control how far the door opens/closes.
- Force adjustment screws – Found on the back of the motor, they adjust sensitivity for automatic reversal when obstructed.
- For newer models, control buttons can be found on the back/side of the motor unit. Check the model instruction manual.
Use a flathead screwdriver (if manual screws are present) or reference video instructions (for push buttons) before proceeding.
Step 3: Adjusting the Travel Limits
Travel limits regulate the stop points when opening and closing your garage door.
To Increase Travel: Turn screws counterclockwise | Press relevant buttons
To Decrease Travel: Turn screws clockwise | Press relevant buttons
For manual screw models, one full turn adjusts door travel by ~2 inches.
Step 4: Adjusting the Open/Up Travel Limit
- Start with the door fully closed. Use the opener to run the door through the full open cycle.
- If the door does not open to the desired position, adjust the open travel limit as needed per above.
- Re-run the door through multiple cycles to test adjustment. Repeat if required.
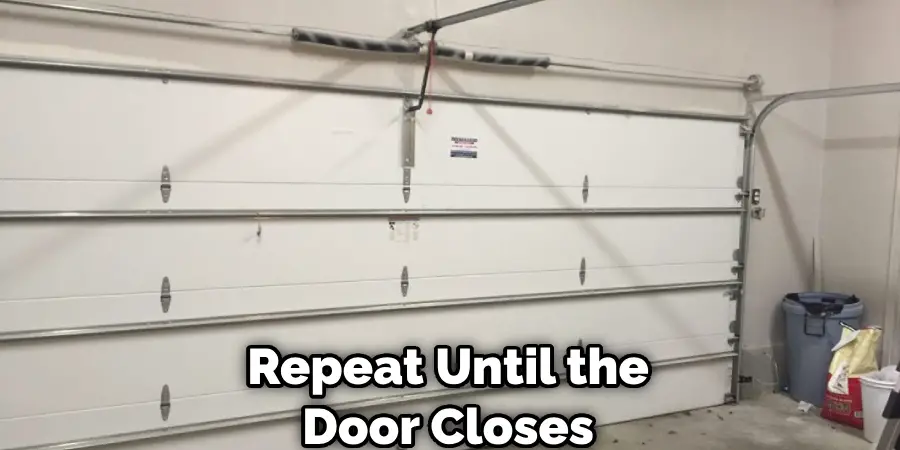
Step 5: Adjusting Close/Down Travel Limit
- Start with the door fully open. Use the opener to run the door through the full close cycle.
- If the door does not close properly to the floor, adjust the close travel limit as directed.
- Re-run the door through multiple cycles to test adjustment. Repeat if required.
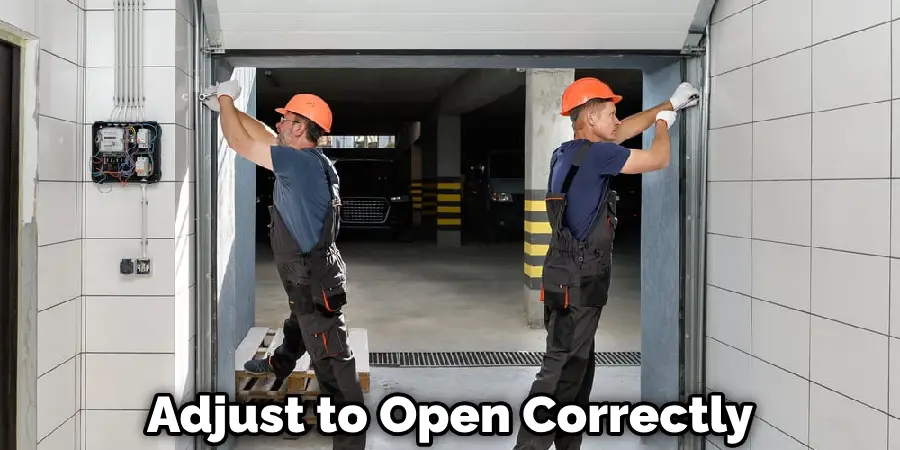
Step 6: Adjusting the Force Limits
Force limits activate the safety reversal mechanism when the door senses resistance/obstruction.
To Increase Force – Turn force screws clockwise
To Decrease Force – Turn force screws counterclockwise
Test force limits carefully after ANY adjustments.
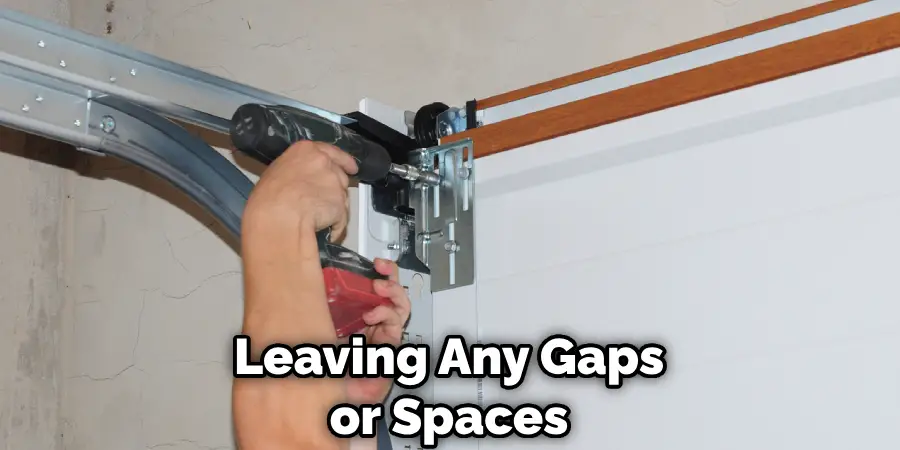
Step 7: Testing the Close/Down Force
- Start with door fully open. Initiate door close cycle.
- When partly closed, obstruct door movement with hand pressure.
- Door should instantly stop and reverse direction.
- If door fails test, decrease down force limit accordingly.
Step 8: Testing Open/Up Force
- Start with door fully closed. Initiate door open cycle.
- When partially open, obstruct door with hand pressure.
- Door should immediately halt movement.
- If door fails test, decrease up force limit accordingly.
Perform multiple obstruction tests during full door cycles. Refine force limits until door reliably passes safety tests.
You Can Check It Out to Change Time on Myq Garage Door Opener.
Troubleshooting Tips and Suggestions
Sometimes, adjusting your Chamberlain garage door opener may not be enough to fix the problem or improve the performance. In that case, you may need to do some troubleshooting or seek professional help.
Here are some troubleshooting tips and suggestions that may help you:
- Check for loose wires or connections: Sometimes, the problem may be caused by loose wires or connections between the opener and the power source, the sensors, or the remote control. You can check for any loose wires or connections and tighten them if needed.
- Reset or reprogram the opener: Sometimes, the problem may be caused by a glitch or error in the opener’s memory or settings. You can reset or reprogram the opener by following the instructions in the user manual or the online support page.
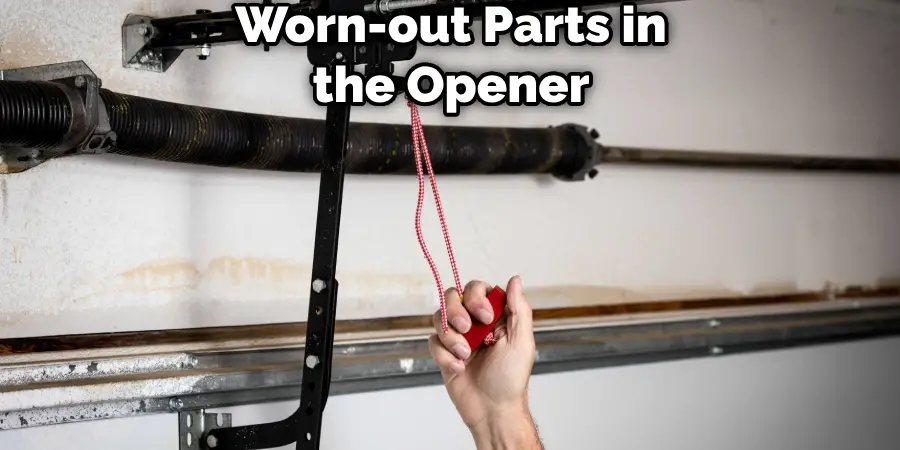
- Replace batteries or parts: Sometimes, the problem may be caused by low battery power or worn-out parts in the opener, the sensors, or the remote control. You can replace batteries or parts if needed by following the instructions in the user manual or the online support page.
If none of these tips work, then you may need to seek professional help from a professional garage door repair service.
You Can Check It Out to Reset Chamberlain Garage Door Opener After Power Outage.
FAQs About How to Adjust Chamberlain Garage Door Opener
What is Limit Adjustment?
Limit Adjustment involves modifying predefined restrictions or conditions to achieve desired outcomes. This term is used in different contexts, such as postal services, where it refers to changing rate limits, online advertising for optimizing bid strategies, and government contracts for adjusting contract terms.
What Are Limits on a Garage Door?
Limits on a garage door are predefined settings that control how far an automatic residential garage door can open or close. These settings ensure safe operation, prevent damage and adhere to industry standards like UL 325 and the International Residential Code. These limits play a crucial role in maintaining the safety and proper functioning of garage door operators.
What is Sensitivity on Garage Door Opener?
Sensitivity on a garage door opener refers to an adjustable feature that determines how the door responds to obstacles while closing. It ensures safety by prompting the door to reverse if it encounters an obstruction, preventing accidents. Homeowners can customize sensitivity settings to enhance safety during garage door operation.
Why is My Garage Door Not Fully Closing?
Your garage door may not be fully closing due to an obstruction in its path, misaligned sensors, incorrect limit settings, damaged springs or cables, or insufficient lubrication. Check for these issues and address them promptly to ensure the door’s proper functionality and safety. If you’re unable to resolve the issue, consider seeking assistance from a professional garage door technician.
Why Doesn’t My Chamberlain Garage Door Opener Work?
If your Chamberlain garage door opener isn’t working, check the power supply, remote control batteries, and for any obstructions. Ensure that the sensor alignment and limit settings are correct, and try operating the door manually. If the issue persists, refer to Chamberlain’s official troubleshooting guide or contact their customer support for assistance.
What is Lock on Chamberlain Garage Door Opener?
The Lock on Chamberlain Garage Door Opener is a feature that allows you to secure your garage door by enabling a lock mode, which prevents the door from being opened or closed using remote controls. This feature enhances the security of your garage.
Conclusion
In this blog post, we have shown you how to adjust Chamberlain garage door opener in eight easy steps. Be patient and test carefully when adjusting your Chamberlain garage door opener. Consult the manufacturer’s instructions for your specific model as methods can vary.
Thank you for reading this blog post. We hope you found it helpful and informative. If you have any feedback or questions, please feel free to leave a comment below. We would love to hear from you.


