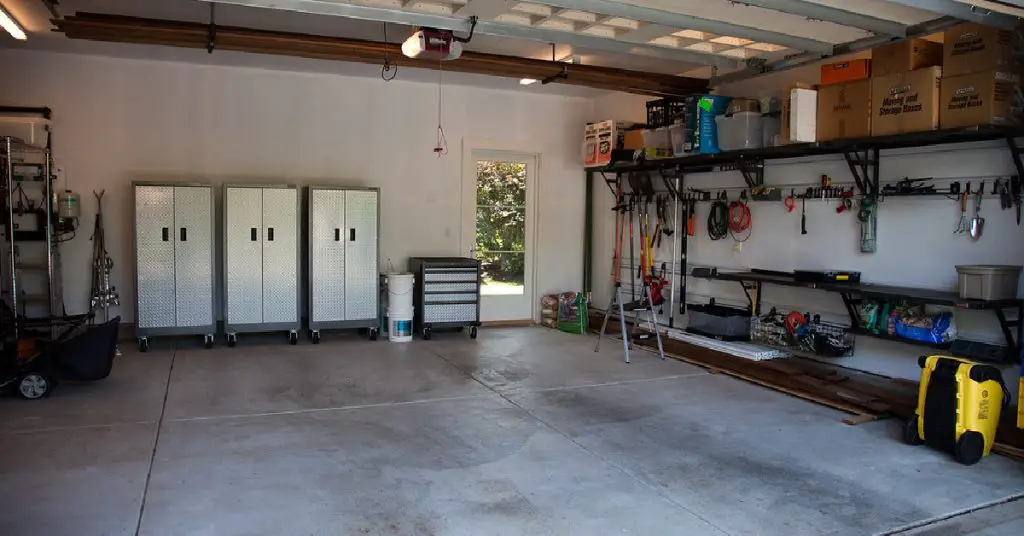
Indoor gardening has gained immense popularity in recent years, and for good reasons. It offers complete control over the environment, from light to temperature, humidity, and nutrients, allowing gardeners to grow their favourite plants all year round. And if you’re looking to take your indoor gardening game to the next level, building a grow room in your garage can be an excellent option.
A garage is typically unused space, and it offers enough room to set up a grow room that can cater to your gardening needs. In this blog, we will explore the web search results and learn step-by-step how to build a grow room in a garage.
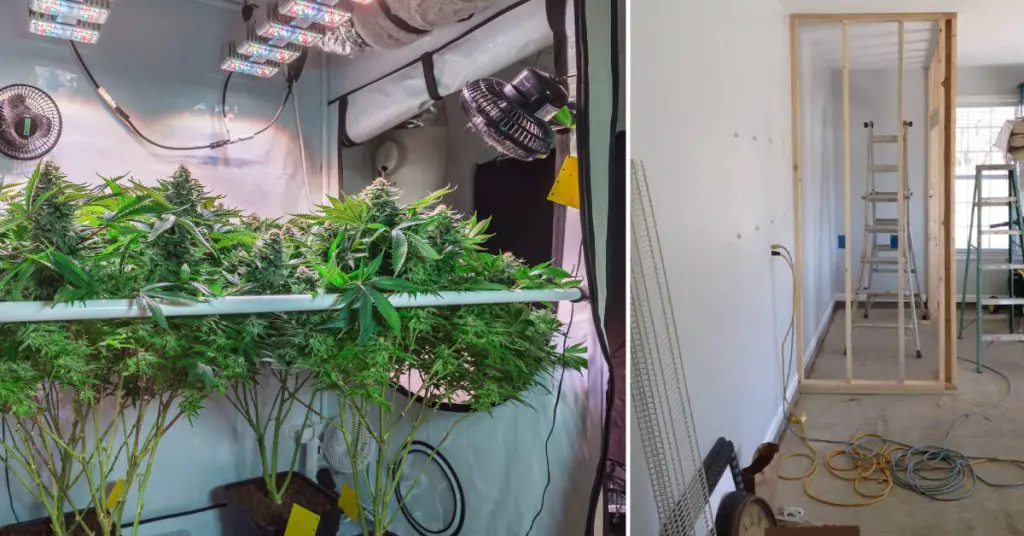
5 Step-by-Step Guide for How to Build a Grow Room in a Garage
Here, we will discuss five steps to building a grow room in a garage:
Step 1: Pick an Ideal Space
The first step in building a grow room in your garage is to choose the right space. You will need to consider the size and location of the area, as well as any other factors that may affect the growth of your plants.
Firstly, you will need to decide on the size of the grow room you want to build. This will depend on the number of plants you want to grow and the space that you have available in your garage. Keep in mind that your grow room will need to accommodate not only the plants but also the necessary equipment such as lighting, ventilation, and water systems.
Once you have determined the size of your grow room, the next step is to choose the exact spot where you will site your grow room. You can convert the entire garage, or partition a space for the grow room. The ideal location will be a well-ventilated area with access to electricity and water. It is also important to ensure that the space is secure and not easily accessible to unauthorized persons.
Other factors to consider when choosing the right space for your grow room include temperature, humidity levels, and lighting conditions. These factors can have a significant impact on the growth and yield of your plants. Make sure that the space is well insulated and that you can control the temperature and humidity levels using the appropriate equipment.

Step 2: Gather Materials and Tools
After you have chosen the right space, it’s time to gather all the necessary materials and equipment for your grow room. Here are some of the most essential items you’ll need:
- Reflective material: To maximize the use of light, you’ll need reflective material that can bounce light back onto the plants. You can use Mylar or white paint for this purpose.
- Ventilation equipment: Your grow room needs proper air circulation to maintain a stable environment. You’ll need an exhaust fan to remove hot air, and an intake fan to bring in the fresh air.
- Grow lights: A high-quality grow light system is essential for growing healthy plants. LED grow lights are energy-efficient and offer full-spectrum light for plants.
- Shelving: You’ll need shelves to hold your plants and equipment. Consider using wire shelves as they are lightweight and easy to clean.
- Containers: Choose pots or containers that are suitable for the size of your plants. You can use plastic, fabric, or clay pots depending on your preference.
- Nutrients: Plants need nutrients to grow healthy and strong. Purchase a high-quality fertilizer that contains all the necessary nutrients for your plants.
- Measuring tools: You’ll need tools to measure temperature, humidity, and other environmental factors. A digital thermometer and a hygrometer are essential tools for monitoring the conditions in your grow room.
Make sure to purchase high-quality equipment that will last you a long time. Don’t skimp on materials or equipment as it could negatively affect the quality of your plants.
Step 3: Prepare the Space
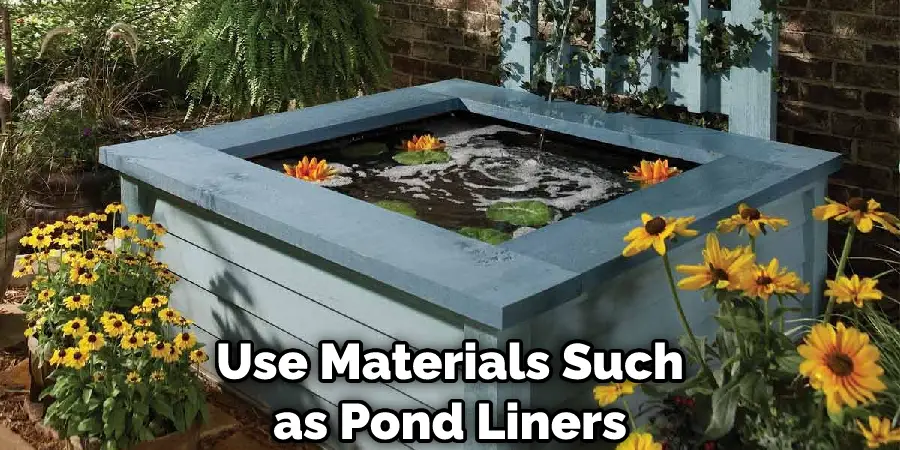
Once you have chosen the right space for your grow room, it’s time to prepare it for the equipment and plants. The first step is to clean out the space thoroughly, removing any debris, dust, or dirt that may be present. Once the space is clean, you should cover the floor with a suitable material such as sealed cement, pond liner, or rubber flooring to prevent any damage from humidity or runoff.

Next, insulate the walls of the grow room to regulate temperature and humidity. There are various insulation materials available, including foam board, reflective foil insulation, and fiberglass. You should choose the material based on your budget and requirements.
After insulation, you need to hang reflective material on the walls to maximize the light output and reflect it back onto your plants. Reflective Mylar is the most popular choice, but you can also use reflective paint or white polyethylene.
Finally, install the ventilation system to keep the grow room’s air circulating, control the temperature, and prevent any buildup of carbon dioxide. You should consider the size of the grow room when choosing a ventilation system, and it should have an intake fan to bring fresh air in and an exhaust fan to push hot air out.
Step 4: Setting up the Grow Room
Once you have prepared the space, it’s time to set up your grow room. The first step is to install the reflective material or paint on the walls, ceiling, and floor. This will help to reflect light back onto your plants, making the most of your grow lights.
Next, install your grow lights, ensuring that they are the correct distance from your plants. You should also set up a timer for your lights so that they turn on and off at regular intervals. This is important to maintain a consistent light cycle, which is crucial for the growth and development of your plants.
After your lights are installed, it’s time to set up your ventilation system. This includes fans, filters, and ducting, which will help to circulate fresh air in and out of your grow room, as well as remove excess heat and humidity. A carbon filter can also be used to remove any odors from your grow room.
Finally, you can set up your plants and irrigation system. Ensure that you have enough space for your plants and that they are evenly spaced to receive adequate light. Your irrigation system should be set up to deliver water and nutrients to your plants at regular intervals, as needed.
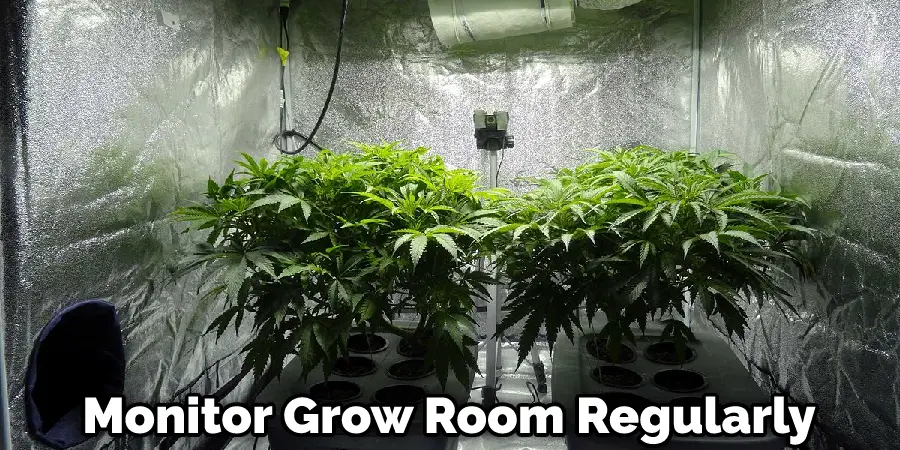
Once everything is set up, it’s important to monitor your grow room regularly to ensure that everything is working correctly. This includes checking the temperature, humidity, and pH levels, as well as checking for any signs of pests or disease. With proper care and maintenance, your grow room can be a productive and rewarding space for growing your own plants.
Step 5: Building the Grow Room
Once you have gathered all the necessary materials and equipment and have prepared the space, it is time to start building your grow room in the garage.
Start by constructing the walls and ceiling of your grow room using wooden frames, insulation, and reflective material or paint. Make sure the walls are completely sealed to prevent light leaks and airflow. Install the electrical outlets and wiring for the grow lights, ventilation, and any other equipment you will be using.
Next, install ventilation equipment, such as the exhaust fan and carbon filter, to ensure proper air circulation and odor control. Place the grow lights in their designated spots and set up the light timer to mimic natural daylight cycles.
Once the grow room is fully built and all equipment is installed, test all systems to make sure they are functioning correctly. Adjust the settings on the ventilation, lighting, and temperature control systems as needed to maintain the ideal environment for your plants.
Finally, place your plants in their designated spots in the grow room and start your growing operation. Monitor the growth and health of your plants regularly, making adjustments to the environment and equipment as necessary to ensure optimal growth and yield.
You Can Check It Out to Build an Underground Garage.
Common Problems With Garage Grow Rooms and How to Avoid Them
Common Problems with Garage Grow Rooms and How to Avoid Them:
- Pest infestations: Observe proper grow room sterilization protocols, quarantine new plants, and thoroughly clean any objects or plants that enter your grow area. Use a spray specifically targeted to the pests.
- Humidity issues: Invest in a humidity controller for the grow room to maintain proper moisture levels at all times. Connect this controller with a dehumidifier/humidifier and set it up so that the machine kicks on when humidity strays from the desired range.
- Fire hazards: Don’t leave any trash lying around, don’t have a bin inside the grow room, and keep the grow room discreet.
- Inefficient insulation: Insulate the garage to control its temperature range and add air conditioning and heat to decrease garage heat in the summer and increase it in the winter.
- Poor flooring: Use materials such as pond liners or rubber flooring to help prevent humidity and runoff damage.
- Inadequate preparation: Disinfect the grow room before and after each grow cycle, keep it regularly clean to prevent mold, fungus, and disease, and notice the early signs of any issues.
Overall, proper planning, preparation, and maintenance are crucial to avoiding common problems with garage grow rooms.
How to Harvest and Dry Your Crop From a Garage Grow Room
Harvesting and drying your cannabis crop from a garage grow room requires proper preparation and attention to detail. Before harvesting, make sure to trim off large fan leaves and inspect your plants for any signs of pests or disease. The optimal time to harvest depends on the strain and can range from 7-14 weeks in bloom. Once harvested, hang your plant’s upside down in a cool, dry, and dark place to dry for 5-14 days.
After the initial drying, trim off any remaining leaves and place your buds in airtight containers for curing. It’s important to monitor the temperature and humidity during the drying and curing process to ensure the best results. Proper cleaning and maintenance of your grow room are also essential for the health of your plants and the quality of your harvest.
What to Do With Your Garage Grow Room After Harvest
After harvesting your plants in a garage grow room, there are a few things you can do to ensure the room is clean and ready for your next grow. Firstly, clean the room thoroughly, including all tools, equipment, and surfaces, and sterilize them with a solution of 91% or greater Isopropyl alcohol diluted 30% with water.
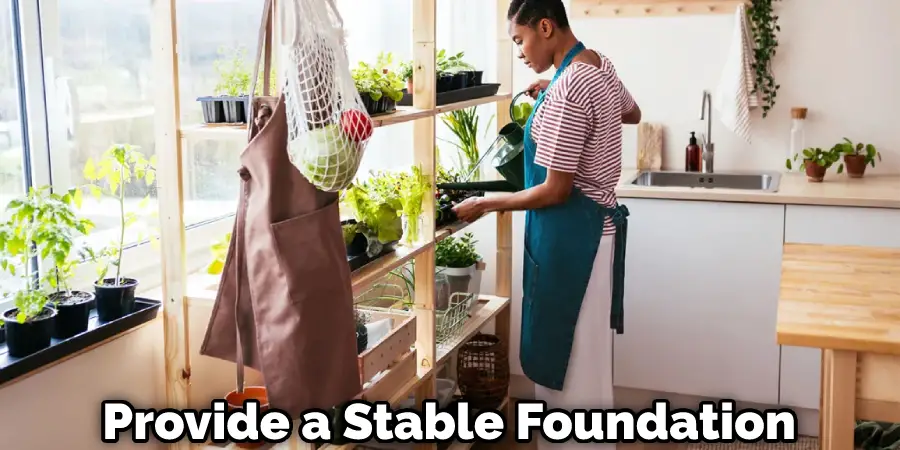
Secondly, seal and store your harvested plants in a cool, dry, and dark place. Finally, attend to the flooring and make sure it is adequately sealed to prevent water buildup and provide a stable foundation for your next growth.
FAQs About How to Build a Grow Room in a Garage
Can You Grow in Your Garage?
Yes, you can grow plants in your garage using various methods such as raised beds, grow shelves, grow boxes, and grow tents. You can also use different types of gardening techniques like soil, aquaponic, and hydroponic gardening for growing plants. However, it is important to ensure proper ventilation and air circulation in the garage for the optimal growth of plants. Additionally, if the garage is being used for other purposes, such as housing vehicles or equipment, it may be necessary to repurpose the space for gardening.
Can I Turn My Garage Into a Greenhouse?
Yes, you can turn your garage into a greenhouse. To do so, you need to make sure the garage stays within the desired temperature range and has a proper organization for your gardening tools. It is important to have enough space for your plants to grow and store your supplies and tools. Good ventilation and proper lighting are also important factors to consider. With careful planning and the right steps, you can have herbs and vegetables available year-round in your garage greenhouse.
What Plants Can Survive in a Garage?
Some plants that can survive in a garage include pot-grown herbs and flowers like rosemary, sage, and chrysanthemum. Snake plants are also known for their toughness and can tolerate lower light levels and cooler temperatures. However, it is essential to provide good ventilation and enough sunlight and water source to ensure the plants’ survival.
Conclusion
In conclusion, while it is possible to grow plants in a garage, it depends on several factors such as the temperature, ventilation, and lighting conditions of the garage. It is important to consider the specific needs of the plants you want to grow and to provide them with the appropriate conditions to thrive. Some plants, such as pot-grown herbs and snake plants, are known to be hardy and can survive in a garage environment. With proper care and attention, it is possible to create a successful garage garden or greenhouse.

