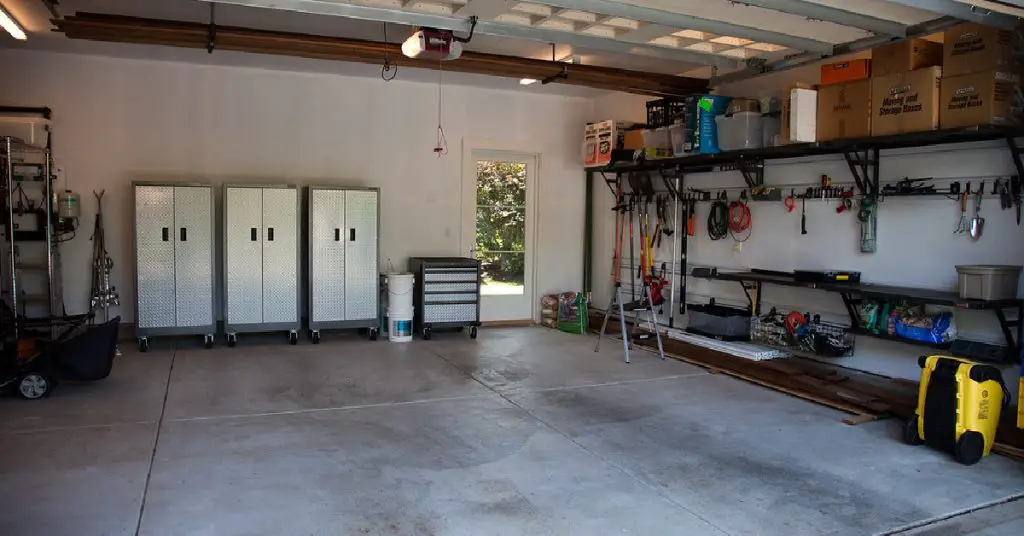
Do you want to give your garage a fresh and new look? Are you tired of seeing dull and dirty walls every time you park your car or store your tools? If you answered yes, then you might want to consider painting your unfinished garage walls. Painting unfinished garage walls is not only a great way to improve the appearance of your garage, but also to protect the walls from damage, and increase the insulation of the garage.
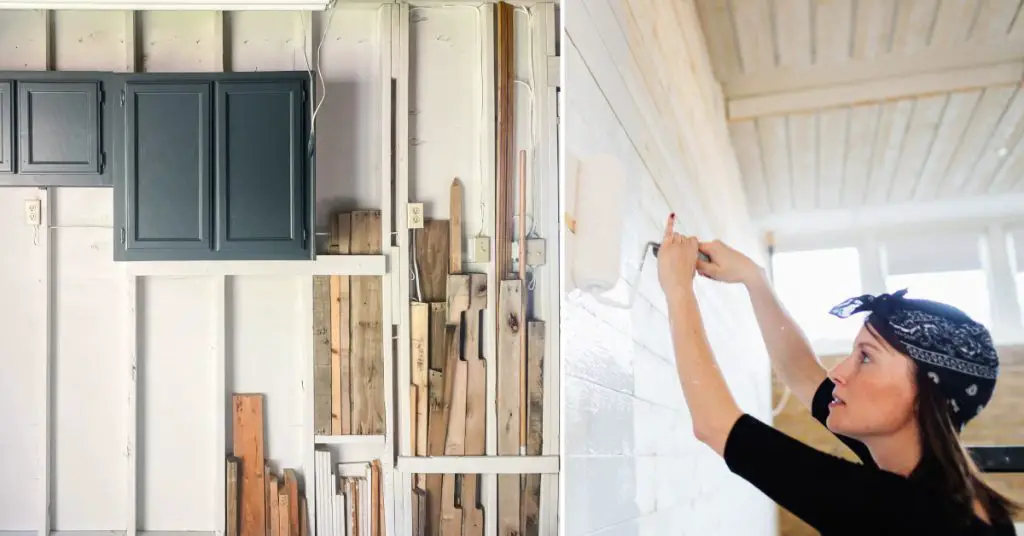
In this article, I will show you how to paint unfinished garage walls in easy and simple steps. I will also provide you with some general tips on choosing the right paint and supplies and preparing the space for painting. By following this guide, you will be able to transform your garage into a more attractive and functional space.
4 Simple Steps How to Paint Unfinished Garage Walls
Here are 4 simple steps on how to paint unfinished garage walls:
Step 1: Choosing the Right Paint and Supplies
Before you paint your garage walls, you need to pick the right paint and tools. There are three kinds of paint you can use: latex, oil, or acrylic. Each one has its own advantages and disadvantages. Here are some things to think about when you choose your paint:
- How long will it last? Oil paint is very strong and can resist stains, scratches, and water. But it is also more expensive, harder to clean, and bad for your health and the environment. Latex paint is cheaper and easier to clean, but it may peel or fade over time. Acrylic paint is a good balance between oil and latex. It is strong, shiny, and good for indoor and outdoor use. But it is also pricey.
- How shiny do you want it to be? Oil paint has a glossy finish that makes the walls look bright and smooth. Latex paint has a matte finish that makes the walls look dull and flat. Acrylic paint has a semi-gloss finish that is somewhere in between.
- Where will you use it? If your garage is attached to your house, you may want to use latex or acrylic paint for your walls. They are better for inside use. If your garage is separate or exposed to harsh weather, you may want to use oil or acrylic paint for your walls. They are better for outside use.
Some good brands or products that I suggest or have used before are:
- Rust-Oleum High Heat Spray: This is an oil spray paint that can handle very high heat. It is good for painting metal things like pipes, radiators, or grills.
- Prestige Exterior Paint and Primer: This is an acrylic paint that works for both inside and outside surfaces. It sticks well, covers well, and lasts long. It also protects against fading, cracking, peeling, and mildew.
- Glidden Exterior Paint and Primer: This is another acrylic paint that works for both inside and outside surfaces. It keeps its color well, resists stains, and protects against weather. It also stops mold and algae from growing.
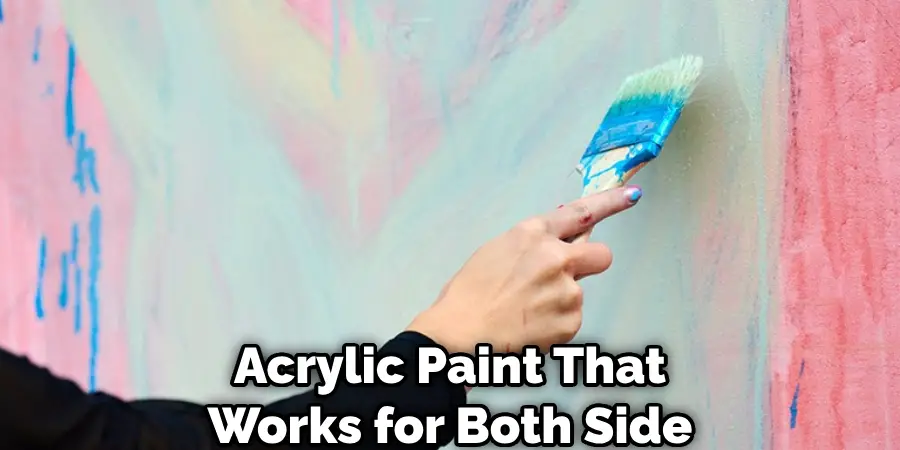
Besides the paint, you also need some tools for your painting project. These include:
- Paint: You need enough paint to cover your garage walls with at least two coats. How much paint you need depends on how big your garage is and what kind of paint you use. A general rule is that one gallon of paint can cover about 400 square feet of wall.
- Primers: You need a primer that is made for unfinished surfaces like concrete or drywall. A primer is a coat that seals the wall and makes the paint stick better. A primer also makes the paint look better and last longer by improving its color and shine.
- Brushes: You need a brush that matches the kind of paint you use. A synthetic brush is good for latex or acrylic paints, while a natural brush is good for oil paints. A brush is useful for painting small or narrow areas like corners, edges, or trim.
- Rollers: You need a roller that matches the kind of paint you use. A synthetic roller is good for latex or acrylic paints, while a natural roller is good for oil paints. A roller is useful for painting large or flat areas like walls or ceilings.
- Trays: You need a tray that can hold enough paint for your roller or brush. A tray helps you spread the paint evenly on your roller or brush without wasting or spilling it.
- Painter’s tape: You need painter’s tape to cover any surfaces that you don’t want to paint, like windows, doors, outlets, switches, or fixtures. Painter’s tape helps you make clean and sharp edges without smearing or bleeding.
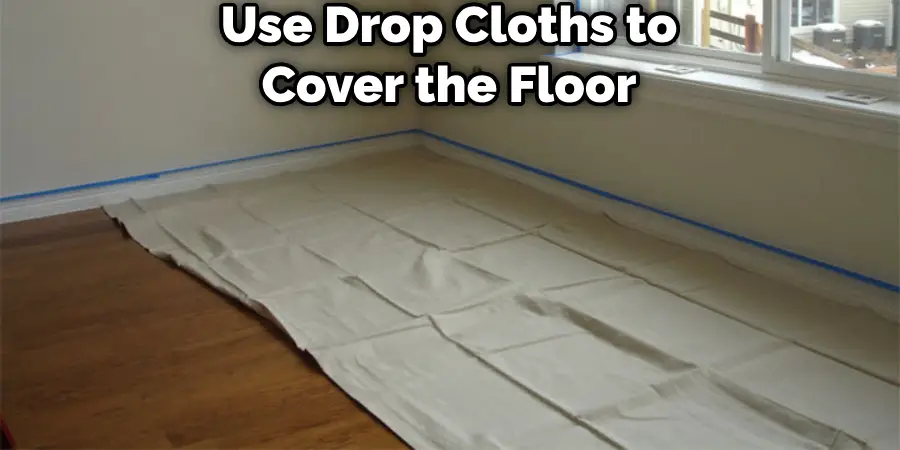
- Drop cloths: You need drop cloths to cover the floor and other items from paint spills or drips. Drop cloths can be made of plastic, canvas, or paper. They help you keep your garage clean and prevent damage to your stuff.
- Ladder: You need a ladder to reach high areas like the ceiling or the top of the walls. A ladder helps you paint safely and comfortably without hurting your neck or back.
- Safety gear: You need safety gear to protect yourself from paint fumes, dust, or debris. Safety gear includes goggles, gloves, and a mask. They help you avoid eye irritation, skin contact, or breathing in harmful things.
Step 2: Preparation for Painting
Once you have chosen the right paint and supplies, you need to prepare the space for painting. This involves clearing the garage space, cleaning the walls, and applying painter’s tape and drop cloths. Here are the steps to follow:
- Clear the garage space: Remove any items that are in the way of your painting project, such as cars, bikes, tools, boxes, or furniture. You can either move them to another location or store them in a corner of the garage. Make sure you have enough space to move around and access all the wall areas.
- Clean the walls: Use a broom, a wet rag, or a pressure washer to remove any dirt, dust, or grime from the walls. Let the walls dry completely before proceeding to the next step. If there are any stains or grease on the walls, you may need to use a degreaser or a stain remover to get rid of them.
- Apply painter’s tape: Use painter’s tape to cover any surfaces that you don’t want to paint, such as windows, doors, outlets, switches, or fixtures. Press the tape firmly along the edges of the surfaces to prevent any paint from seeping under it.
- Apply drop cloths: Use drop cloths to cover the floor and any items that you don’t want to get stained by paint spills or drips. Spread the drop cloths evenly and securely over the area to prevent any gaps or wrinkles.
Step 3: Priming and Painting
After preparing the space for painting, you need to apply primer and paint to the walls. This involves using a roller or a brush to apply thin and even coats of primer and paint and letting them dry between each coat. Here are the steps to follow:
- Apply primer: Use a roller or a brush to apply primer to the walls. Start from the top and work your way down, using smooth and overlapping strokes. Cover the entire wall with a thin and even coat of primer. Let it dry according to the manufacturer’s instructions. Apply a second coat of primer if necessary.
- Apply paint: Choose a good quality latex or oil-based exterior paint for your garage walls. Pick a color that suits your preference and matches your garage decor. Stir the paint well before using it, and pour some into a paint tray. Use a roller or a brush to apply paint to the walls. Start from the top and work your way down, using smooth and overlapping strokes. Cover the entire wall with a thin and even coat of paint. Let it dry according to the manufacturer’s instructions. Apply a second coat of paint if necessary.
Step 4: Maintenance and Tips
After applying primer and paint to the walls, you need to remove the painter’s tape, paper, and drop cloths from the garage. You also need to clean up any spills or drips with a damp cloth or a solvent. Dispose of any leftover paint or primer properly, following the local regulations.
To maintain and clean your painted garage walls, you can follow these tips:
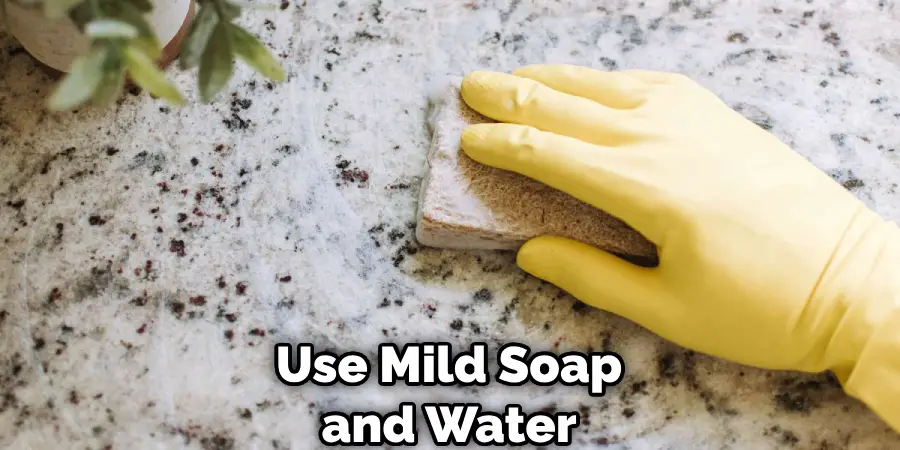
- Wipe them with a damp cloth occasionally to remove any dust or dirt.
- Use mild soap and water for stubborn stains or marks.
- Touch up any scratches or chips with matching paint.
- Avoid exposing them to extreme temperatures or humidity.
FAQs About How to Paint Unfinished Garage Walls
What is the Best Paint for Unfinished Garage Walls?
The best paint for unfinished garage walls is enamel interior paint with a satin or eggshell sheen. Choose latex-based paints for safety and reduced emissions. Avoid using exterior paint indoors due to potential toxicity. Brands like Behr Ultra, Backdrop Premium, Montage Signature, Glidden Premium, and Prestige Paints offer suitable options. Opt for finishes like matte, satin, eggshell, or semi-gloss for durability and cleaning. Proper prepping, ventilation, and applying two coats ensure a quality finish.
Can I Paint My Unfinished Garage?
Yes, you can definitely paint your unfinished garage walls. Opt for specialty paint, oil-based primers, latex paints, and mildew-resistant options. Adding drywall is an option for enhanced durability and insulation. Properly prime the surface, use drop cloths, and apply paint in coats for a polished finish. With the right techniques and suitable paints, you can transform your unfinished garage walls.
Do I Need Primer to Paint Garage Walls?
Yes, using a primer is generally recommended when painting garage walls. Primer ensures proper paint adhesion, improves durability, and helps achieve a smoother finish. It’s especially important for new drywall and surfaces with imperfections or stains. While some discussions mention skipping primer, many experts emphasize its benefits for a successful paint job.
Conclusion
In this article, I have shown you how to paint unfinished garage walls in easy and simple steps. I have also provided you with some general tips on choosing the right paint and supplies and preparing the space for painting. By following this guide, you will be able to transform your garage into a more attractive and functional space. Painting unfinished garage walls is not only a great way to improve the appearance of your garage, but also to protect the walls from damage, and increase the insulation of the garage. You will also add value and style to your home, and enjoy spending time in your garage.
I hope you enjoyed this article and found it helpful. If you have any questions or feedback, please feel free to leave them in the comments section below. Thank you for reading!

