Your garage door is likely the largest moving component in your home, yet it’s often taken for granted until something goes wrong. One of the most common issues is a loose, detached, or broken garage door cable. These cables play a crucial role in the overall door system, so any problems with them can completely prevent your garage door from operating properly.
In this guide, we’ll cover everything you need to know about how to reattach garage door cable, including explaining their function, the tools needed, crucial safety steps, and detailed step-by-step instructions. We’ve also incorporated advice from professional garage door repair experts to ensure you can tackle this project with confidence.
Key Takeaways:
- Understand the types of garage door cables and their functions
- Follow crucial safety precautions to prevent injuries
- Step-by-step instructions for reattaching cables properly
- Know when to call a professional for assistance
- Maintain cables regularly for smooth operation and longevity
Understanding Garage Door Cables and Components
Before we dive into the reattachment process, it’s important to understand how garage door cables fit into the larger system. There are three main types:
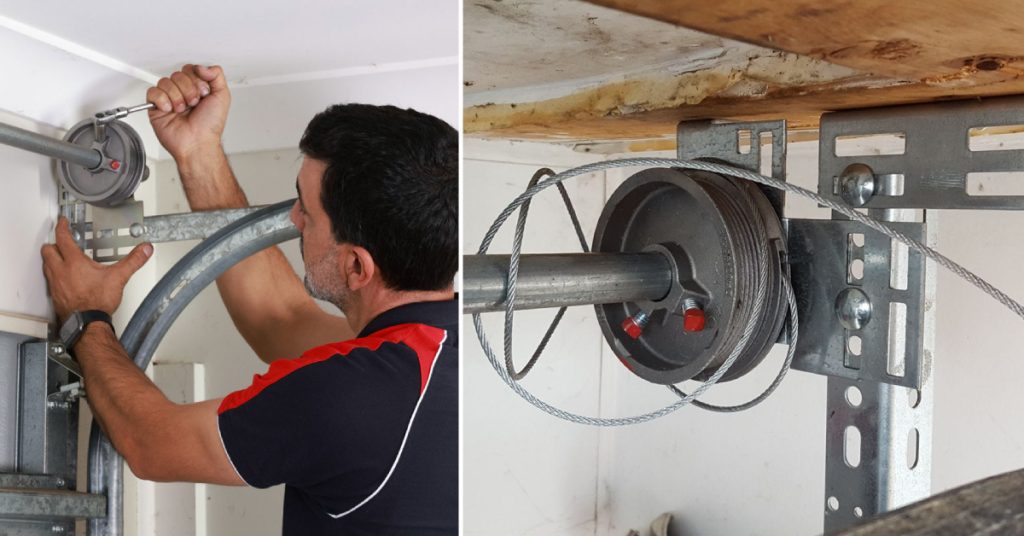
- Torsion Cables: Attached to the bottom of the door and wound around cable drums on a torsion shaft/tube above the door opening. The torsion spring on this shaft works to counterbalance the weight of the door.
- Extension Cables: Used for doors with extension springs running parallel to the horizontal door tracks. One cable attaches to the door while the other threads through the extension spring itself.
- Safety Cables: Run through the extension springs to contain broken spring pieces if a spring fails.
The cables work together with the springs (torsion or extension), cable drums, pulleys, and the garage door opener motor to allow your heavy garage door to be lifted with ease. If a garage door cable breaks or comes loose, it prevents this system from operating properly.
Safety Precautions
Repairing garage door cables involves working with components under high tension. Ignoring safety protocols can lead to severe injury or property damage. Before beginning any work, take these precautions:
- Disconnect the garage door opener from its power source to eliminate any potential for automatic operation while working.
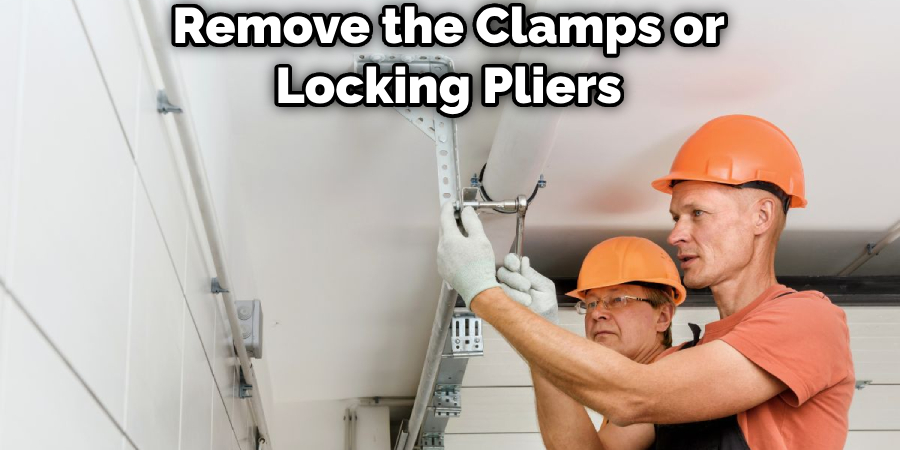
- Use clamps or locking pliers to temporarily secure the garage door in the fully open position. This prevents sudden dropping that could cause a cable recoil injury.
- If the door must be moved manually, have another person assist with lifting the weight. Never attempt this alone as the heavy door could easily become unbalanced.
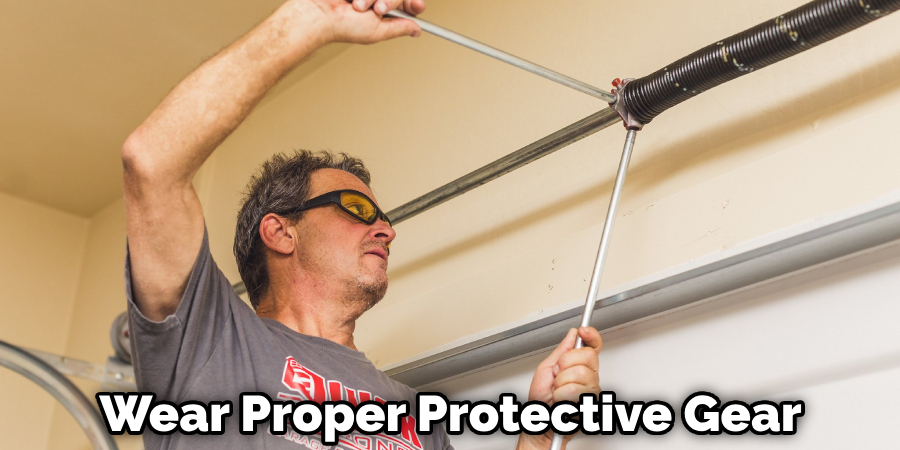
- Wear proper protective gear like thick gloves and eye coverings.
- Know your limitations. If you are inexperienced with garage components under tension or the overall process seems beyond your abilities, don’t risk it – call a professional garage door repair service.
8 Proven Step-by-Step Guide for How to Reattach Garage Door Cable
Here is a 8-step guide to help you for how to reattach garage door cable:
Tools and Materials Needed
To reattach a garage door cable, you’ll need the following tools and materials:
- Replacement garage door cable (matching the length and type of your existing cable)
- Locking pliers or C-clamps
- Adjustable wrench or socket set
- Ladder (if needed)
- Lubricant (for garage door components)
Step 1: Secure the Door
Start by securing the garage door in the open position using clamps or locking pliers on both sides of the door, just below the rollers. This will prevent the door from falling unexpectedly.
Step 2: Release the Tension
If your garage door has a torsion spring system, you’ll need to release the tension on the spring before proceeding. Consult the manufacturer’s instructions or seek professional assistance if you’re unsure about this step.
Step 3: Detach the Old Cable
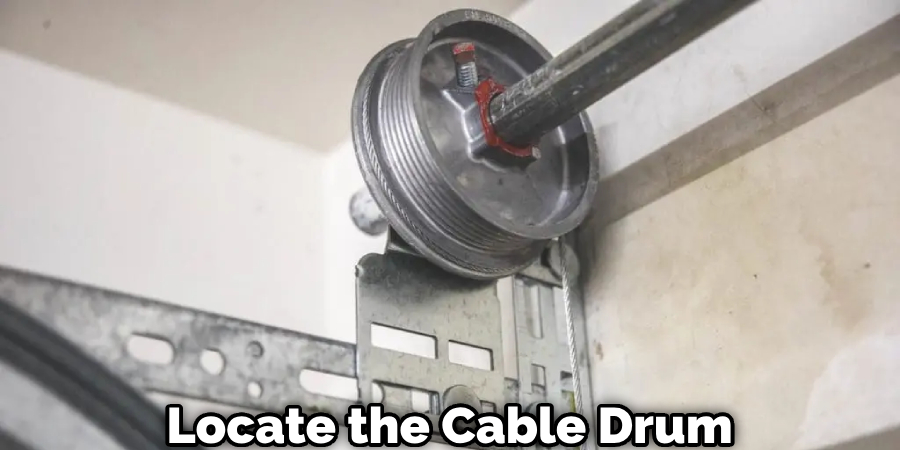
Locate the cable drum or pulley where the cable is attached. Loosen the set screws or bolts holding the cable in place and carefully detach the old cable.
Step 4: Install the New Cable
Thread the new cable through the pulleys or drums, following the same path as the old cable. Ensure that the cable is properly seated in the grooves or notches on the drums or pulleys.
Step 5: Secure the Cable
Once the new cable is in place, tighten the set screws or bolts to secure it firmly to the drum or pulley.
Step 6: Adjust the Tension
If your garage door has a torsion spring system, you’ll need to adjust the tension on the spring according to the manufacturer’s instructions. This step is crucial for ensuring proper door operation and balance.
Step 7: Lubricate the Components
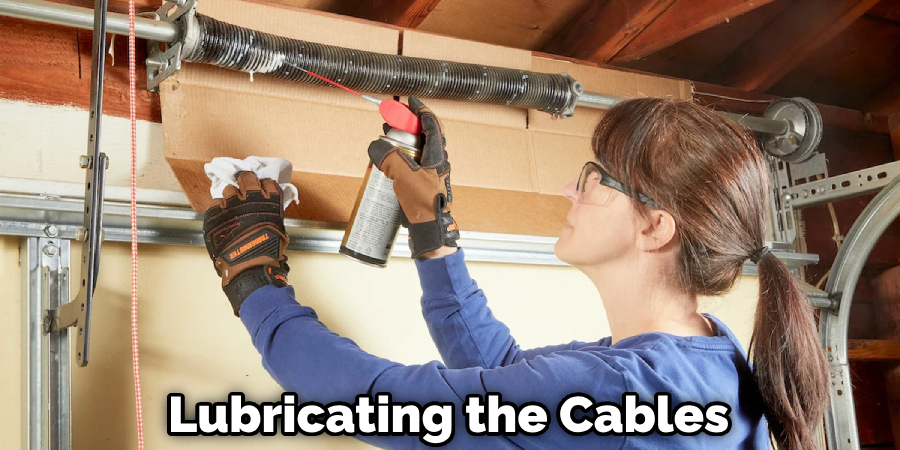
After completing the cable reattachment, lubricate the pulleys, drums, and other moving components with a garage door-specific lubricant to ensure smooth operation.
Step 8: Test the Door
Finally, remove the clamps or locking pliers and test the garage door by opening and closing it several times. Observe the movement for any signs of uneven operation or binding.
You Can Check It Out to Lubricate Your Garage Door.
When to Call a Professional
While garage door cable reattachment is certainly a viable DIY project, there are situations when it’s wise to call in a professional repair service:
- You have minimal experience working on garage door systems
- Any garage door parts beyond just the cables appear worn or damaged
- The door was severely imbalanced before the cable broke
- You encounter issues adjusting spring tensions properly
- You do not have the right tools, particularly winding bars for torsion systems
Attempting garage door repairs without proper knowledge can further damage components, leading to costlier repair bills down the line. Professional repair technicians have the experience to handle any garage door issue safely and efficiently.
Maintaining Your Garage Door Cables
To prolong the lifespan of your garage door cables and ensure smooth operation, it’s essential to perform regular maintenance. This includes:
- Inspecting the cables for signs of fraying, kinking, or rust.
- Lubricating the cables, pulleys, and drums according to the manufacturer’s recommendations.
- Adjusting the cable tension as needed to maintain proper door balance.
- Replacing worn or damaged cables promptly to prevent further issues.
By following these guidelines and addressing any issues promptly, you can enjoy a well-functioning garage door and minimize the risk of costly repairs or potential safety hazards.
FAQs About How to Reattach Garage Door Cable
Why Does My Garage Door Cable Come Off?
Your garage door cable might come off due to worn-out or damaged parts, an imbalance in the door, misaligned tracks, lack of maintenance, DIY repairs or incorrect installation, and issues with the torsion spring. It’s essential to address the issue promptly and consider consulting a professional garage door technician for an effective solution to ensure safety and prevent further damage.
Why Did My Garage Door Cable Snap?
Your garage door cable may have snapped due to several reasons, including wear and tear from prolonged usage, fraying caused by misalignment or obstruction in the door’s tracks, excessive tension resulting from an unbalanced door, or corrosion from exposure to moisture. Additionally, sudden and extreme temperature changes can weaken the cable over time, leading to a break. Regular maintenance and inspection of the garage door system can help prevent such issues, ensuring the safety and smooth operation of the door.
Are Garage Door Cables Necessary?
Yes, garage door cables are essential components of the door’s counterbalance system. They work in conjunction with the door’s springs to help lift and lower the door safely and smoothly. The cables bear a significant portion of the door’s weight, allowing for controlled movement and preventing the door from crashing down. Without properly functioning cables, the door’s operation would be compromised, posing safety risks and potentially causing damage to the door and its components. Therefore, garage door cables are indeed necessary for the safe and effective operation of the door.
Conclusions
Reattaching a garage door cable requires care, patience, and adherence to safety protocols. While it’s a task that can be tackled by a skilled DIYer, it’s crucial to understand your limitations and seek professional assistance when necessary. With the right approach and maintenance, your garage door can continue to operate smoothly and reliably for years to come.

