A garage door cable is an important component of a garage door system, which helps to hold the door upper or lower. It also ensures the safety of the door that, as long as the cable is there the door would not fall from the place and damage anything. In this step-by-step guide, you will get to know how to replace garage door cables.
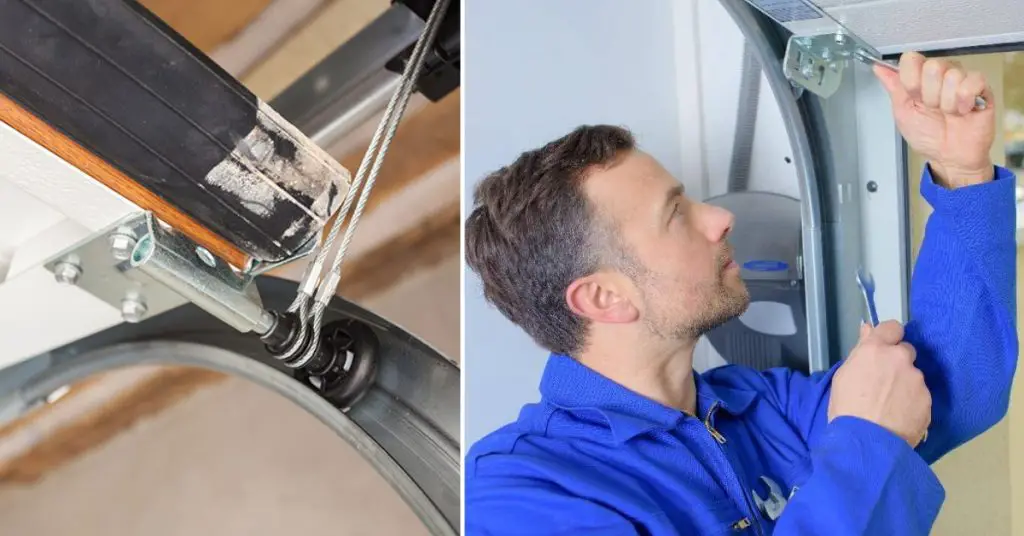
Key Takeaways:
- Identify signs of cable damage (fraying, rust, broken wires) to determine replacement needs.
- Follow safety precautions (release tension, wear protective gear, secure the door).
- Step-by-step instructions for DIY cable replacement.
- When to seek professional assistance.
How Does a Garage Door Cable Work?
The garage door cable also known as the torsion cable is attached to the bottom of the door with a cable drum. When the drum rotates, it makes the spring lift the door from the bottom. After repeated use of the door, the components may wear out so it is wise to check the door to find any problems with the door.
When Should You Replace the Door Cable?
As we already know that the garage door cable is one of the most important components and is mainly used for safety, we should check on it along with other components every once in a while. The standard norm is to check these components once a year and look for any problems. If anything is found then you can replace yourself.
The most common problems you could find in your garage door cable are:
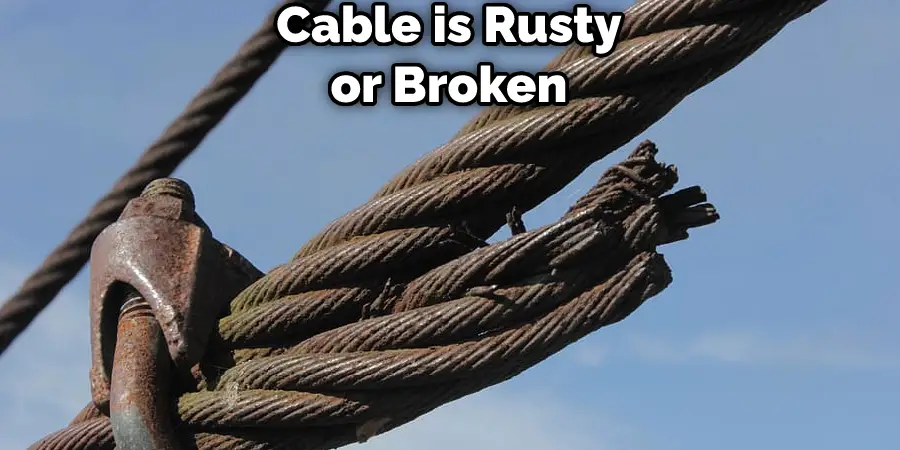
- Broken or separated wires
- Frayed wires
- Rust
- Oxidation
These problems can occur from improper alignment of cables, pulley bearings, water damage, or by moisture. Frequent inspection of your garage door can help you learn to identify the parts which are faulty.
If you find problems in your cable like the cable is rusty or broken or separated then you should think about replacing it quickly before this may turns up a safety hazard.
Safety Parameters You Should Take for Replacing the Garage Door Cable
If you have decided to change the garage door cable by yourself then here is what you need to keep in mind to ensure your safety
- Disconnecting the power: Before you start make sure the power of the door opener is not connected, so that you could prevent any accident.
- Wear protective gear: Wear protective gear to save yourself from flying debris, sharp edges, or small cuts. Make sure to wear rubber gloves while working as it will help do the work safely and smoothly.
- Release the tension on the cable: Make sure to release the tension before removing the old cable. This will prevent the door from slamming shut or opening unexpectedly.
You Can Check It Out to Reattach Garage Door Cable.
7 Simple Steps for How to Replace Garage Door Cable
If you think the process is complicated do not worry, just follow this article to find out how easy it is to change the cable. If you are prepared with the required tools and safety parameters then let’s see some simple steps on how to replace your garage door cable:
Tools Required to Replace Your Garage Door Cable:
Before you start jumping on to replace the cable out of excitement, here is a list of a few tools that are a must-have before you start the process:
- Ladders
- Pliers
- Wrenches
- Vice Grip
- Replacement cables
These are the few things along with the safety parameters you are going to need to change the cable of the garage door easily.
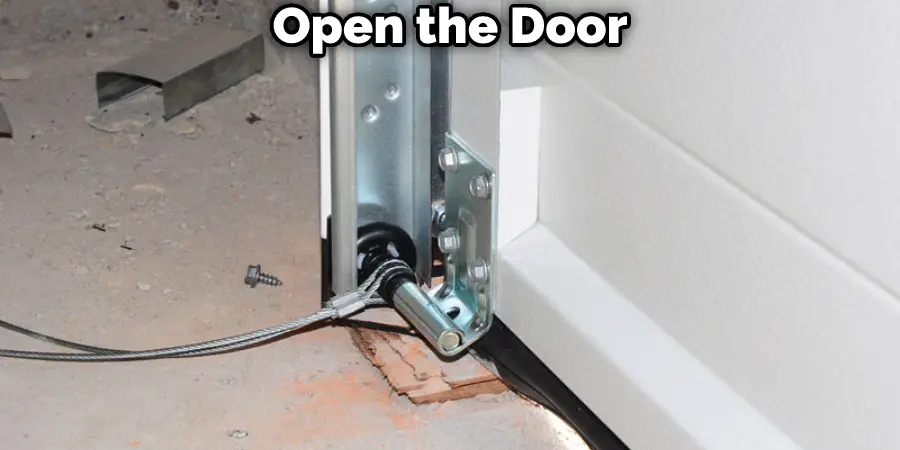
Step 1: Open the Door
Open the door to finally start. Open a little more than normal. This will give you enough space to replace the cable and also make sure that the door is not damaged in any way.
Step 2: Pull the Emergency Release Handle
Start by pulling the emergency release handle to unplug and disengage the garage door. This emergency handle would typically be found on the right upper side of the door and it comes with a red rope with a handle so it is easy to find and identify.
Step 3: Loosen the Tension
After that slightly loosen the tension of the spring so that we could prevent sudden opening or closing of the door. You can do this by simply loosening the screws and nuts around the spring.
Step 4: Lock the Bottom Wheel With the Vice Grip
Then open the door more than it normally would and lock the bottom wheel with a vice grip to lock it in place. And then start to remove the cable spring.
Step 5: Remove the Cable Spring
Make sure you are wearing rubber gloves to safeguard from any unexpected accidents and then start to remove the spring cable tension. This will appear hard to remove but don’t worry apply some pressure and it will come right off.
Loosen the cable drum screws: After you remove the cable spring take a wrench and just slightly loosen the screws of the drum to remove the other end of the cable spring. After loosening the drum you will find a small notch where the other end of the cable is attached. Just take the plier and gently remove the cable and it will come out after you have applied some pressure.
Step 6: Replace the Cable
For this step, you must have the replacement cable which you can find in your home depot or if you can not find it try searching it on online platforms, you will definitely get it easily.
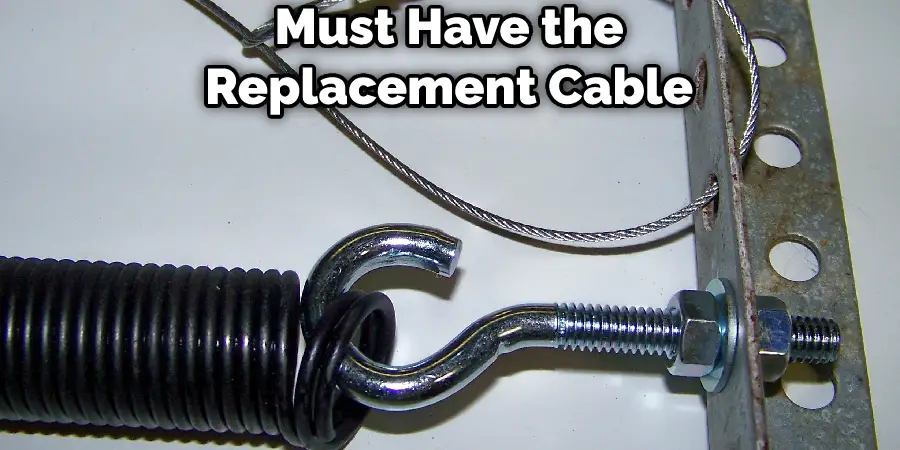
The cable has to have the same length as your old cable or it could cause problems with the door. The cable could be based on the type and length of the door. The usual practice is for a 7-foot door you need to use an 8’6” cable.
After you get your appropriate cable just start by inserting the header of the cable in the notch of the drum then tighten the screws and wrap around the drum then tighten the cable and get the spring end to lock it securely in its place.
Step 7: Repeat With Other Doors
And it is done, just tighten the tension of the spring and release the vice grip and repeat the above process for the other door and you are done. You just change this complicated process all by yourself.
Changing the cable by yourself may seem intimidating but it will be easy once you understand the process and enjoy yourself.
You Can Check It Out to Replace Garage Door Hinges
FAQs About How to Replace Garage Door Cable
Can I Replace Garage Door Cable Myself?
Yes, you can replace your garage door cable yourself. The process involves disconnecting the power, securing the door in an open position, removing the old cable, and installing the new cable. It is important to follow the instructions carefully and take necessary safety precautions, such as releasing tension in the springs and using C clamps to prevent the door from closing while you work on it. If you are unsure about your ability to replace the cable yourself, it is recommended to seek professional help.
How Do You Replace a Garage Door Cord?
To replace a garage door cord, you first need to unplug and disengage the garage door opener by pulling the emergency release handle. Then, use C clamps or rest the door on top of a ladder to keep it open. Next, remove the old cord and replace it with a new one. To reattach the release cord, make sure the handle is on the door track and activate the lever that moves up and down. It’s important to ensure the safety of the garage door while working on it and to follow the appropriate steps carefully.
Do I Need to Replace Garage Door Cable?
If you notice any frayed strands or rust on the bottom brackets of your garage door cable during a yearly inspection, it is advisable to replace them before they fail. You should also consider replacing the cables if there is any substantial damage. Signs of cable damage include frayed wires, broken or separated wires, rusting, and oxidation.
It is important to note that a broken cable cannot be repaired and must be replaced. Therefore, if you notice any damage to your garage door cables, it is recommended to replace them to ensure the safe and smooth operation of your garage door.
Conclusion
In conclusion, replacing garage door cables is an essential maintenance task that can ensure the proper functioning and safety of your garage door. Understanding the types of garage door cables and their common causes of damage is important in preventing future issues. Following the steps outlined in this comprehensive guide can help you safely and effectively replace your garage door cables. Remember to take all necessary safety precautions, use the correct tools, and seek professional help if needed. By properly maintaining your garage door cables, you can prolong the life of your garage door and avoid costly repairs.

