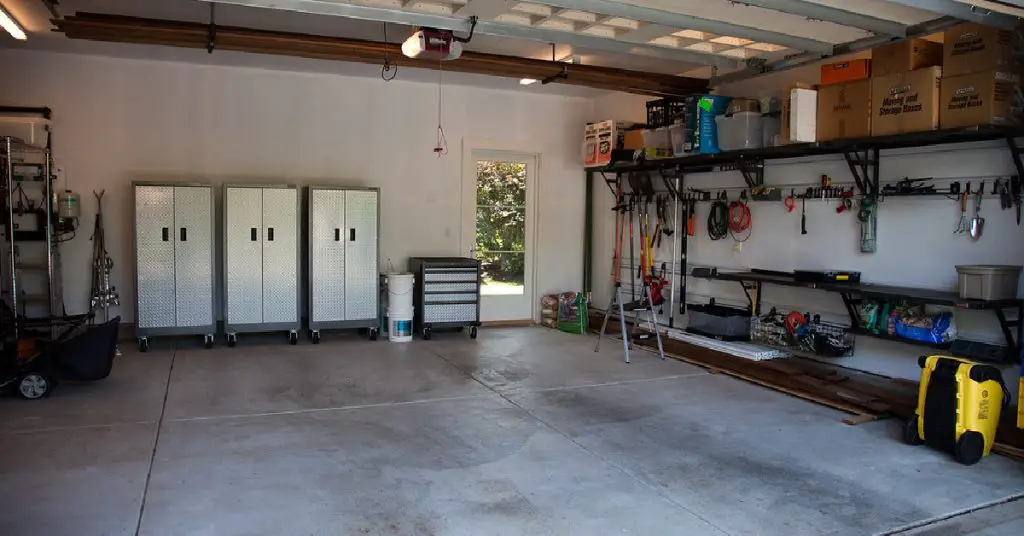
Garage door sensors play a crucial role in ensuring the safety of your home and vehicles. They prevent the door from closing on a person or object in its path, thereby avoiding accidents and damage. However, over time, the sensors can get misaligned due to various reasons, causing the door to malfunction. In this article, we will explore the signs that indicate the need for aligning garage door sensors and the steps for how to align garage door sensors. By understanding these signs, you can take prompt action to ensure the proper functioning of your garage door and avoid potential accidents.
Key Takeaways:
- Misaligned sensors can cause malfunctions and safety hazards
- Check for signs like the door reversing, blinking lights, or needing to hold the button
- Follow the 8-step process to clean, adjust, and align the sensors
- Regularly inspect and maintain sensors to prevent future misalignment
3 Major Signs That Indicate the Need for Aligning Garage Door Sensors
If:
- The garage door stops and reverses itself when closing.
- The garage door operator’s light blinks when you try to close the door.
- Or you can only close the garage door by holding down the button.
these signs indicate you may need to align your garage door sensors. Additionally, if you notice blinking, flashing, or clicking when you try to shut the door, or if the signal light inside your garage flashes and blinks ten times, the sensors may be misaligned. Checking the LED indicator lights on each sensor can also help you determine if they are appropriately aligned.
8 Easy Step-by-Step Guide on How to Align Garage Door Sensors
If you find that your garage door isn’t working right or is not responding, it could be due to an issue with the sensors which detect when something is blocking the doors. Fortunately, correcting this issue can be simple and done in eight easy steps using our guides on how to align garage door sensors.
Step 1: Disconnect the power supply
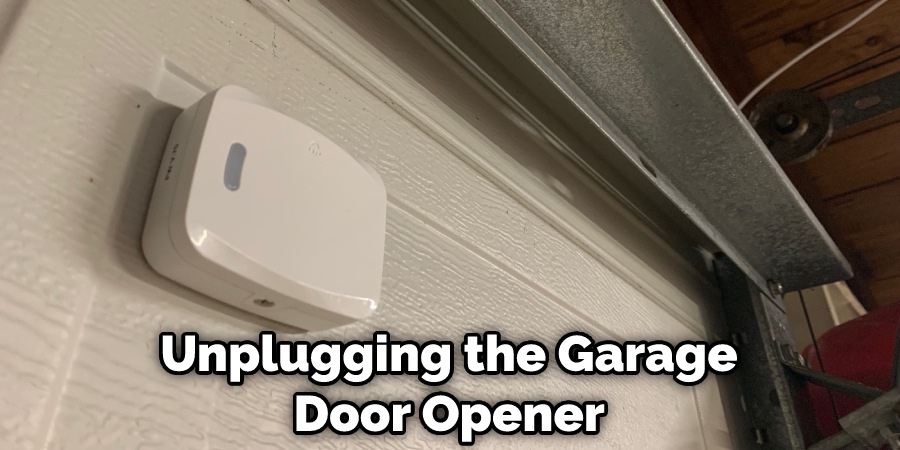
The first step to aligning garage door sensors is to disconnect the power supply. This is an important safety precaution that will ensure that the sensors don’t accidentally trigger while you are working on them. You can do this by unplugging the garage door opener or by turning off the circuit breaker that powers it. It’s important to make sure that the power is completely disconnected before proceeding to the next step.
Step 2: Clean the sensors and check the wires
Before proceeding with aligning the garage door sensors, it’s important to ensure that they are clean and free from any obstruction. Start by cleaning the sensors using a soft, dry cloth, and check if there are any dirt, debris, or spider webs that could interfere with their functioning.
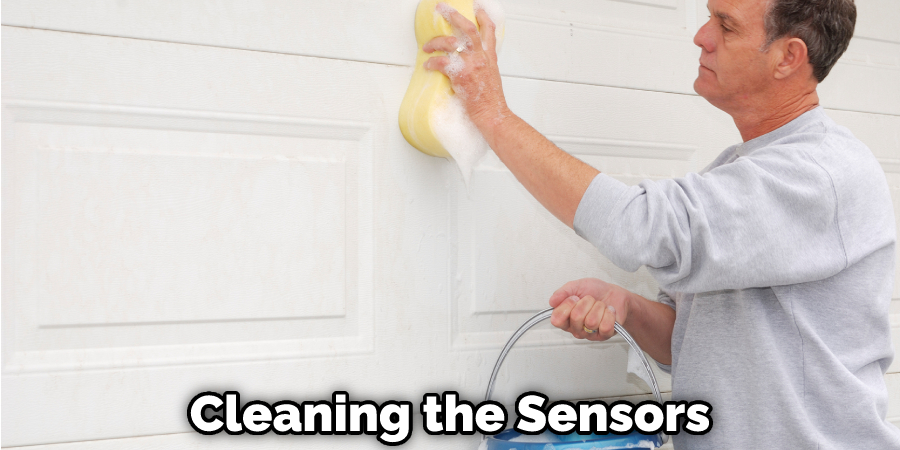
Additionally, check the wires connecting the sensors to the opener and ensure that they are not frayed, cut, or damaged in any way. If you notice any damage, it’s important to replace the wires before proceeding with the alignment process. Once you have cleaned the sensors and checked the wires, you can proceed with aligning the garage door sensors.
Step 3: Loosen the mounting bracket screws
To align your garage door sensors properly, the next step is to loosen the mounting bracket screws. You can use a screwdriver to loosen the screws on both the sending and receiving sensor brackets. Be careful not to completely remove the screws, as you will need to adjust the brackets in the next step.
Step 4: Adjust the sensors by sliding the bracket up or down
To align the garage door sensors, you need to adjust them by sliding the bracket up or down. Loosen the mounting bracket screws and move the bracket until the sensor is at the correct height. Use a level to ensure that the sensor is perfectly aligned. Tighten the screws to hold the sensor in place. Repeat this step for the other sensor as well.
Step 5: Use a string and level to ensure the sensors are aligned
Using a string and level is an effective way to ensure that the sensors are aligned properly. Attach a string to the sensors at the same height and then use a level to check that the string is level. Adjust the sensors by sliding the bracket up or down until the string is level. This will ensure that the sensors are aligned properly and will function as intended.
Step 6: Tighten the mounting bracket screws
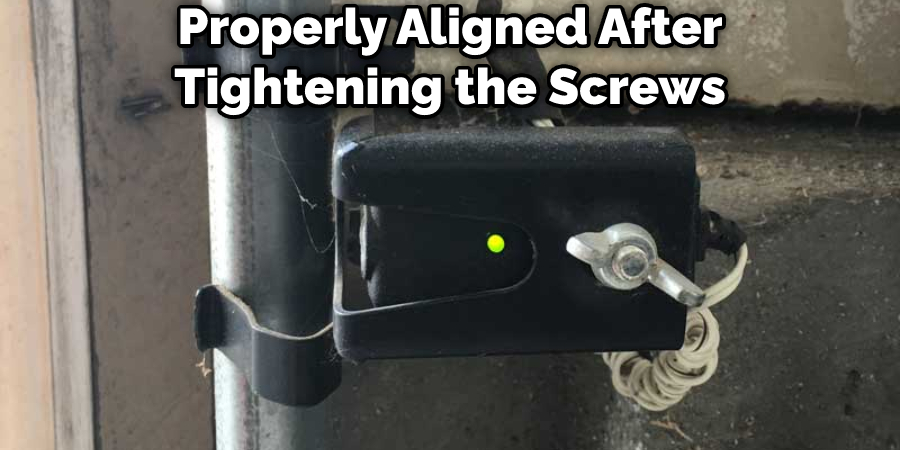
Once the sensors are properly aligned, the next step is to tighten the mounting bracket screws. Use a screwdriver to carefully tighten the screws, making sure not to over-tighten them, as this could cause the sensors to become misaligned again. Double-check the alignment of the sensors once more to make sure they are still properly aligned after tightening the screws.
Step 7: Remove the string
Once the sensors are aligned, remove the string that was used for the alignment process.
Step 8: Turn the power back on and test the alignment
Once you have completed aligning the sensors, the next step is to turn the power supply back on and test the alignment. Click the garage door button to see if the door opens and closes smoothly without any obstruction or unusual behavior. If the sensors are properly aligned, the garage door will operate normally. However, if the sensors are still not aligned, you may need to repeat the process or seek professional assistance.
You Can Check It Out to Replace Garage Door Cable
5 Tips for Preventing Misaligned Garage Door Sensors (In the Future)
Misaligned garage door sensors can cause your garage door opener to malfunction, posing a potential safety hazard. Here are some tips to prevent misaligned sensors in the future:
- Regularly inspect the sensors and their surroundings: Make sure the sensors are clean, free of debris, and not obstructed by any objects or plants. Check for any damage to the sensors or their wiring.
- Avoid hitting the sensors: Be careful not to hit the sensors with your car or any other object, as this can cause them to become misaligned.
- Keep the sensors level: Make sure the sensors are installed at level with each other. You can use a string and level to ensure the sensors are aligned properly.
- Adjust the sensors properly: If you need to adjust the sensors, do so carefully and make small adjustments at a time. Use a screwdriver to loosen the screws securing each of the sensors, then slide the bracket they’re mounted to up and down until the sensors are properly aligned. Use a wing nut to secure the sensors in place once you’re done adjusting them.
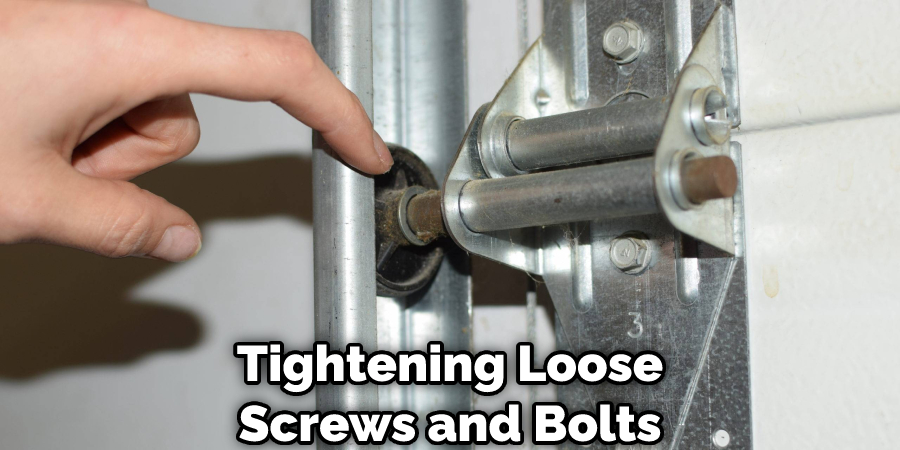
- Regular maintenance: Regularly maintain your garage door opener and sensors, as recommended by the manufacturer. This includes lubricating moving parts, replacing worn-out components, and tightening loose screws and bolts.
By following these tips, you can help prevent misaligned garage door sensors and keep your garage door opener working safely and efficiently.
You Can Check It Out to Test Garage Door Sensors With Multimeter.
7 Tips for How to check & reset garage door sensors
Checking, and resetting garage door sensors is a relatively simple process that can be done in a few steps. Here is a comprehensive guide to checking and resetting garage door sensors using the provided web search results:
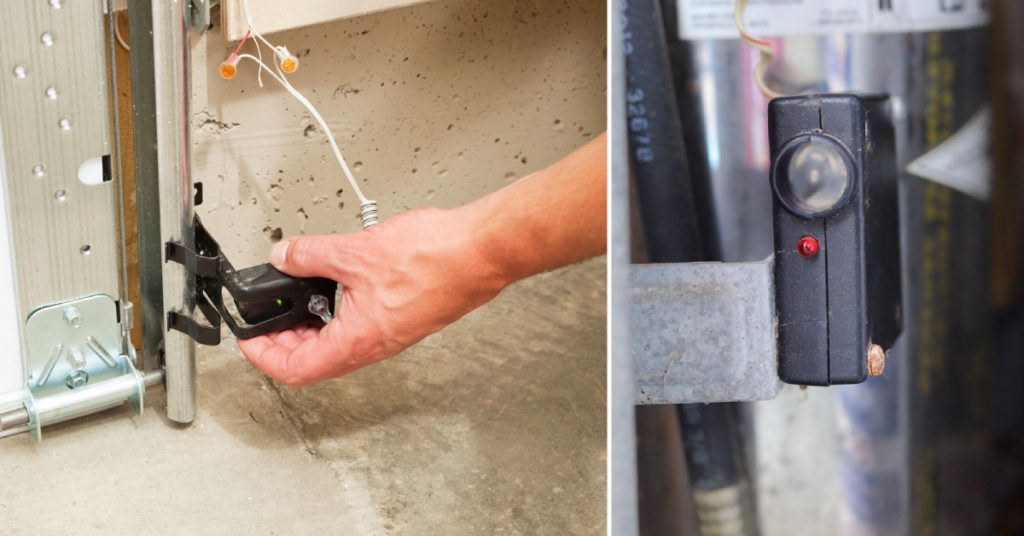
- Locate the safety reversing sensors on both sides of your garage door. These sensors are typically located near the bottom of the garage door tracks.
- Make sure nothing is blocking the sensors. Check for any obstructions, such as dirt or debris, that may be blocking the sensor path.
- Check the LED lights on both sensors. Once you’ve removed any obstructions, the LEDs in both sensors should glow steadily.
- If one of the sensors is not glowing, it may be due to a bad sensor or a loose wire connection. Check the sensor power by reconnecting it to its power supply. If the sensor is still not working, check the sensor lenses and clean them if necessary. Additionally, make sure the sensors are dry if they have moisture on them. If none of these solutions work, the sensor may need to be replaced.
- Once you’ve confirmed that both sensors are working, check their alignment. Make sure both sensors line up with each other. If they are not aligned, adjust the sensor mounting brackets until they are.
- If you need to reset your garage door opener, you can do so by holding down a button on your remote garage door opener. Within 30 seconds of pressing the Learn button, press down on a button on the remote. This will send out a radio signal to the ceiling-mounted motor unit. In the future, when the unit receives that specific signal, it will open the garage door it’s attached to.
- If you need to replace your garage door sensors, start by unplugging the garage door opener. Remove the old sensors by unscrewing them from the mounting brackets. Connect the new sensors to the existing sensor wires using wire nuts.
Following these steps should help you check and reset your garage door sensors. If you are still experiencing issues with your garage door, it’s best to contact a new garage door service.
FAQs About How to Align Garage Door Sensors
Why is One Sensor Green and One Yellow?
If one garage door sensor is green and the other is yellow, it typically means that the green sensor is functioning properly and sending a signal to the garage door opener, while the yellow sensor is either not functioning properly or is not properly aligned with the other sensor. The yellow or amber light is a sign that your garage door has a transmitter that is currently in use, sending a beam across to the other side of the garage door where the green light, indicating the receiver, should be on all the time.
How Do I Realign My Garage Door Sensors?
To realign garage door sensors, you can follow these steps: 1/ Use a screwdriver to loosen the screws securing each sensor. 2/ Slide the bracket they’re mounted on up and down until the sensor is level. 3/ Tighten the screws to secure the sensor in its new position. 4/ Confirm that the sensor is level using a string, tape measure, and level.
Do Both Garage Door Sensors Need to Be Green?
Both garage door sensors need to be green for the garage door opener to operate safely and properly. The green light indicates that the sensors are powered up, functional, and correctly aligned without any obstruction between them. If one of the sensors is green and the other is yellow or red, it indicates a problem such as an obstruction or misalignment, and the garage opener may not work.
Conclusion
In conclusion, troubleshooting and resetting garage door sensors is an important task that can help ensure the safety and functionality of your garage door. By following the steps provided in the search results, such as checking for obstructions, cleaning the lenses, and aligning the sensors, you can resolve common issues with garage door sensors.
Additionally, resetting the sensors or the garage door opener can also be done by following the steps outlined in the search results. It is important to regularly check and maintain your garage door sensors to ensure their proper functioning and avoid potential safety hazards.

