Do you want to have a mini elevator in your home or office to carry items up and down stairs? If so, you can build a dumbwaiter with a garage door opener. A dumbwaiter is a small lift that can transport lightweight goods between floors. A garage door opener is a device that can power your dumbwaiter and make it easy to install and use. In this article, we will show you how to build a dumbwaiter with a garage door opener in five steps. We will also give you some tips and safety precautions to follow. By the end of this article, you will be able to enjoy the convenience and benefits of having a dumbwaiter in your home or office.
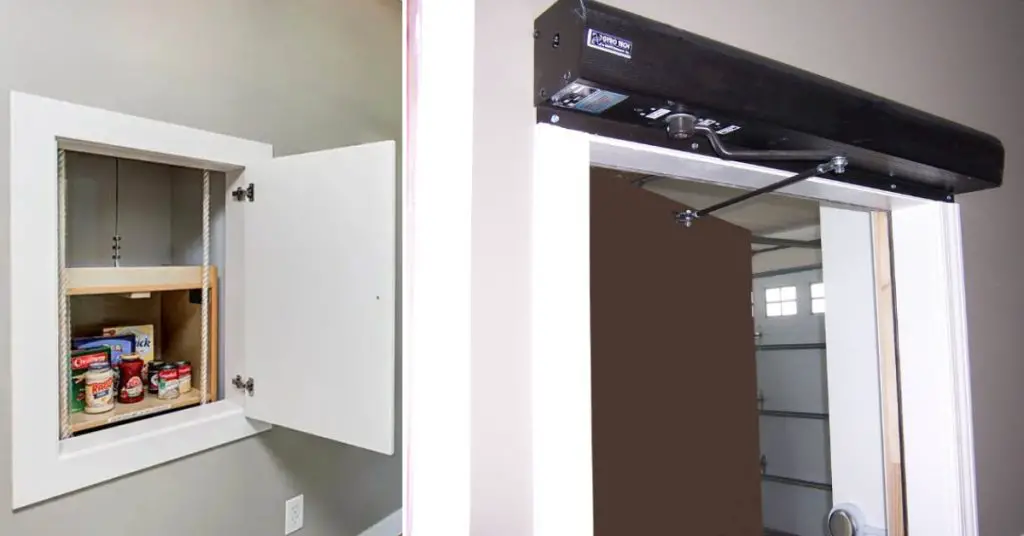
5 Easy Steps for How to Build a Dumbwaiter With a Garage Door Opener
Here are 5 easy steps for how to build a dumbwaiter with a garage door opener:
Step 1: Choose the Right Garage Door Opener
The first step in building a dumbwaiter with a garage door opener is to choose the right garage door opener for your dumbwaiter. There are many factors to consider when selecting the right garage door opener for your dumbwaiter, such as:
A. Weight Capacity
The garage door opener should be able to lift the weight of your items plus the weight of the dumbwaiter box. You can check the weight capacity of the garage door opener on its label or manual. Typically, garage door openers can lift between 100 and 500 pounds.
B. Speed
The speed of the garage door opener determines how fast your dumbwaiter will move between floors. You can check the speed of the garage door opener on its label or manual. Typically, garage door openers can move between 6 and 12 inches per second.
C. Safety Features
The garage door opener should have safety features that prevent accidents or injuries, such as sensors that detect obstacles or stop the dumbwaiter if something goes wrong. You can check the safety features of the garage door opener on its label or manual.
D. Noise Level
The noise level of the garage door opener affects how loud your dumbwaiter will be when operating. You may want to choose a quiet garage door opener if you don’t want to disturb others or yourself. You can check the noise level of the garage door opener on its label or manual.
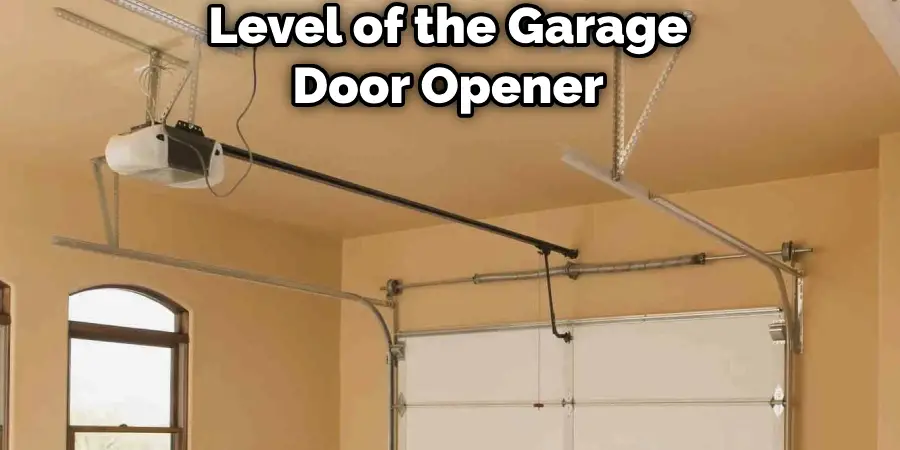
E. Power Source
The power source of the garage door opener determines how it will be connected to your electrical system. You may want to choose a battery-powered or solar-powered garage door opener if you don’t have access to an outlet near your dumbwaiter shaft. You can check the power source of the garage door opener on its label or manual.
Some examples of garage door openers that are suitable for this project are:
A. Screw drive openers
These openers use a threaded steel rod that rotates to move the carriage along the track. They are powerful, fast, reliable, and quiet. However, they may require more maintenance and lubrication than other types.
B. Chain Drive Openers
These openers use a metal chain that runs along a sprocket to move the carriage along the track. They are durable, inexpensive, and easy to install. However, they may be noisy and vibrate more than other types.
C. Jackshaft Openers
These openers use a motor that attaches directly to the torsion bar above the garage door instead of using a track. They are compact, versatile, and ideal for tight spaces. However, they may be more expensive and complex than other types. You may also use an existing garage door opener if you have one, as long as it meets your needs and has enough power. You may need an adapter to connect it to your dumbwaiter.
Step 2: Determine the Placement and Prepare the Space
The second step in building a dumbwaiter with a garage door opener is to determine the placement and prepare the space for your dumbwaiter. You need to find a suitable location for your dumbwaiter in your home or office, preferably using two closets that are one above the other or framing in a space where the dumbwaiter will be. You also need to open up the floor for a larger shaft, if necessary, and ensure that there is enough clearance for the dumbwaiter box and the track in the shaft. You also need to securely mount the garage door opener motor and track, using angle iron and screws.
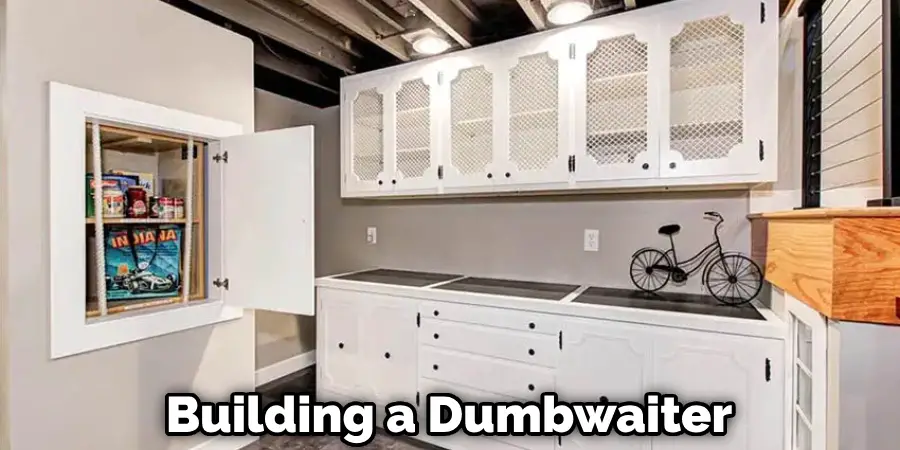
Here are some tips on how to determine the placement and prepare the space for your dumbwaiter:
A. Measure the Space
You need to measure the space where you want to install your dumbwaiter, including the width, depth, height, and distance between floors. You also need to measure the size of your dumbwaiter box, which should fit inside the shaft with space on all sides when placed against the track. You can use a tape measure or a laser measure to get accurate measurements.
B. Choose a Location
You need to choose a location for your dumbwaiter that is convenient, accessible, and safe. Ideally, you should use two closets that are one above the other or frame in a space where the dumbwaiter will be. This way, you can conceal your dumbwaiter and maintain your home or office aesthetics. You should also avoid locations that have plumbing, wiring, ductwork, or other obstructions that may interfere with your dumbwaiter installation.
C. Open Up the Floor
You may need to open up the floor for a larger shaft if your dumbwaiter box is bigger than the existing opening. You can use a circular saw or a reciprocating saw to cut through the floor and create a hole for your dumbwaiter shaft. You should also reinforce the floor joists around the hole with 2x4s or 2x6s to support the weight of your dumbwaiter.
D. Ensure Clearance
You need to ensure that there is enough clearance for your dumbwaiter box and the track in the shaft. You should have at least 3 inches of space on each side of your dumbwaiter box when placed against the track. You should also have at least 6 inches of space above and below your dumbwaiter box when it reaches its highest and lowest points. You can use a level to make sure that your track is aligned and level.
E. Mount the Motor and Track
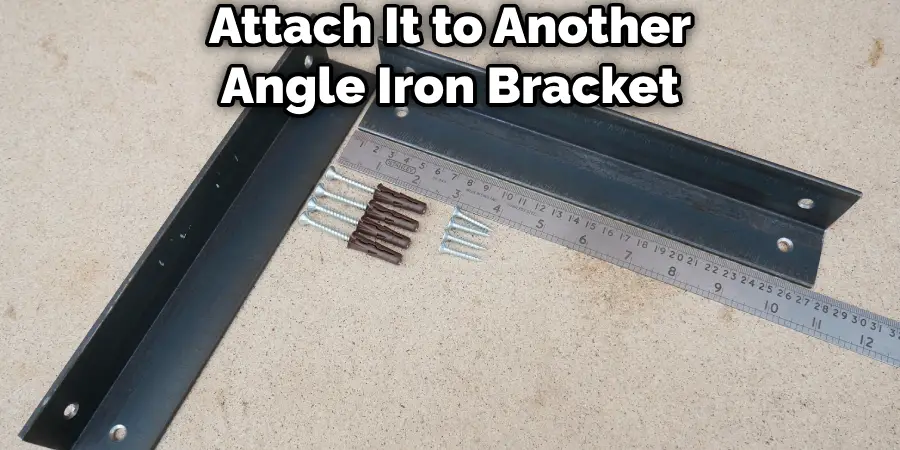
You need to securely mount the garage door opener motor and track it to the wall with angle iron and screws. You should place the motor near an outlet or a power source, and attach it to an angle iron bracket with screws. You should also place the track along one side of the shaft, and attach it to another angle iron bracket with screws. You should make sure that the motor and track are stable and secure.
Step 3: Build and Attach the Dumbwaiter Box
The third step in building a dumbwaiter with a garage door opener is to build and attach the dumbwaiter box to the garage door opener. You need to construct a wooden box that fits inside the shaft with space on all sides when placed against the track, using proper measurements and materials. You also need to use the carriage assembly and curved door arm from the garage door opener to fasten the bottom of the box to the track, adding additional support such as angle iron bracing to prevent tipping or moving with a full load. You also need to thread the chain or cable through the dumbwaiter’s pulley and secure it properly to the garage door opener.
Here are some tips on how to build and attach the dumbwaiter box to the garage door opener:
A. Cut the Wood
You need to cut four pieces of plywood or MDF for the sides of your dumbwaiter box, one piece for the bottom, and one piece for the top (optional). You can use a circular saw or a table saw to cut them according to your measurements. You should also drill holes in each corner of each piece for attaching them together with wooden screws.
B. Assemble the Box
You need to assemble your dumbwaiter box by attaching each side piece to each other with wood screws. You should also attach the bottom piece to all four side pieces with wood screws. If you want, you can also attach a top piece to your box for extra stability or protection.
C. Attach the Carriage Assembly
You need to attach the carriage assembly from the garage door opener to the bottom of your dumbwaiter box with wood screws. The carriage assembly is the part that slides along the track and connects to the chain or cable. You should align the carriage assembly with the center of your box and make sure that it is securely attached.
D. Attach the Curved Door Arm
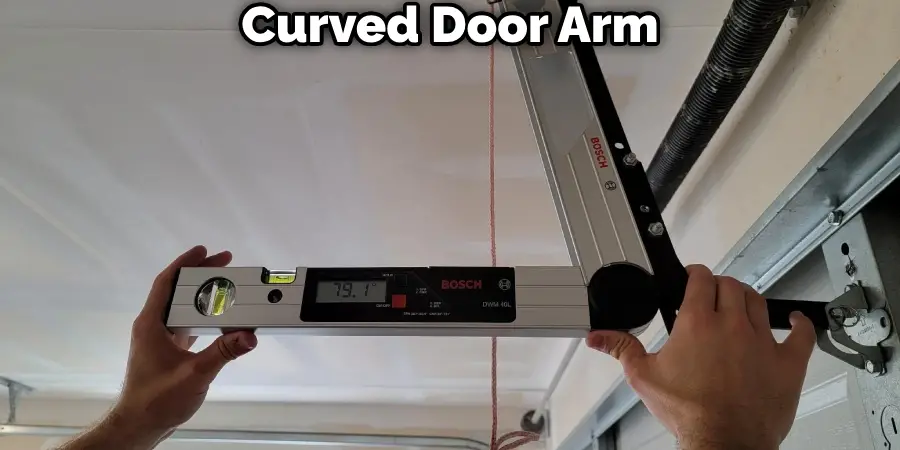
You need to attach the curved door arm from the garage door opener to the carriage assembly with a cotter pin and a clevis pin. The curved door arm is the part that connects the carriage assembly to the header bracket on the door panel. You should insert the clevis pin through the holes on the carriage assembly and the curved door arm, and secure it with the cotter pin. You should spread the ends of the cotter pin apart with pliers.
E. Thread the Chain or Cable
You need to thread the chain or cable through the dumbwaiter’s pulley and secure it properly to the garage door opener. The pulley is a wheel that rotates and guides the chain or cable along the track. You should loop the chain or cable around the pulley and attach it to the drive gear assembly on one end and to a tensioner assembly on the other end. The drive gear assembly is a motor that rotates and moves the chain or cable along the track. The tensioner assembly is a device that adjusts and maintains the tension of the chain or cable. You should follow the instructions that came with your garage door opener for threading and securing the chain or cable.
Step 4: Install Control and Safety Switches
The fourth step in building a dumbwaiter with a garage door opener is to install control and safety switches for your dumbwaiter. You need to install two switches for the garage door opener, one at the top and one at the bottom of the shaft, for controlling and stopping your dumbwaiter at the desired openings. You also need to highlight the significance of safety measures in the installation process, such as installing locks on both doors of the dumbwaiter shaft to prevent children or pets from falling in or accessing it, adding handles, hinges, latches, or magnets to the doors for easy opening and closing, and testing the emergency stop button.
Here are some tips on how to install control and safety switches for your dumbwaiter:
A. Install Switches
You need to install two switches for your garage door opener, one at each end of your dumbwaiter shaft. The switches are devices that send signals to your garage door opener motor to start or stop your dumbwaiter. You should mount each switch on a wall near an opening where you want your dumbwaiter to stop. You should also wire each switch to your garage door opener motor following its wiring diagram. You should label or color-code each switch for easy identification.
B. Install Locks
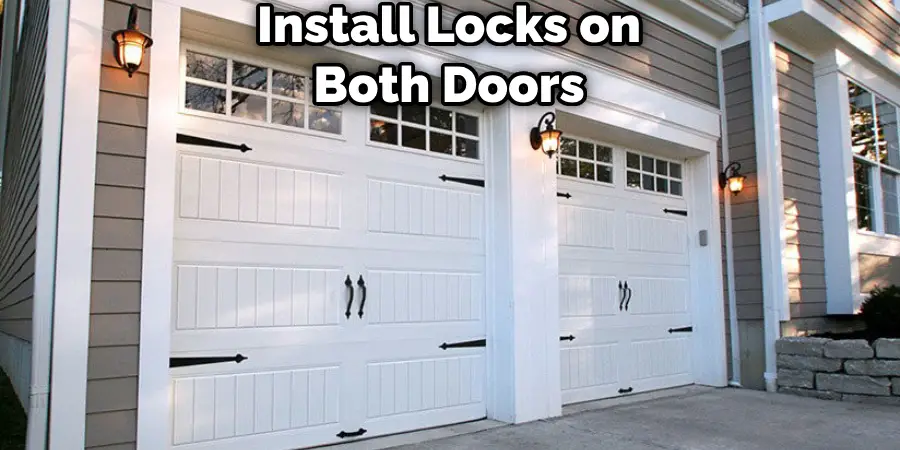
You need to install locks on both doors of your dumbwaiter shaft to prevent children or pets from falling in or accessing it when it is not in use. The locks are devices that secure your doors from opening without a key or a code. You should choose locks that are compatible with your doors and install them according to their instructions. You should also keep the keys or codes in a safe place and only use them when you need to access your dumbwaiter.
C. Install Handles, Hinges, Latches, or Magnets
You need to install handles, hinges, latches, or magnets on your doors for easy opening and closing. The handles are devices that allow you to grip and pull your doors. The hinges are devices that allow your doors to swing open and close. The latches are devices that keep your doors closed until you release them. The magnets are devices that attract and hold your doors closed until you pull them apart. You should choose devices that are suitable for your doors and install them according to their instructions.
D. Test the Emergency Stop Button
You need to test the emergency stop button to verify its functionality. The emergency stop button is a device that stops your dumbwaiter immediately in case of an emergency. You should locate the emergency stop button on your garage door opener motor and press it while your dumbwaiter is in motion. You should see your dumbwaiter stop instantly and hear a clicking sound from your garage door opener motor. You should release the button to resume normal operation.
Step 5: Add Finishing Touches and Maintain Your Dumbwaiter
The fifth and final step in building a dumbwaiter with a garage door opener is to add finishing touches and maintain your dumbwaiter. You need to paint or decorate your dumbwaiter box and doors to match your home or office decor or add some personal touches such as stickers or labels. You also need to provide some tips on how to maintain your dumbwaiters, such as inspecting tracks, lubricating pulleys, checking cables, and troubleshooting problems.
Here are some tips on how to add finishing touches and maintain your dumbwaiter:
A. Paint or Decorate
You need to paint or decorate your dumbwaiter box and doors to match your home or office decor or add some personal touches such as stickers or labels. You can use any paint or decoration that you like, as long as it does not interfere with the operation of your dumbwaiter. You can also use stencils, decals, or vinyl letters to create custom designs or messages on your dumbwaiter box and doors.
B. Inspect Tracks
You need to inspect the tracks regularly for any debris, dirt, or damage that may interfere with the smooth movement of your dumbwaiter along the track. You should remove any debris or dirt with a cloth or a brush, and repair any damage with a hammer or a screwdriver. You should also make sure that the track is aligned and level.
C. Lubricate Pulleys
You need to lubricate the pulleys periodically to reduce friction and wear on the chain or cable and the pulley. You should use a spray lubricant that is compatible with your garage door opener and apply it sparingly on the pulley bearings. You should also wipe off any excess lubricant with a cloth.

D. Check Cables
You need to check the cables regularly for any signs of wear, fraying, or breakage that may affect the safety and performance of your dumbwaiter. You should replace any damaged cables as soon as possible with new ones that match the specifications of your garage door opener.
E. Troubleshoot Problems
You need to troubleshoot any problems that may arise with your dumbwaiter, such as it not moving, moving too slowly, making noise, or reversing unexpectedly. You should consult the troubleshooting guide that came with your garage door opener for possible causes and solutions. You should also contact a professional if you cannot fix the problem yourself or if you are unsure about what to do.
You Can Check It Out to Build Garage Storage Loft.
FAQs About How to Build a Dumbwaiter With a Garage Door Opener
Can I Convert My Garage Door Opener to Wi-Fi?
Yes, you can convert your garage door opener to Wi-Fi, which enhances convenience and security. This involves adding a compatible Wi-Fi garage door controller near your opener, connecting it to your home Wi-Fi, and installing door sensors. With a smartphone app, like MyQ, you can remotely control and monitor your garage door, receive notifications for unauthorized access, and even set schedules for automatic closing. This retrofitting process is straightforward and offers significant benefits for modernizing your garage door system.
Can I Convert My Manual Garage Door to Automatic?
Yes, you can convert your manual garage door to an automatic one, and it comes with various benefits such as increased home value, convenience, security, and customization options. However, it’s essential to consider factors like the type of garage door you have, headroom, and professional installation for safety. While there are costs involved, the advantages make it a valuable upgrade for modernizing your garage.
Do Garage Door Openers Need Wi-Fi?
Garage door openers don’t necessarily need Wi-Fi, but Wi-Fi-enabled ones offer remote control and smart home integration features. Traditional openers work manually or with physical remotes. Wi-Fi adds convenience for remote operation and integration with smart home systems, but it’s a matter of preference.
Conclusion
In this article, we have shown you how to build a dumbwaiter with a garage door opener, which is a DIY guide that will help you create a practical and cost-effective solution for moving items between floors in your home or office. By following this guide, you will be able to enjoy the convenience and benefits of having a mini elevator in your home or office. We hope you found this article helpful and informative. If you have any feedback or questions, please feel free to leave a comment below or contact us for more information. Thank you for reading!


