Garage door sensors, also known as photo eyes or safety sensors, are an essential component of modern garage door openers. They are designed to detect obstructions in the door’s path and prevent it from closing, ensuring the safety of people, pets, and property. However, like any mechanical system, these sensors can malfunction over time, leading to potential hazards.
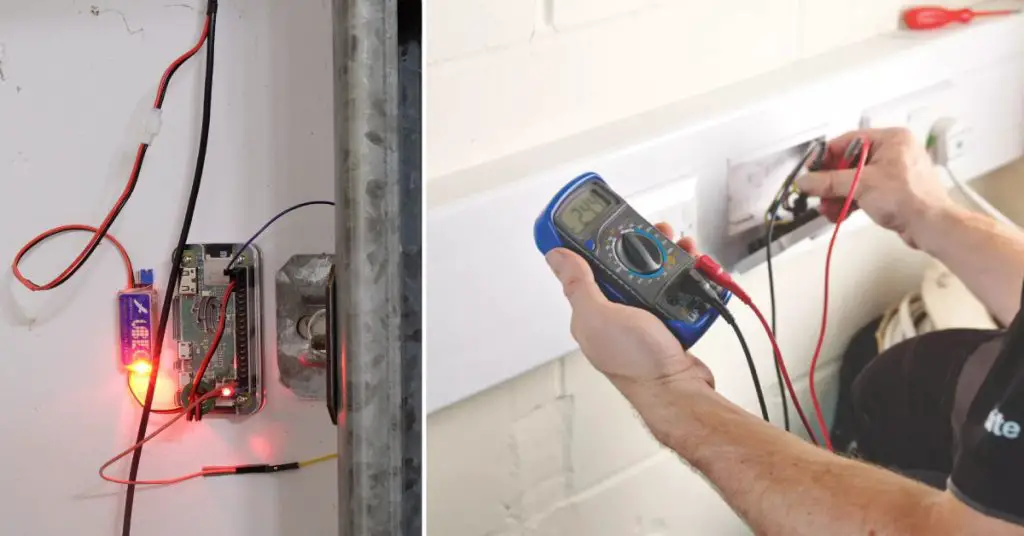
In this comprehensive guide, we will walk you through the process of how to test garage door sensors with multimeter, a versatile tool that measures electrical voltage, current, and resistance.
Key Takeaways:
- Regular sensor testing is crucial for safety, compliance, and preventive maintenance.
- Use a multimeter to check sensor wiring, power supply, and functionality.
- Follow safety precautions and troubleshoot any issues promptly.
You can also watch the youtube video:
Why Test Garage Door Sensors?
Regular testing of garage door sensors is crucial for several reasons:
- Safety: Malfunctioning sensors can fail to detect obstructions, allowing the door to close on objects or individuals, potentially causing injuries or property damage.
- Compliance: Building codes and regulations often require functional safety sensors for garage door systems, and failing to maintain them can lead to violations.
- Preventive Maintenance: Regular testing can help identify potential issues before they escalate, allowing for timely repairs or replacements, and extending the lifespan of your garage door system.
- Convenience: A properly functioning garage door system ensures smooth operation and prevents frustrating interruptions or inconveniences.
7 Trustworthy Steps for How to Test Garage Door Sensors With Multimeter
Here are the steps for how to test garage door sensors with multimeter:
Tools and Materials Needed
Before we dive into the testing process, ensure you have the following tools and materials readily available:
- Multimeter
- Screwdriver set
- Safety glasses
- Gloves
- Stepladder (if needed)
- Owner’s manual for your garage door opener
Step 1: Safety Precautions
Working with electrical systems can be hazardous if proper safety measures are not followed. Always:
- Disconnect the power supply to the garage door opener before performing any maintenance or testing.
- Wear safety glasses and gloves to protect yourself from potential injuries.
- Follow the manufacturer’s instructions and safety guidelines outlined in the owner’s manual.

Step 2: Identify the Sensor Components
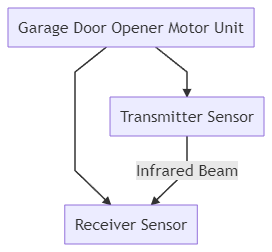
Locate the two sensor components, typically mounted near the bottom of the garage door opening. One component is the transmitter, and the other is the receiver. They are connected to the garage door opener motor unit via low-voltage wiring.
Step 3: Inspect the Sensors
Before testing with a multimeter, perform a visual inspection of the sensors and their wiring:
- Check for any physical damage, cracks, or obstructions on the sensor lenses.
- Ensure the sensors are properly aligned, facing each other, and not obstructed.
- Inspect the wiring for any signs of damage, fraying, or loose connections.
- Clean the sensor lenses gently with a soft, dry cloth to remove any dirt or debris.
Step 4: Test the Sensor Wiring
Now it’s time to use the multimeter to test the sensor wiring:
- Set your multimeter to the “Continuity” or “Resistance” mode.
- Disconnect the sensor wiring from the garage door opener motor unit.
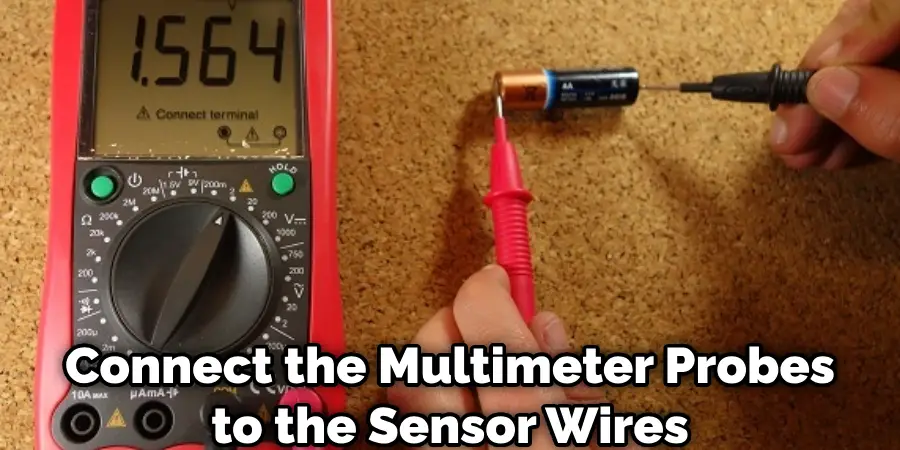
- Connect the multimeter probes to the sensor wires, one probe to each wire.
- If the multimeter shows continuity (low resistance or an audible tone), the wiring is intact.
- If the multimeter shows an open circuit (high resistance or no continuity), there may be a break in the wiring, and it needs to be repaired or replaced.
Step 5: Test the Sensor Power Supply
Next, we’ll check if the sensors are receiving adequate power supply from the garage door opener motor unit:
- Reconnect the sensor wiring to the motor unit.
- Set your multimeter to the appropriate voltage range (typically 12-24V DC).
- Connect the multimeter probes to the sensor wires, one probe to each wire.
- The multimeter should display the correct voltage specified in the owner’s manual.
- If the voltage is incorrect or fluctuating, there may be an issue with the power supply from the motor unit.
Step 6: Test the Sensor Functionality
After verifying the wiring and power supply, it’s time to test the sensor’s functionality:
- Place an object, such as a cardboard box or a piece of wood, in the path of the infrared beam between the sensors.
- Attempt to close the garage door using the wall control or remote.
- If the door reverses or stops upon encountering the obstruction, the sensors are functioning correctly.
- If the door closes on the obstruction, the sensors may be misaligned or defective, and further troubleshooting or replacement may be necessary.
Step 7: Troubleshooting and Repair
If your tests indicate a problem with the sensors or their wiring, consider the following troubleshooting steps:
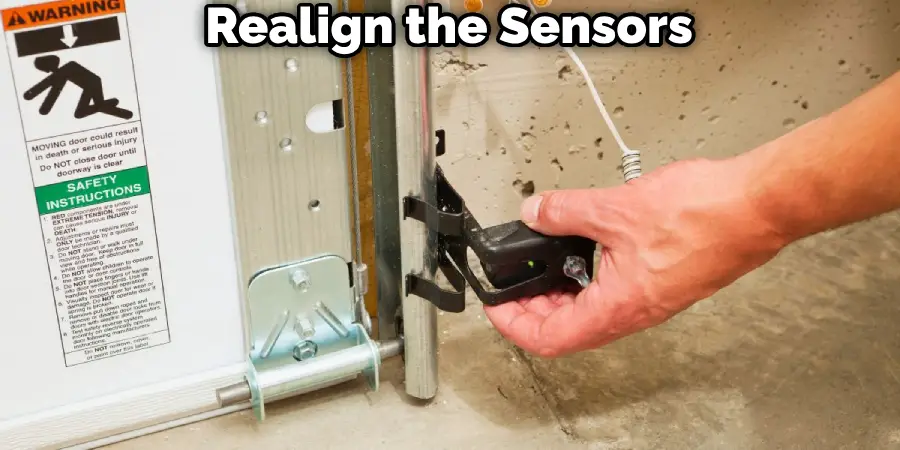
- Realign the sensors ensuring they are facing each other directly and are not obstructed.
- Check for loose connections or damaged wiring, and repair or replace as necessary.
- Clean the sensor lenses thoroughly to remove any buildup or debris.
- If the issue persists, consult a professional garage door technician for further assistance or potential sensor replacement.
FAQs About How to Test Garage Door Sensors With Multimeter
Can You Test Garage Door Sensors With a Multimeter?
Testing garage door sensors with a multimeter is essential for ensuring their proper functionality and safety. To do this, the power to the garage door opener must be disconnected first for safety. Using a multimeter set to the “Ohms” or resistance measurement setting, the sensor wiring needs to be tested for continuity and resistance. Additionally, the alignment, cleanliness, and power supply of the sensors should be checked. Observing the sensor response by opening and closing the garage door helps ensure their correct functioning. Regular testing is important to identify and address any issues promptly, thus maintaining the safety of the garage door system.
What is the Voltage of a Garage Door Sensor?
The voltage of a garage door sensor generally ranges from 3 to 24 volts, varying based on the specific model and manufacturer. For the exact voltage specification of a particular sensor, it’s best to refer to the product manual or contact the manufacturer directly.
Conclusion
Testing garage door sensors with a multimeter is a straightforward process that can help ensure the safety and proper functioning of your garage door system. By following the steps outlined in this guide, you can identify and address potential issues before they escalate, ensuring a smooth and safe operation for years to come. Regular maintenance and testing are key to preventing accidents, extending the lifespan of your garage door system, and providing peace of mind.
Remember, safety should always be the top priority when working with electrical systems. If you encounter any difficulties or feel uncomfortable performing these tests, do not hesitate to seek professional assistance from a qualified garage door technician.


